Easy Christmas Crafts: A Very Merry Christmas Tree
A Very Merry Christmas Tree uses paper and inexpensive tools to become a fun addition to holiday decorations or to a wrapped gift, a greeting card, a book, place settings or anywhere a little tree would add a smile.
This one is gold on green using just one piece of paper and a metallic gold pencil. It has the beauty of old gold.
This one is gold on green using just one piece of paper and a metallic gold pencil. It has the beauty of old gold.
The A Very Merry Christmas Tree is simple with a touch of artistry.
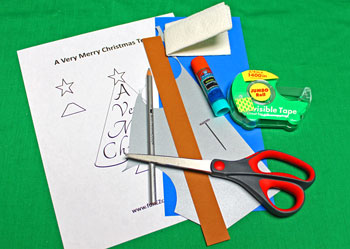
Easy Christmas Crafts: A Very Merry Christmas Tree Materials and Tools:
Paper - cardstock or similar paper that can hold its shape
Paper scraps - optional for base and star
Colored pencil - could also use felt marker
Scissors
Tape
Piercing tool (such as a t-pin)
Glue
Paper towel
A Very Merry Christmas Tree pattern (click to open a PDF)
Paper scraps - optional for base and star
Colored pencil - could also use felt marker
Scissors
Tape
Piercing tool (such as a t-pin)
Glue
Paper towel
A Very Merry Christmas Tree pattern (click to open a PDF)
Take a look at the simple materials and tools shown here.
The Steps for How to Make the Easy Christmas Crafts: A Very Merry Christmas Tree:
Print the A Very Merry Christmas Tree pattern.
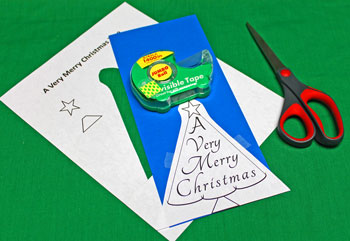
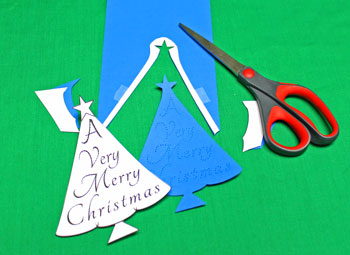
Cut around the tree shape leaving a 1/4 (.25) inch margin outside the shape.
Tape the shape to the cardstock.
I cut straight across under the bottom and align the base with an edge of the cardstock.
Cut around the tree shape leaving a 1/4 (.25) inch margin outside the shape.
Tape the shape to the cardstock.
I cut straight across under the bottom and align the base with an edge of the cardstock.
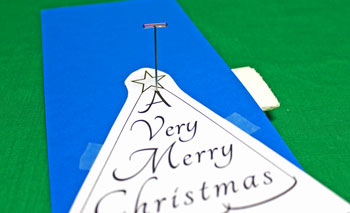
Fold the paper towel into several layers to use behind the shape. The piercing tool needs something soft yet sturdy to punch through the cardstock.
Begin outlining each letter with the piercing tool.
Make the holes far enough apart that they do not cut the paper yet near enough that they clearly outline the letters.
Note: I did not pierce the lowercase letters' serifs on the left side. For example the left top of the "r," "m," "y," and "i." I found they became confusing in the later steps.
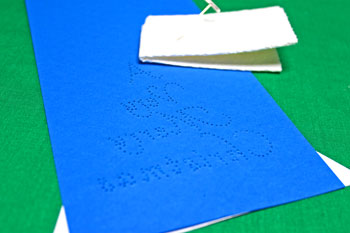
Turn the shape over to verify that all the letters have been outlined with the piercing tool.
Cut around the tree shape following the lines.
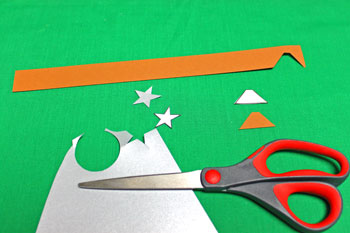
From the pattern, cut out the star and base shapes.
Use these shapes, cut the base out of tree stand colors. I used brown in this example.
Cut the star out of star colors. This one is silver.
Or, if you prefer, use coloring pencils.
For the green and gold version above, I used the gold pencil to color both the base and the star.
Note: if you plan to color the star, use the piercing tool to outline the two bottom points of the star.
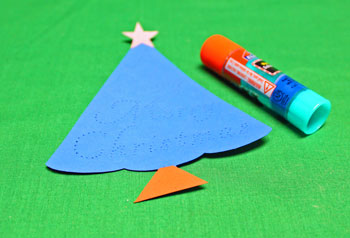
Glue the base and star over their counterparts on the tree shape.
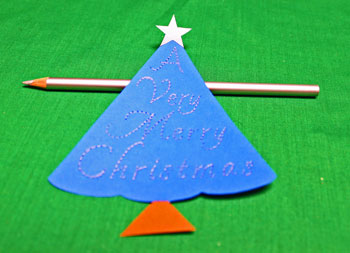
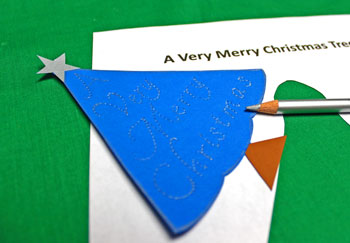
Use the coloring pencil to connect the pierced dots and outline the letters.
Next, use the coloring pencil to outline the tree's shape beneath the star, along each straight side and across the curves at the bottom. (Sorry, the image below does not show that very well.)
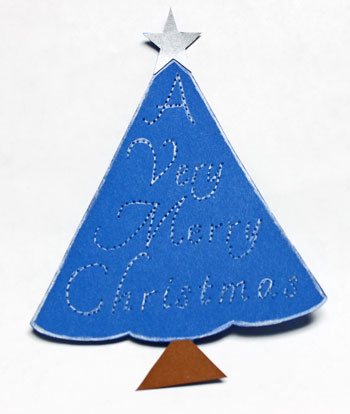
The A Very Merry Christmas Tree is finished and can be displayed to add fun and whimsy.
Here's another version that used a violet cardstock and purple coloring pencil for its outlines.
The star is silver and the base is dark brown.
The star is silver and the base is dark brown.
This next version used more traditional colors with a green tree and red outlines.
The star is gold and the base is dark green.
The star is gold and the base is dark green.
This little paper tree could be a package tag or used for name tags at place settings.
It could also be added as a little remembrance inside a greeting card.
And, if you are giving books, it could be a fun bookmark.
Of course, with the addition of a yarn loop, the little decoration could be hung on the Christmas tree, on a cabinet pull or displayed on a desk.
Have fun making one or many!
With just a few low-cost materials and tools this Easy Christmas Crafts A Very Merry Christmas Tree is simple, fun, fast and inexpensive to make.

funEZcrafts
Welcome
Come on in and stay awhile...

funEZcrafts
Welcome
Come on in and stay awhile...
