Easy Angel Crafts: Wired Ribbon Angel
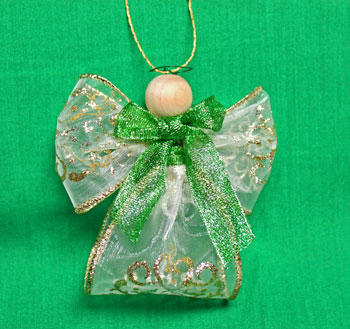
The Easy Angel Crafts Wired Ribbon Angel adds a touch of fun and a cute accent to the holiday decorations.
Just a few inexpensive items turn into a pretty little angel. Take a look.
Just a few inexpensive items turn into a pretty little angel. Take a look.
Look below for the materials and the steps for how to make the wired ribbon angel:
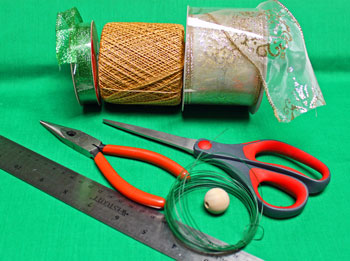
Easy Angel Crafts: Wired Ribbon Angel Materials and Tools:
Wire edged ribbon - 2.5 inches wide
Wire edged ribbon - 5/8 - 7/8 inches wide
Yarn
Wooden bead - 20mm
Wire - floral, 26 or 24 gauge (can also use jewelry wire)
Ruler
Scissors
Needle nose pliers
Wire edged ribbon - 5/8 - 7/8 inches wide
Yarn
Wooden bead - 20mm
Wire - floral, 26 or 24 gauge (can also use jewelry wire)
Ruler
Scissors
Needle nose pliers
The Steps for How to Make the Easy Angel Crafts: Wired Ribbon Angel:
Collect the materials and tools.
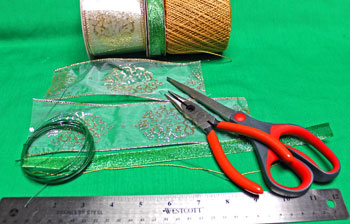
Cut two pieces of the 2.5-inch ribbon, one of 7 inches for the body and one of 9 inches for the wings.
Cut one piece of the 5/8-inch ribbon 14 inches long. If you use 7/8-inch wide ribbon cut it longer (16 inches). The additional length makes tying the bow easier.
Cut one piece of the yarn 10 inches long.
Cut one piece of the floral wire 9 inches long.
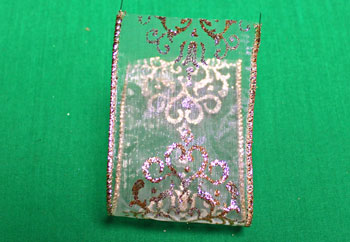
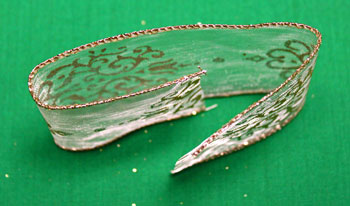
Fold the 7-inch length of the wide wired ribbon in half for the body.
Pinch together the cut ends of the body ribbon.
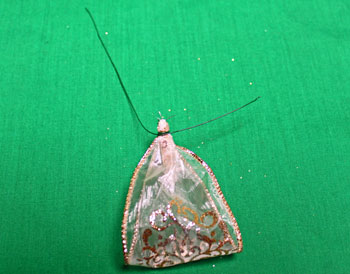
Wrap the ends of the body ribbon with the floral wire. Roughly one-third of the wire should be on one side and two-thirds on the other of the wrapped ribbon.
Wrap the ends of the body ribbon with the floral wire. Roughly one-third of the wire should be on one side and two-thirds on the other of the wrapped ribbon.
Make a circle with the 9-inch length of ribbon and overlap the ends.
Gently fold the circle with the overlapped ends on one side to begin forming the wings.
Gently fold the circle with the overlapped ends on one side to begin forming the wings.
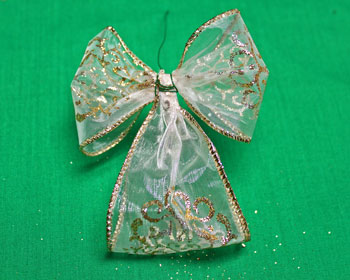
Pinch the middle of the gently folded wings and place over the wire ends of the body ribbon.
Wrap the two ends of the floral wire around the middle of the wings and twist tightly together.
Wrap the two ends of the floral wire around the middle of the wings and twist tightly together.
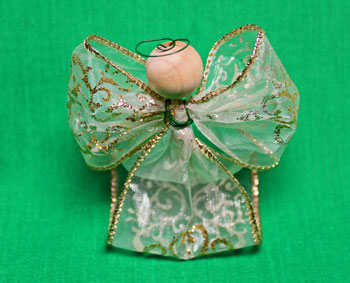
Push the ends of the floral wire through the 20mm bead.
If any of the short end of the wire comes through the top of the bead, use the pliers to fold it back into the bead.
Wrap the long end of the wire around your finger to form the halo.
Use the pliers to twist the end of the wire back on itself making an additional small loop in the wire.
Push any wire excess back into the bead.
Fold and position the wire circle over the bead to make the halo.
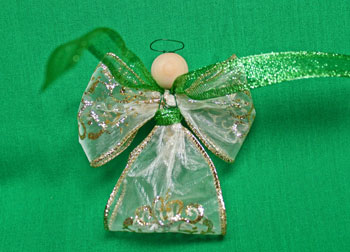
From the front, wrap the 5/8-inch wired ribbon around the body below the wings to the back.
Pull the ribbon over the top of the wings and back around to the front.
Pull the ribbon over the top of the wings and back around to the front.
Tie a bow in the ribbon under the bead.
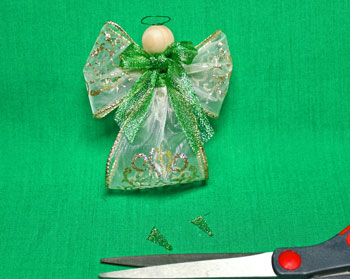
Trim any excess ribbon at an angle.
Trim any excess ribbon at an angle.
Push one end of the yarn through the small loop in the wire at the top of the bead.
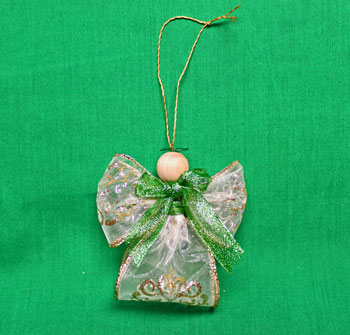
Pull the ends of the yarn even and tie a knot to form the hanging loop.
Pull the ends of the yarn even and tie a knot to form the hanging loop.
The Easy Angel Crafts Wired Ribbon Angel is finished and ready to display.
Simple and pretty, these little angels are fun and easy to make. If you want, you can add a face with an ink pen, paints or with cosmetics.
Have fun!
The Easy Angel Crafts Wired Ribbon Angel uses just a few inexpensive materials and tools. With not very much time or expense, one angel or many angels can be easily made as ornaments.
Have fun!
The Easy Angel Crafts Wired Ribbon Angel uses just a few inexpensive materials and tools. With not very much time or expense, one angel or many angels can be easily made as ornaments.

funEZcrafts
Welcome
Come on in and stay awhile...

funEZcrafts
Welcome
Come on in and stay awhile...

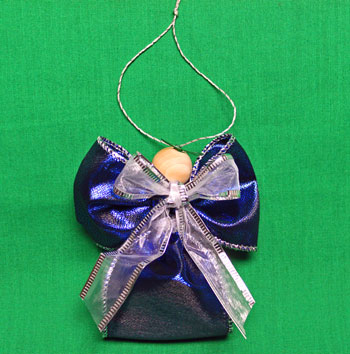
Here's another pretty little Wired Ribbon Angel in blue and silver.
