Easy Felt Crafts: Small Items Pocket
Do you have small items in your purse, but they are always difficult to find when you need them?
They seem to fall to the bottom and hide among other things.
Here's an easy felt crafts project that shows how-to make a pocket to hold those small items such that they can be found easily.
Take a look at what some of those items could be:
They seem to fall to the bottom and hide among other things.
Here's an easy felt crafts project that shows how-to make a pocket to hold those small items such that they can be found easily.
Take a look at what some of those items could be:
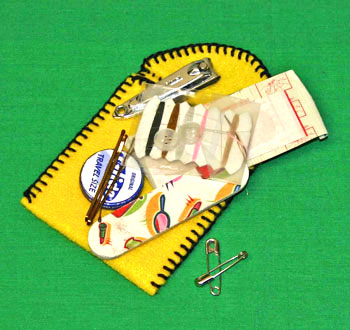
Let's see...nail clippers, hair pins, safety pins, small emery board, band aids, small mending kit, small dental floss...and there will be room left over for other small items, too!
The finished size is 3 in x 3.75 in, but it's amazing what fits in that small space!
Easy Felt Crafts: Small Items Pocket Materials and Tools:
Craft felt (your favorite color) 9 in x 12 in
Yarn (size 3 or size 10 crochet yarn both work great)
Yarn darner needle (a pack of size 14 to 18 gives you alternatives)
Scissors
Bead for closing (optional)
Pattern Easy Felt Crafts - Small Items Pocket - Pattern
Yarn (size 3 or size 10 crochet yarn both work great)
Yarn darner needle (a pack of size 14 to 18 gives you alternatives)
Scissors
Bead for closing (optional)
Pattern Easy Felt Crafts - Small Items Pocket - Pattern
The Steps for How to Make the Easy Felt Crafts: Small Items Pocket:
Download and print the pattern. Easy Felt Crafts - Small Items Pocket - Pattern
Cut one from the craft felt.
Thread your needle with your yarn of choice.
Cut one from the craft felt.
Thread your needle with your yarn of choice.
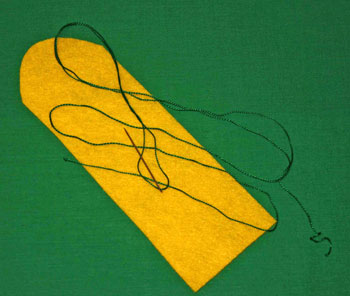
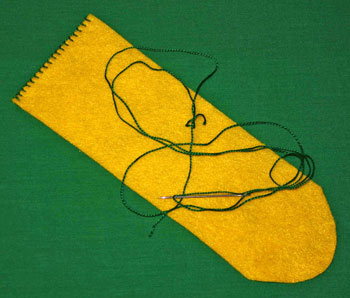
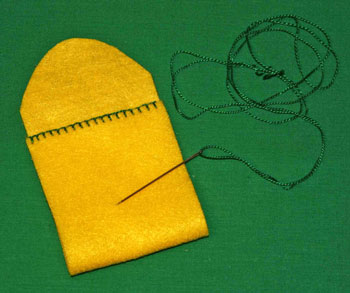
Next, sew a blanket stitch across the short, straight end. (Pictorial details for how to sew the simple blanket stitch can be found in our free e-book - How to Sew Stitches.)
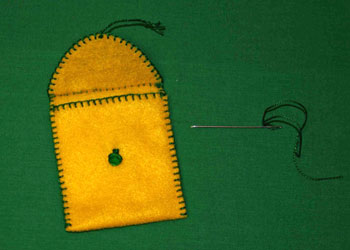
To make the pocket, fold the straight end toward the rounded end with any knots and hidden thread ends from your blanket stitching on the inside.
Leave enough craft felt at the rounded end to make the overlapping flap.
If desired, you can use pins to help hold the edges together.
Leave enough craft felt at the rounded end to make the overlapping flap.
If desired, you can use pins to help hold the edges together.
Starting at one of the folded corners, sew a blanket stitch all the way around to the opposite folded corner.
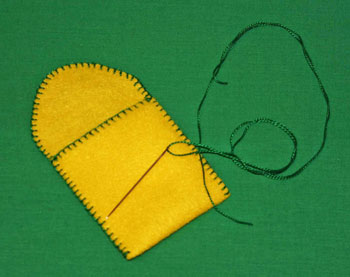
Now, fold the flap 1/2 inch above the straight edge and sew with a blanket stitch across the top.
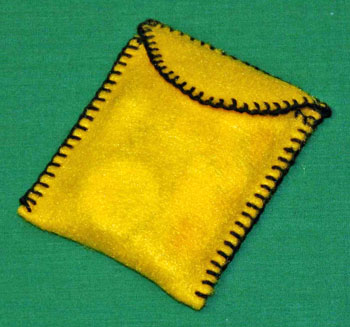
At this point, the pocket is finished.
However, if you want to add a simple closure, take a look at the next steps.
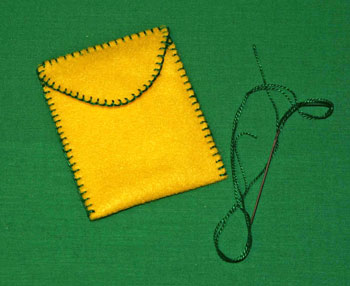
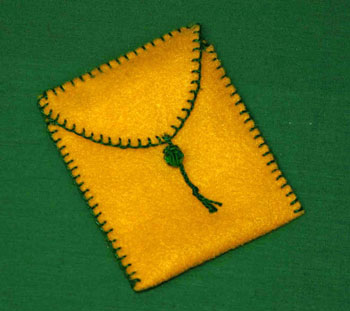
In the middle of the rounded end, attach a simple tie.
For this one, three strands of yarn were securely anchored to the pocket and braided.
The braid is 1.75 inches to the knot with 1/2 inch of fringe.
However, if you want to add a simple closure, take a look at the next steps.
In the middle of the rounded end, attach a simple tie.
For this one, three strands of yarn were securely anchored to the pocket and braided.
The braid is 1.75 inches to the knot with 1/2 inch of fringe.
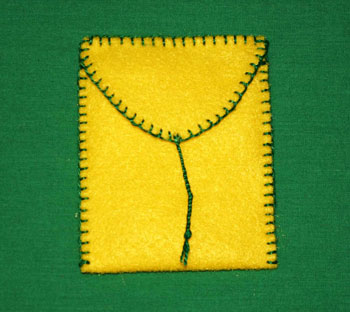
Next, attach a simple bead to the pocket.
The pictures below show an 8mm bead being attached.
First, position the bead slightly below the rounded area of the closed flap.
The pictures below show an 8mm bead being attached.
First, position the bead slightly below the rounded area of the closed flap.
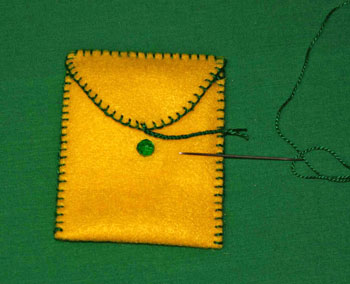
Hide the knot of the thread inside the pocket and take an anchor stitch in the felt below where the bead will be.
Be careful not to sew the front and back portions of the pocket together while you are attaching the bead.
Be careful not to sew the front and back portions of the pocket together while you are attaching the bead.
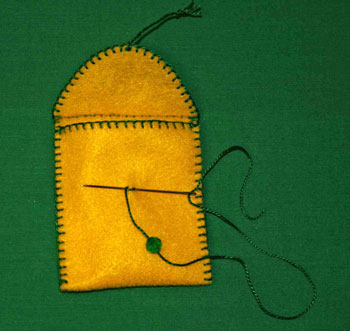
Do not pull the bead all the way to the pocket.
Leave a 3/8 inch space with the yarn.
Leave a 3/8 inch space with the yarn.
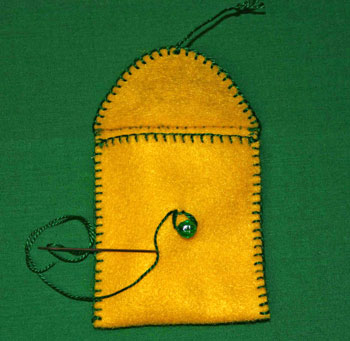
Wrap the yarn around the threads to make a shank.
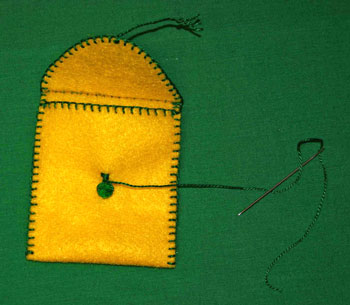
Secure your thread and hide the end.
Close the pocket by wrapping the braid around the shank and tying a half knot.
The half knot keeps the braid from unwrapping and is easy to un-tie.
The half knot keeps the braid from unwrapping and is easy to un-tie.
The next picture shows the two alternatives - one with the closure and one without.
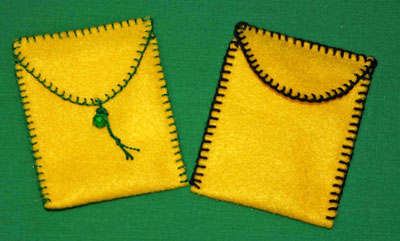
These pockets may be small but they hold an amazing amount of small items.
These pockets make it easy to find those items in your purse, in your briefcase, in a drawer or where ever you may need them.
Enjoy!
These pockets make it easy to find those items in your purse, in your briefcase, in a drawer or where ever you may need them.
Enjoy!


funEZcrafts
Welcome
Come on in and stay awhile...

funEZcrafts
Welcome
Come on in and stay awhile...