Recently, I needed to repair a loose button and the pockets in a couple of jeans.
Since I had to do the repairs anyway, why not share the steps with others who can then make their clothing last longer.
So, today’s post introduces How to Sew on a Button and How to Repair a Jeans Pocket.
The tasks are not too ornery, but they do take a little time. The result, however, is increased life of the shirt and usable, perfectly good jeans.
Here are the problems.
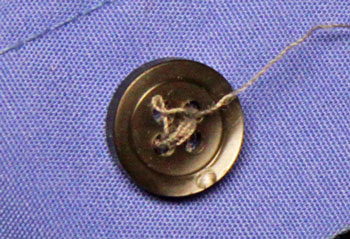
First a button that’s almost loose enough to come off in the next laundry cycle:

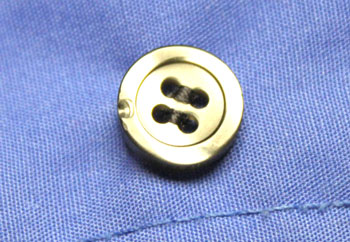
After going through the easy but detailed steps for how to sew on a button, the results show:

Take a little time to go through the steps and the result will be better than new. Why better? Because you will attach the button more securely than a machine can.
The second repair took a little longer, but it, too, was easy.
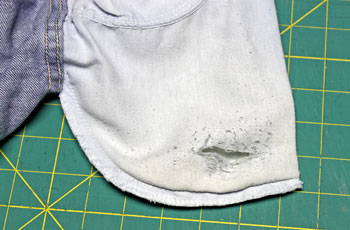
Here’s one of the jeans pockets with a rather large hole:

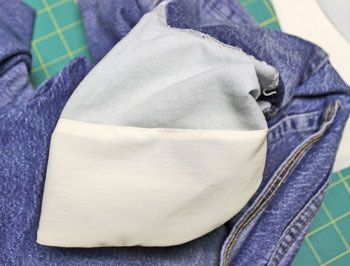
After working through the detailed and easy how to repair a jeans pocket steps, the resulting repair looks like this:

This view is from the inside of the pocket – where the personal treasures and the hand would go. The seams are finished such that neither the fingers nor the things in the pocket will catch on an unfinished seam.
Frequently, if someone uses their jeans pockets a lot, the pockets wear out much quicker than the jeans themselves.
These steps for how to repair a jeans pocket will keep your jeans useful and longer lasting.
Visit the funEZcrafts how-to section to learn how to sew on a button and how to repair a jeans pocket.
Have fun making your shirts, blouses and jeans last longer!
