Easy Felt Crafts: Cosmetic Pouch
Do you like to touch up your make up during the day?
Here's an easy felt crafts project showing how to make a cosmetic pouch that can hold the basics.
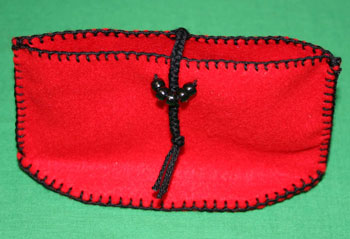
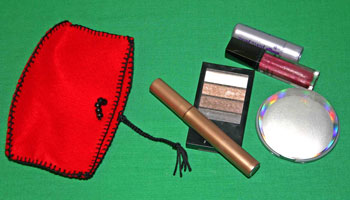
Let's take a look at the cosmetic pouch, empty and with cosmetics.
Here's an easy felt crafts project showing how to make a cosmetic pouch that can hold the basics.
Let's take a look at the cosmetic pouch, empty and with cosmetics.
The cosmetic pouch easily holds lipstick, lip balm, eyeshadow, mascara and pressed powder compact with mirror.
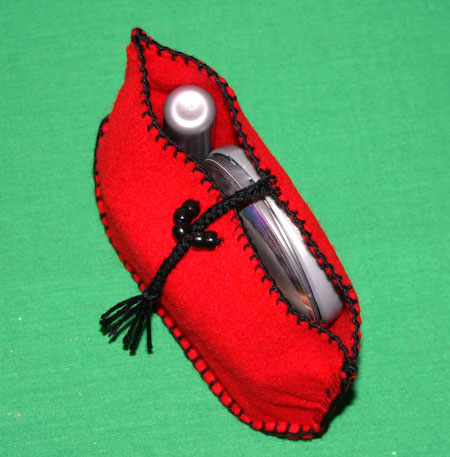
Looking down from the top, all of these items snugly fit within the pouch.
The finished size is 4 in x 6 in x 1.75 inches.
Even with the cosmetics inside, the cosmetic pouch easily fits in your hand.
Even with the cosmetics inside, the cosmetic pouch easily fits in your hand.
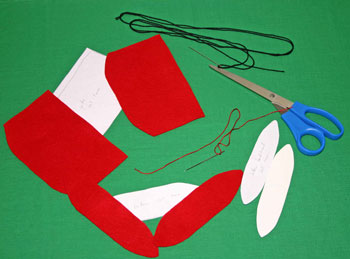
Easy Felt Crafts: Cosmetic Pouch Materials and Tools:
Craft felt (your favorite color) 9 in x 12 in
Yarn (size 3 or size 10 crochet yarn both work great)
Yarn darner needle (a pack of size 14 to 18 gives you alternatives)
Scissors
Cardboard (e.g., poster board to stabibilize the bottom)
Pattern Easy Felt Crafts - Cosmetic Pouch
Beads (optional)
Yarn (size 3 or size 10 crochet yarn both work great)
Yarn darner needle (a pack of size 14 to 18 gives you alternatives)
Scissors
Cardboard (e.g., poster board to stabibilize the bottom)
Pattern Easy Felt Crafts - Cosmetic Pouch
Beads (optional)
The Steps for How to Make the Easy Felt Crafts: Cosmetic Pouch:
Print the Easy Felt Crafts Cosmetic Pouch pattern.
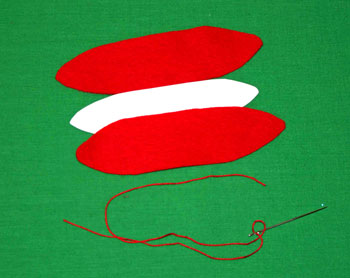
Cut two of each side and two of the bottom out of the craft felt.
Cut one of the smaller bottom out of cardboard.
Cut two of each side and two of the bottom out of the craft felt.
Cut one of the smaller bottom out of cardboard.
Insert the bottom cardboard between the two bottom pieces of felt.
Thread your needle with your yarn of choice.
Center the cardboard and use a simple, in and out, running stitch to hold the cardboard in place while you construct the cosmetic pouch.
(The free e-book of How to Sew Stitches helps with basic stitches.)
When the pouch is finished, you can leave the running stitch in place or remove it - your choice.
If you plan to leave the stitches, make sure your beginning knot and end threads will be inside the pouch.
In the pouch shown here, red yarn matching the craft felt was used for the running stitch and was not removed when finished.
Next, select the yarn to use for the blanket stitched seams.
Thread your needle.
Here, black yarn was chosen for the dramatic contrast.
Thread your needle.
Here, black yarn was chosen for the dramatic contrast.
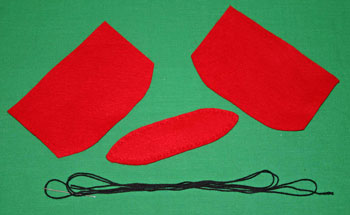
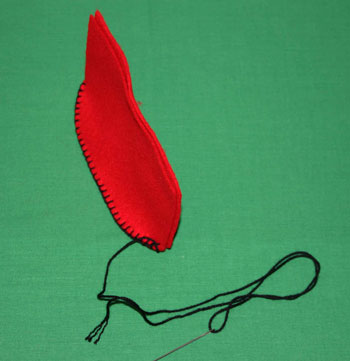
Stitch one side to the bottom aligning the ends and the curves using the blanket stitch.
Hide your end knot within the seam.
Hide your end knot within the seam.
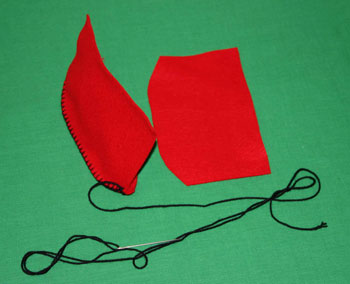
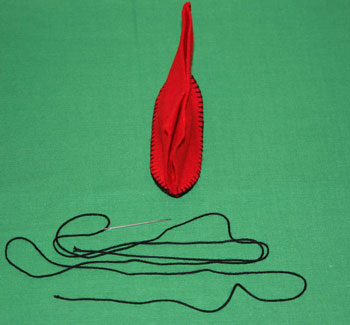
Continue the blanket stitches to attach the second side to the bottom.
Again, match the ends and the curves.
Again, match the ends and the curves.
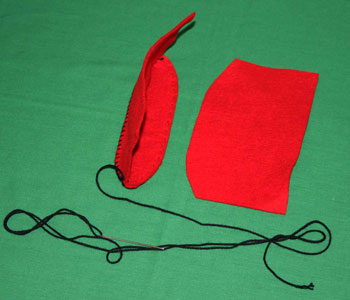
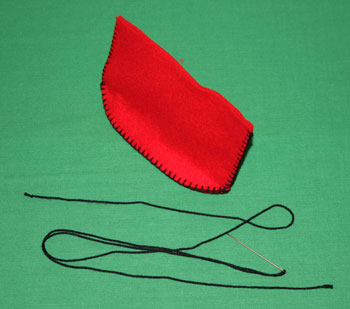
Use the blanket stitches to close one end of the pouch.
Secure your thread, hide the end and cut.
Secure your thread, hide the end and cut.
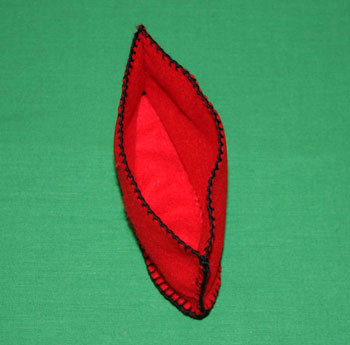
Next, sew the other end together using the blanket stitches.
Hide the beginning knot and the end threads in the seam.
Hide the beginning knot and the end threads in the seam.
Starting at one of the end seams, sew the blanket stitch around the top of the cosmetic pouch.
Even though craft felt does not fray, the stitches add stability and a finished look.
Even though craft felt does not fray, the stitches add stability and a finished look.
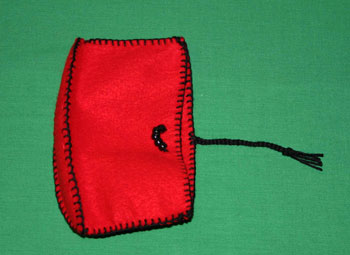
Your pouch is finished except for a type of closure.
Add a braid to the center of one side.
The braid shown is three inches long plus an inch of fringe past the knot.
On the opposite side, add a loop of thread with five black beads centered roughly 1/2 inch down from the top.
If you do not have beads, a simple loop of yarn covered with blanket stitches (see the loops on the Easy Felt Crafts - Coupon Organizer and the Easy Felt Crafts - Index Cards Envelope) works just as well.
Fast, fun and easy, this small container can hold lots of different things in addition to cosmetics, such as thumb drives or chargers.
Enjoy!
Make one or many of the Easy Felt Crafts Cosmetic Pouch to use or to share.
Enjoy!
Make one or many of the Easy Felt Crafts Cosmetic Pouch to use or to share.


funEZcrafts
Welcome
Come on in and stay awhile...

funEZcrafts
Welcome
Come on in and stay awhile...