| funEZcrafts |
Welcome! Come on in and visit awhile... |
|
| funEZcrafts: fun, easy and inexpensive craft projects for pleasure and profit | ||
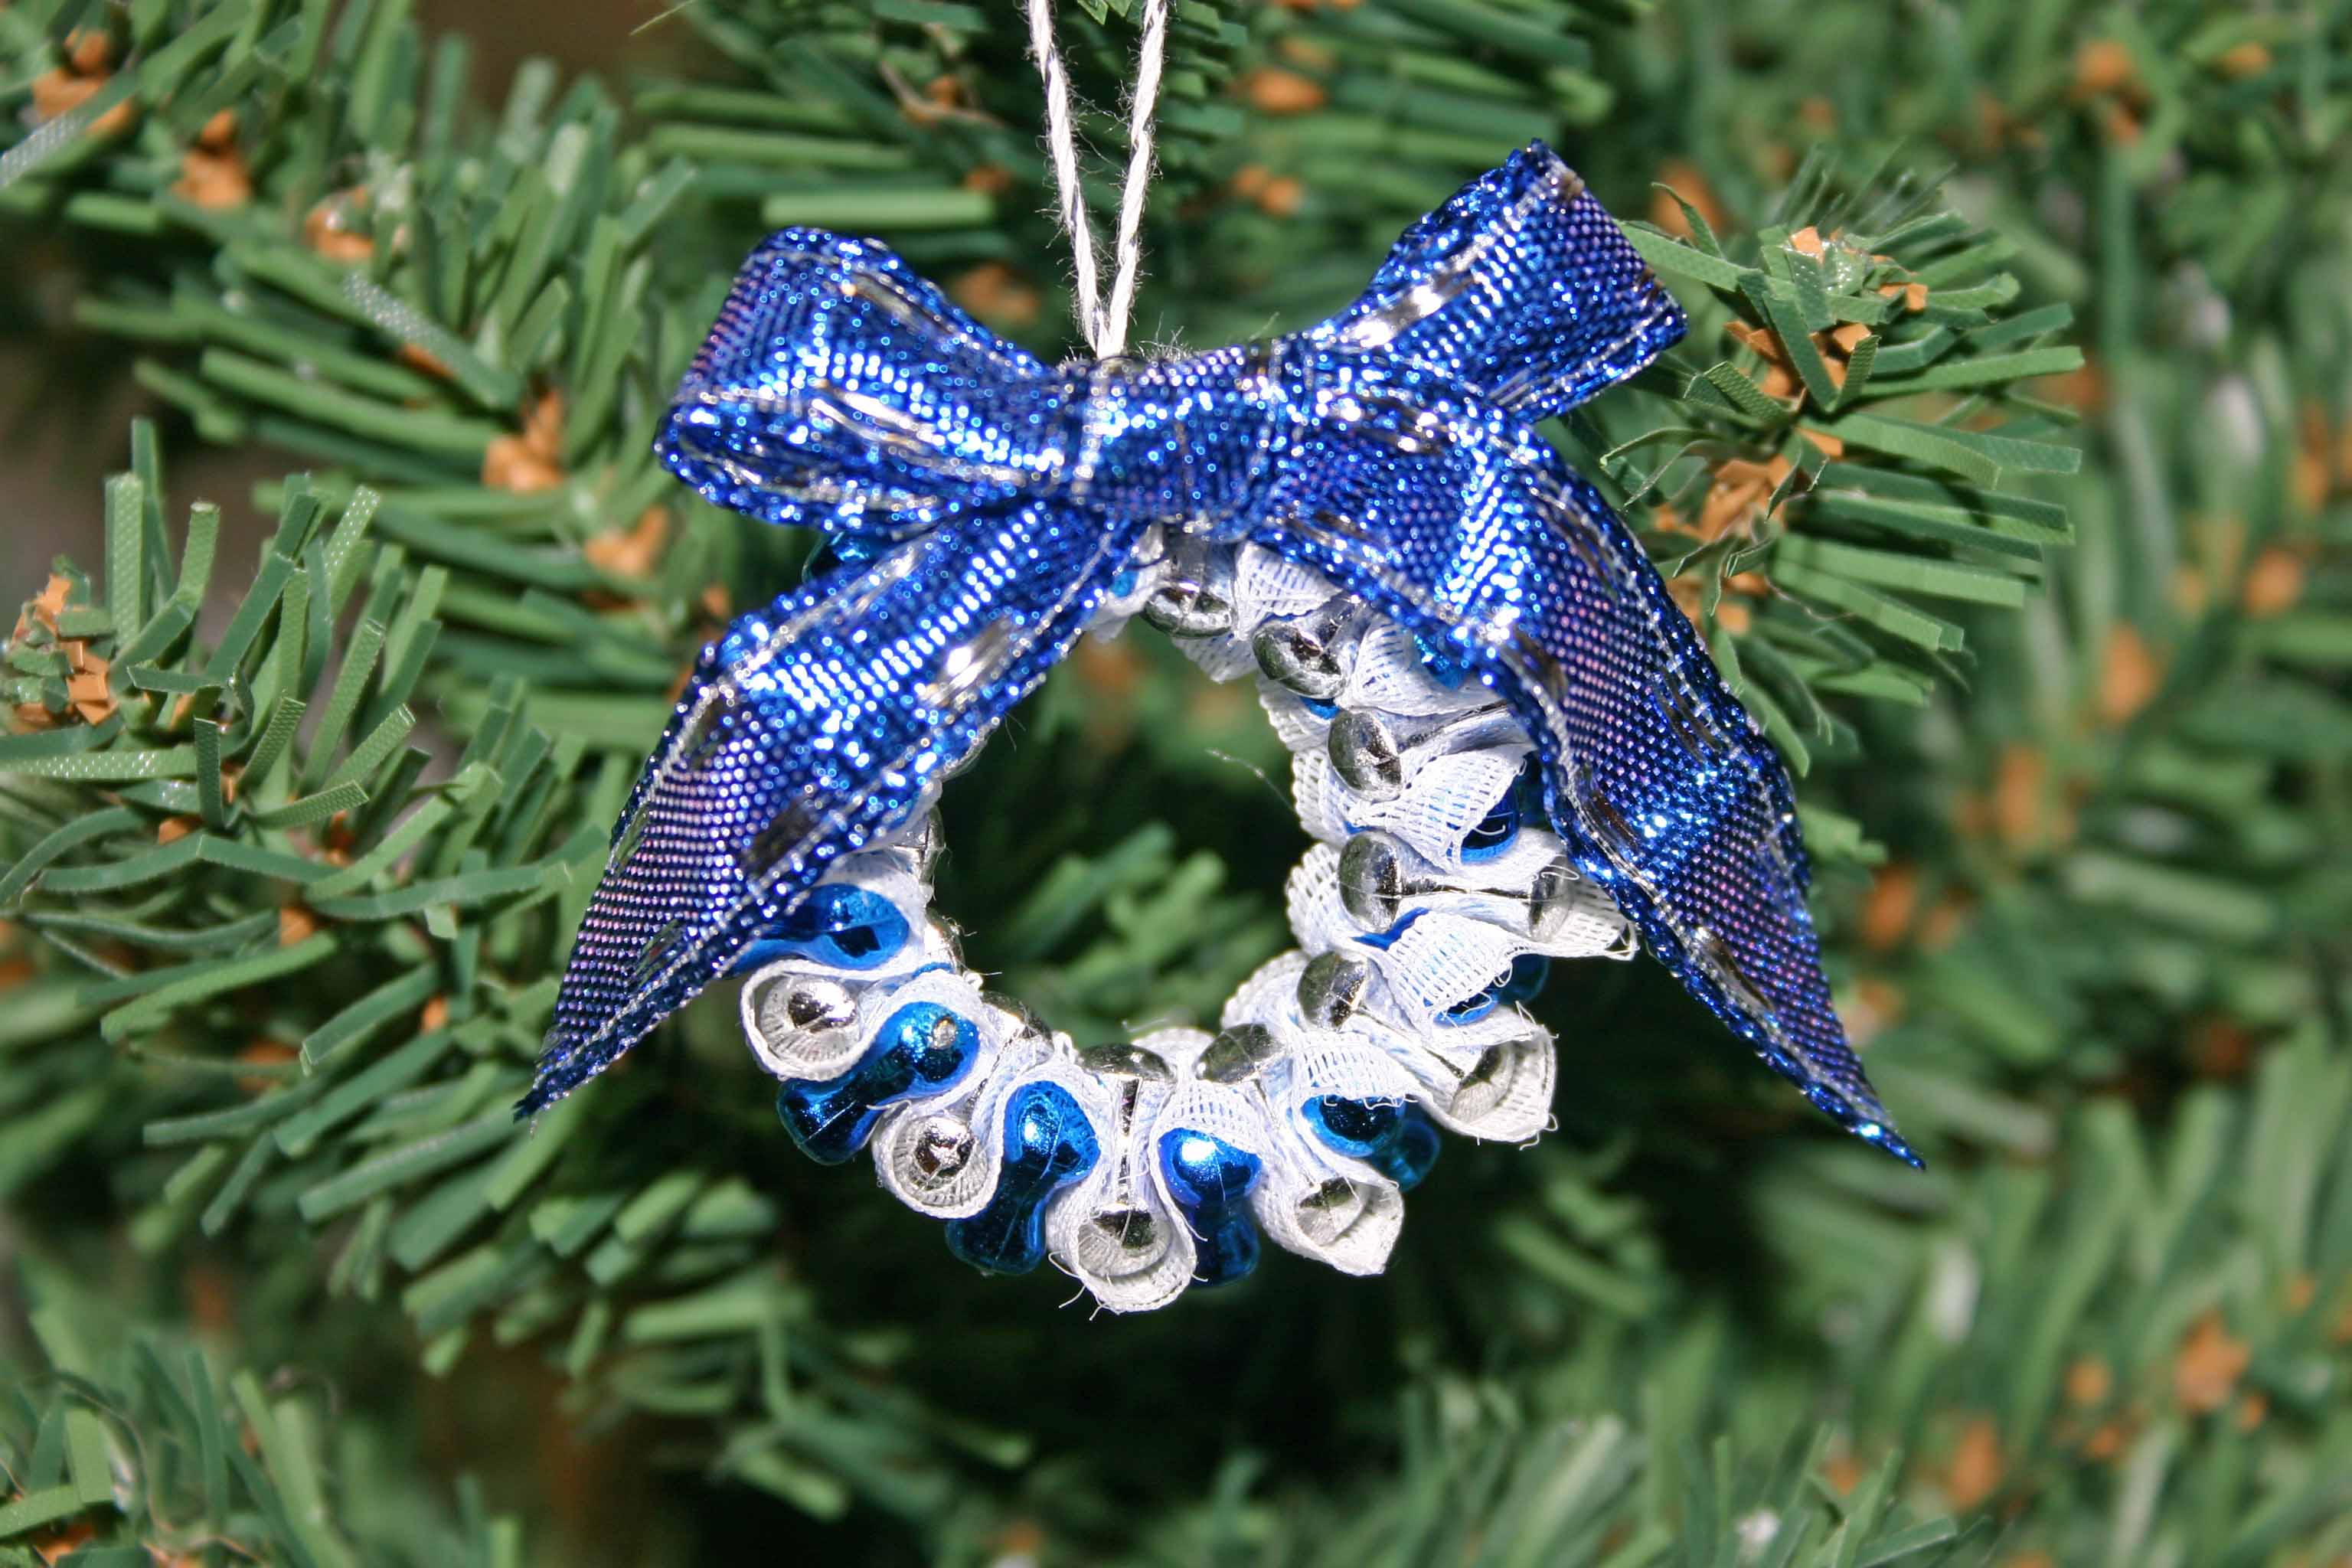
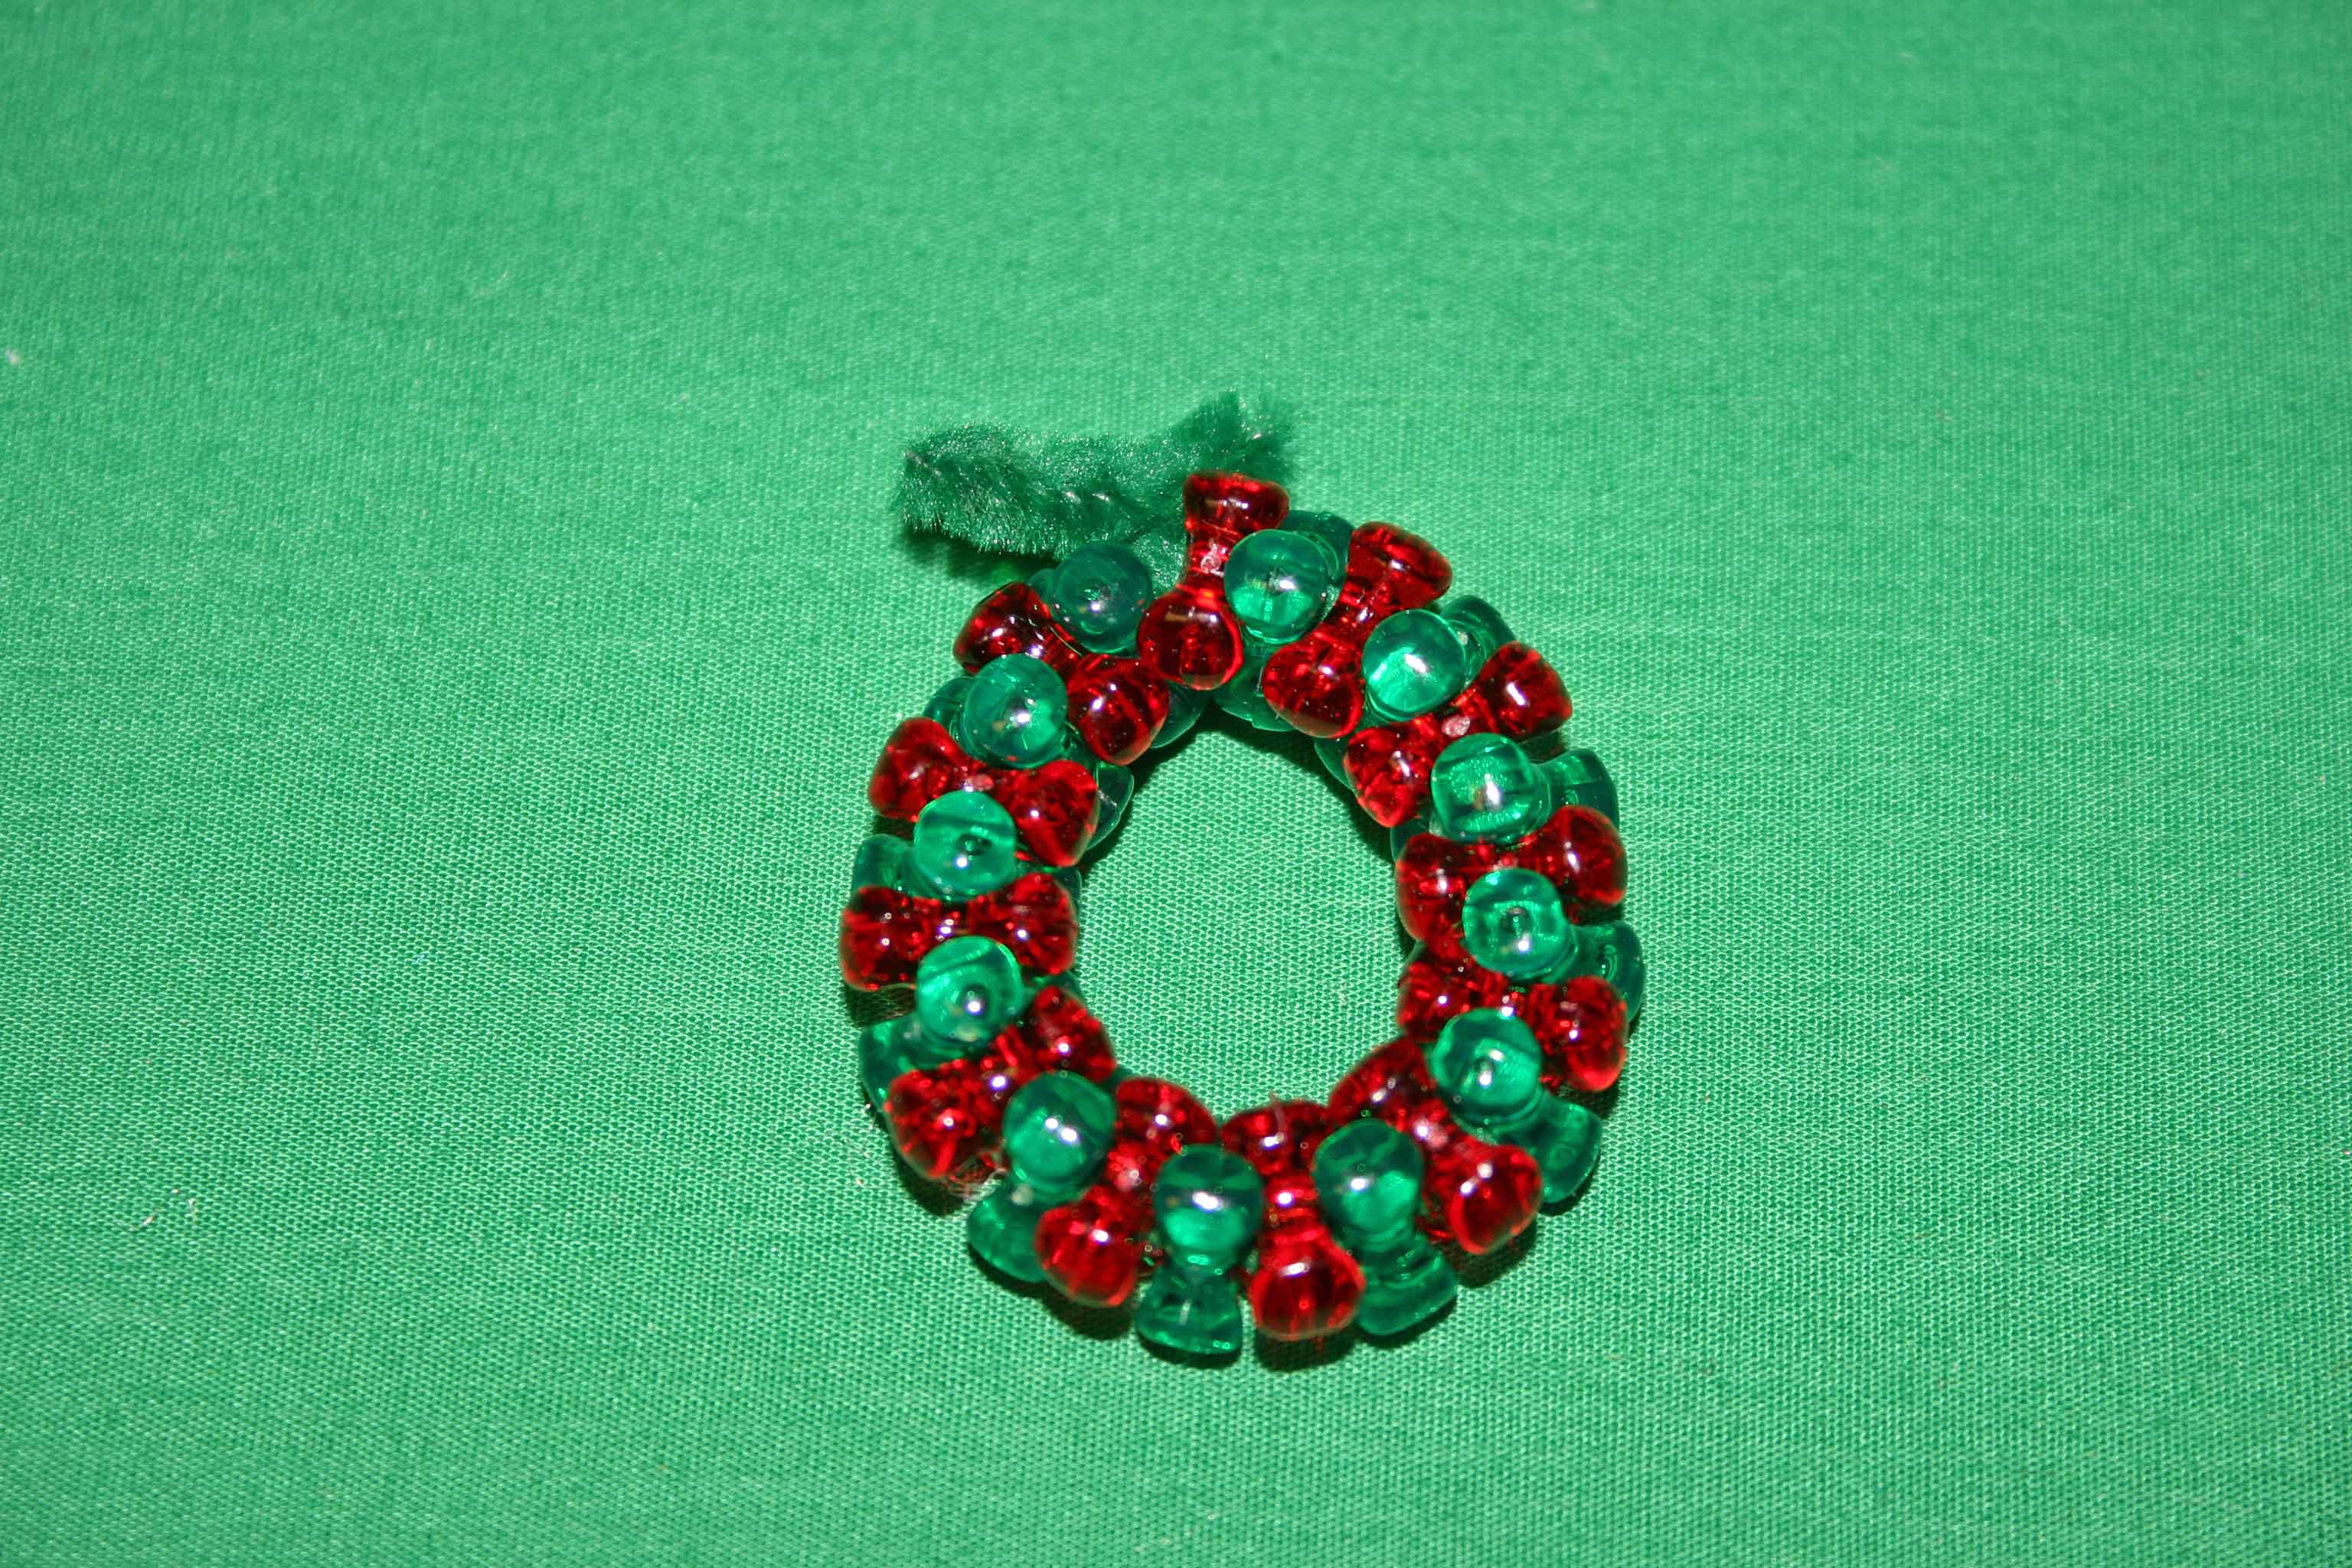
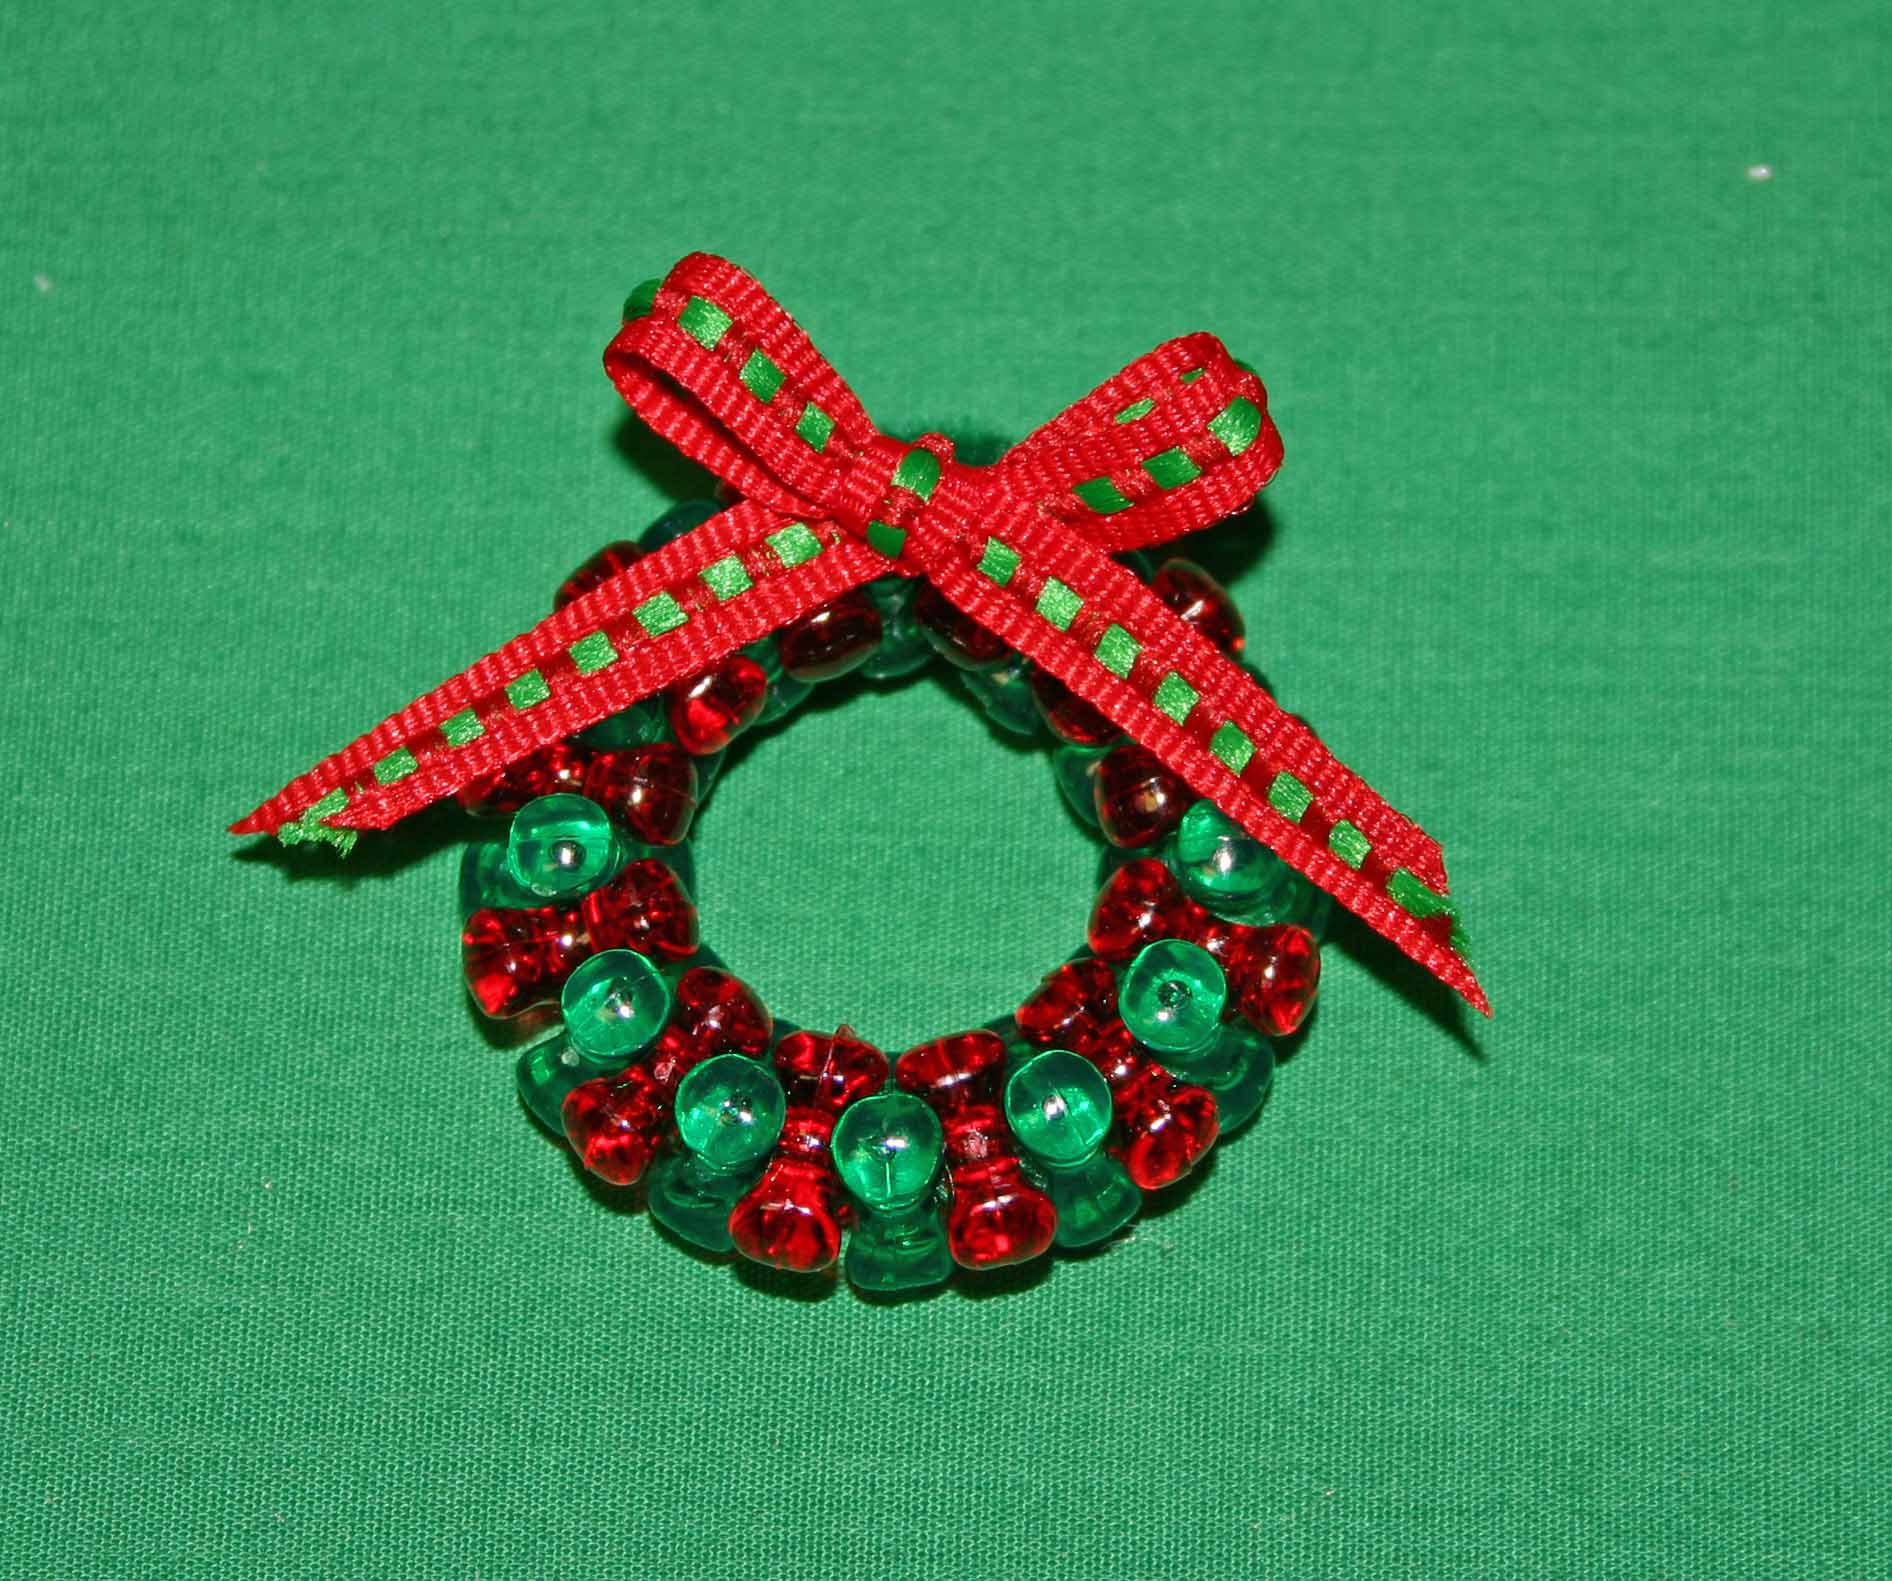
Easy Christmas Crafts: Beaded Christmas WreathThe beaded Christmas wreath is an easy Christmas crafts projects that takes minutes to do. The beaded wreath uses simple, inexpensive materials and steps. Plus, with imagination, each one you make can be unique and interesting. Below, we show you the materials and the how-to steps. Let's take a look at a finished wreath:
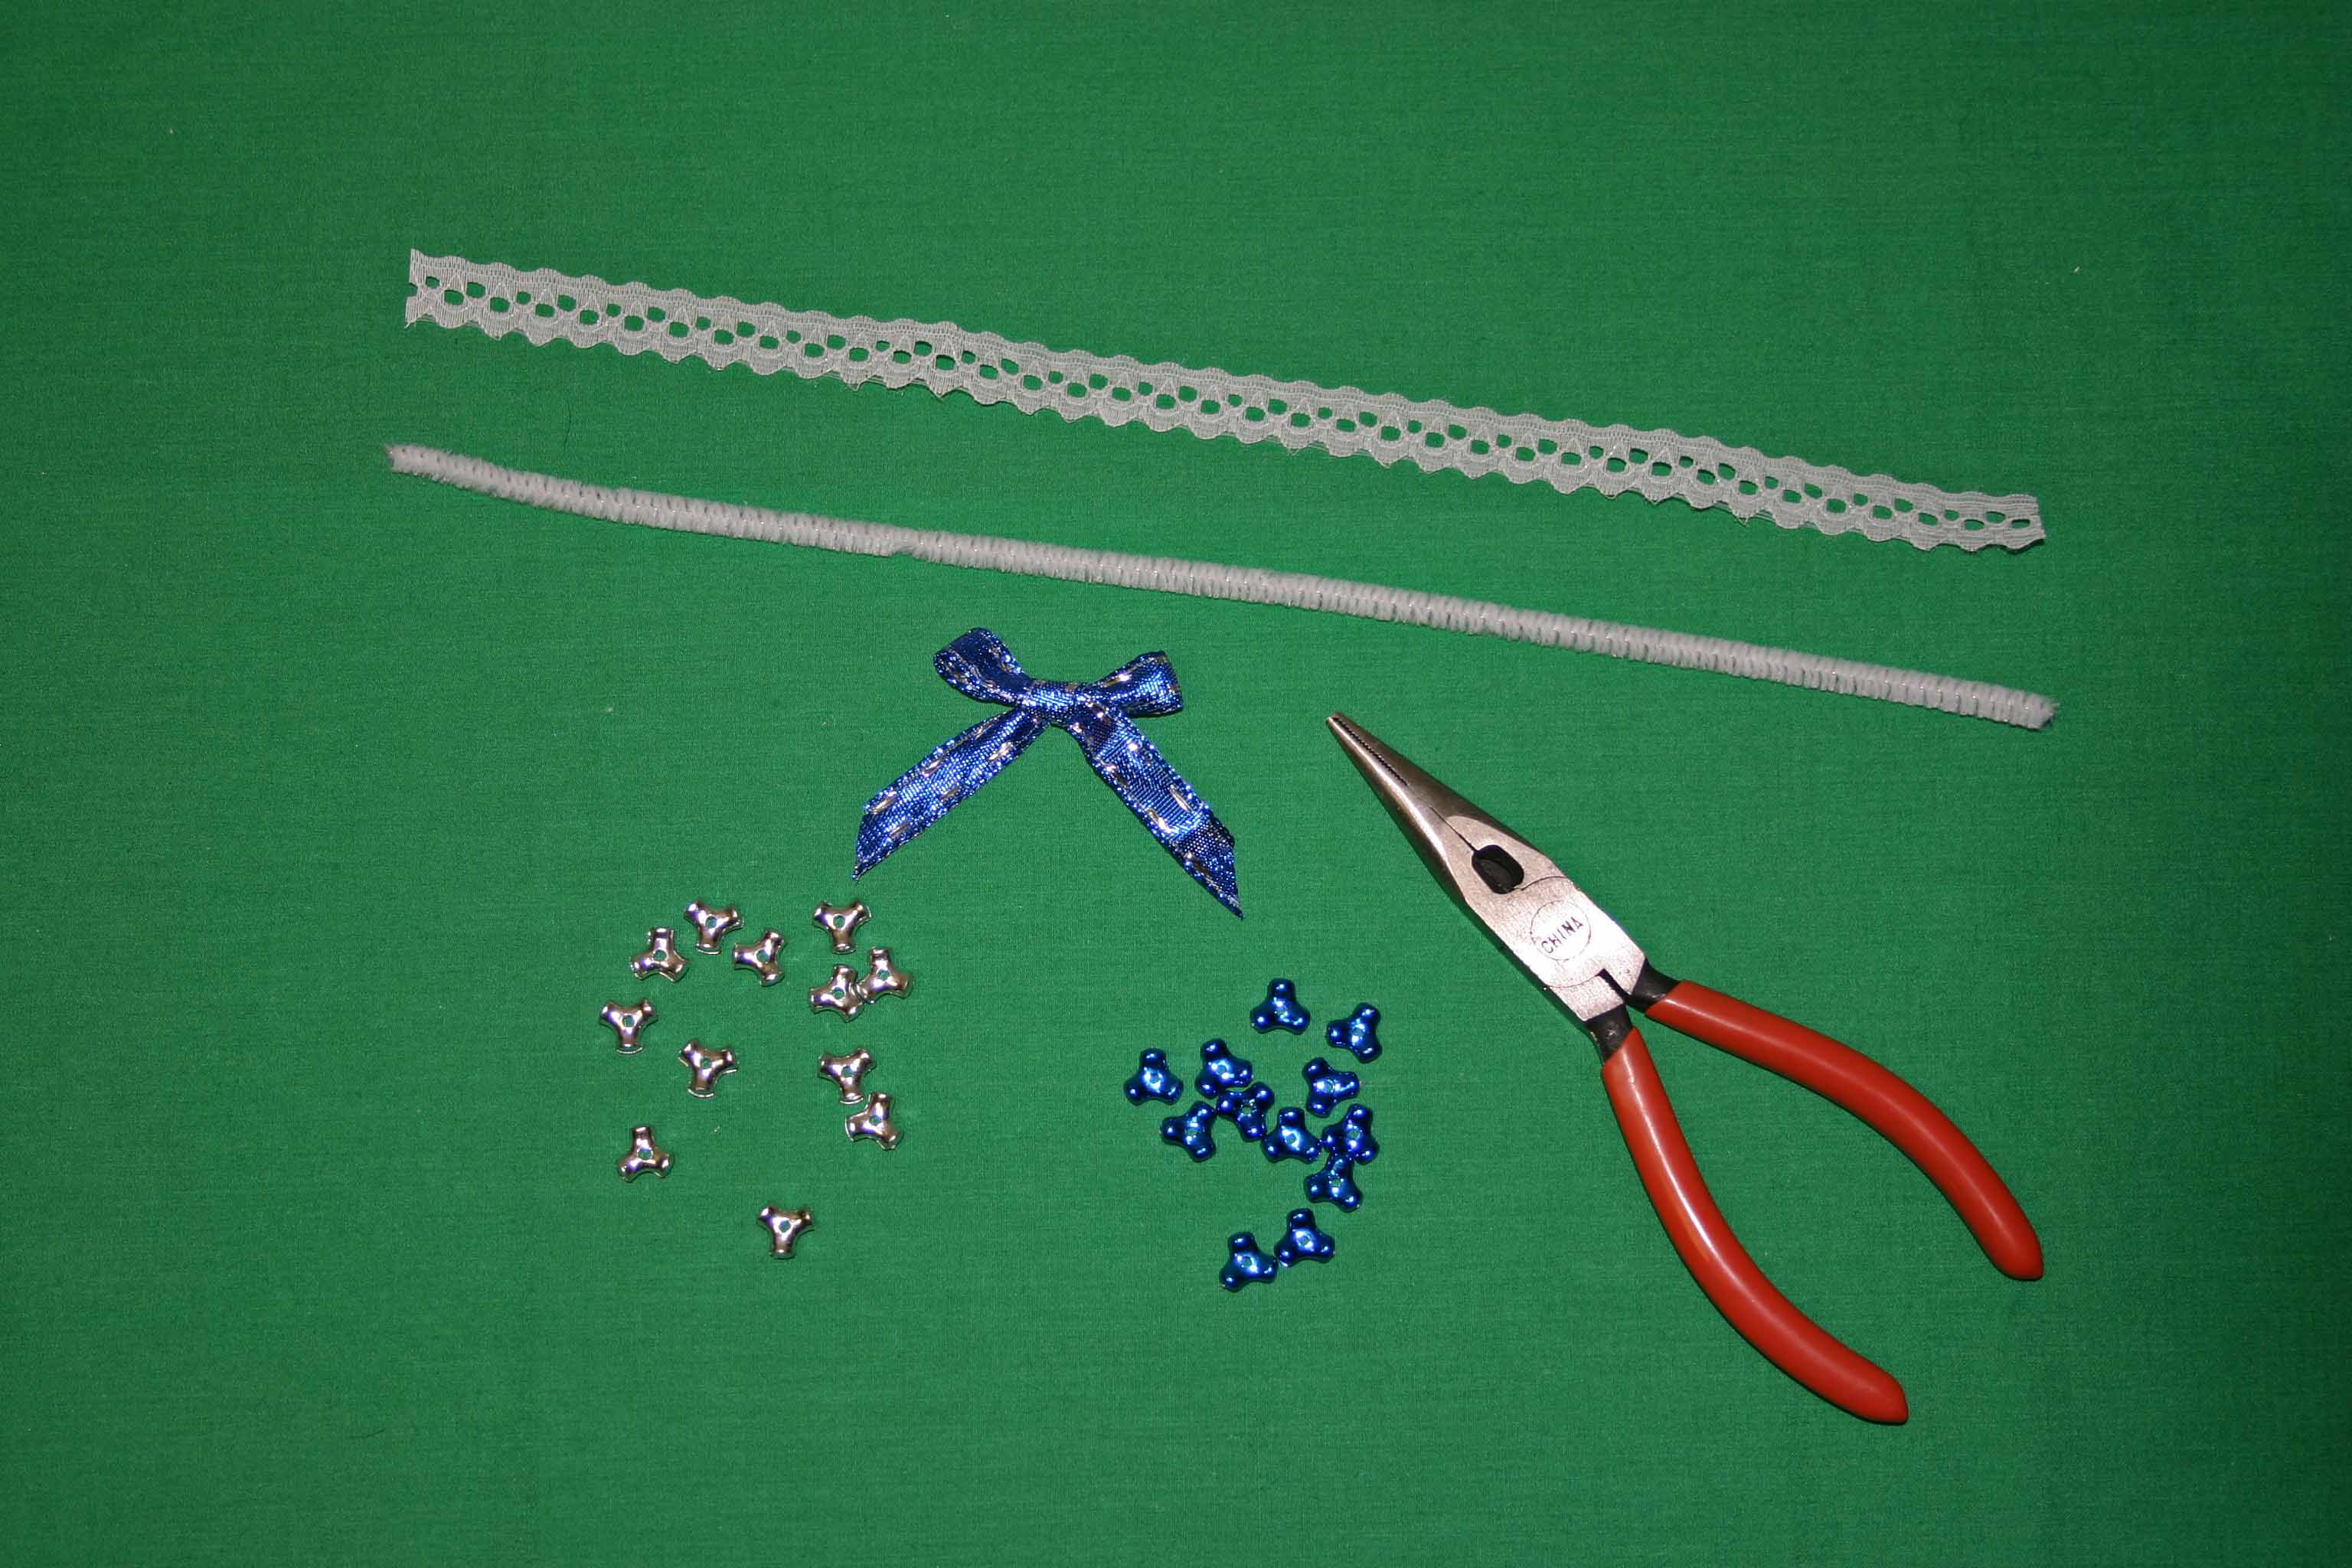
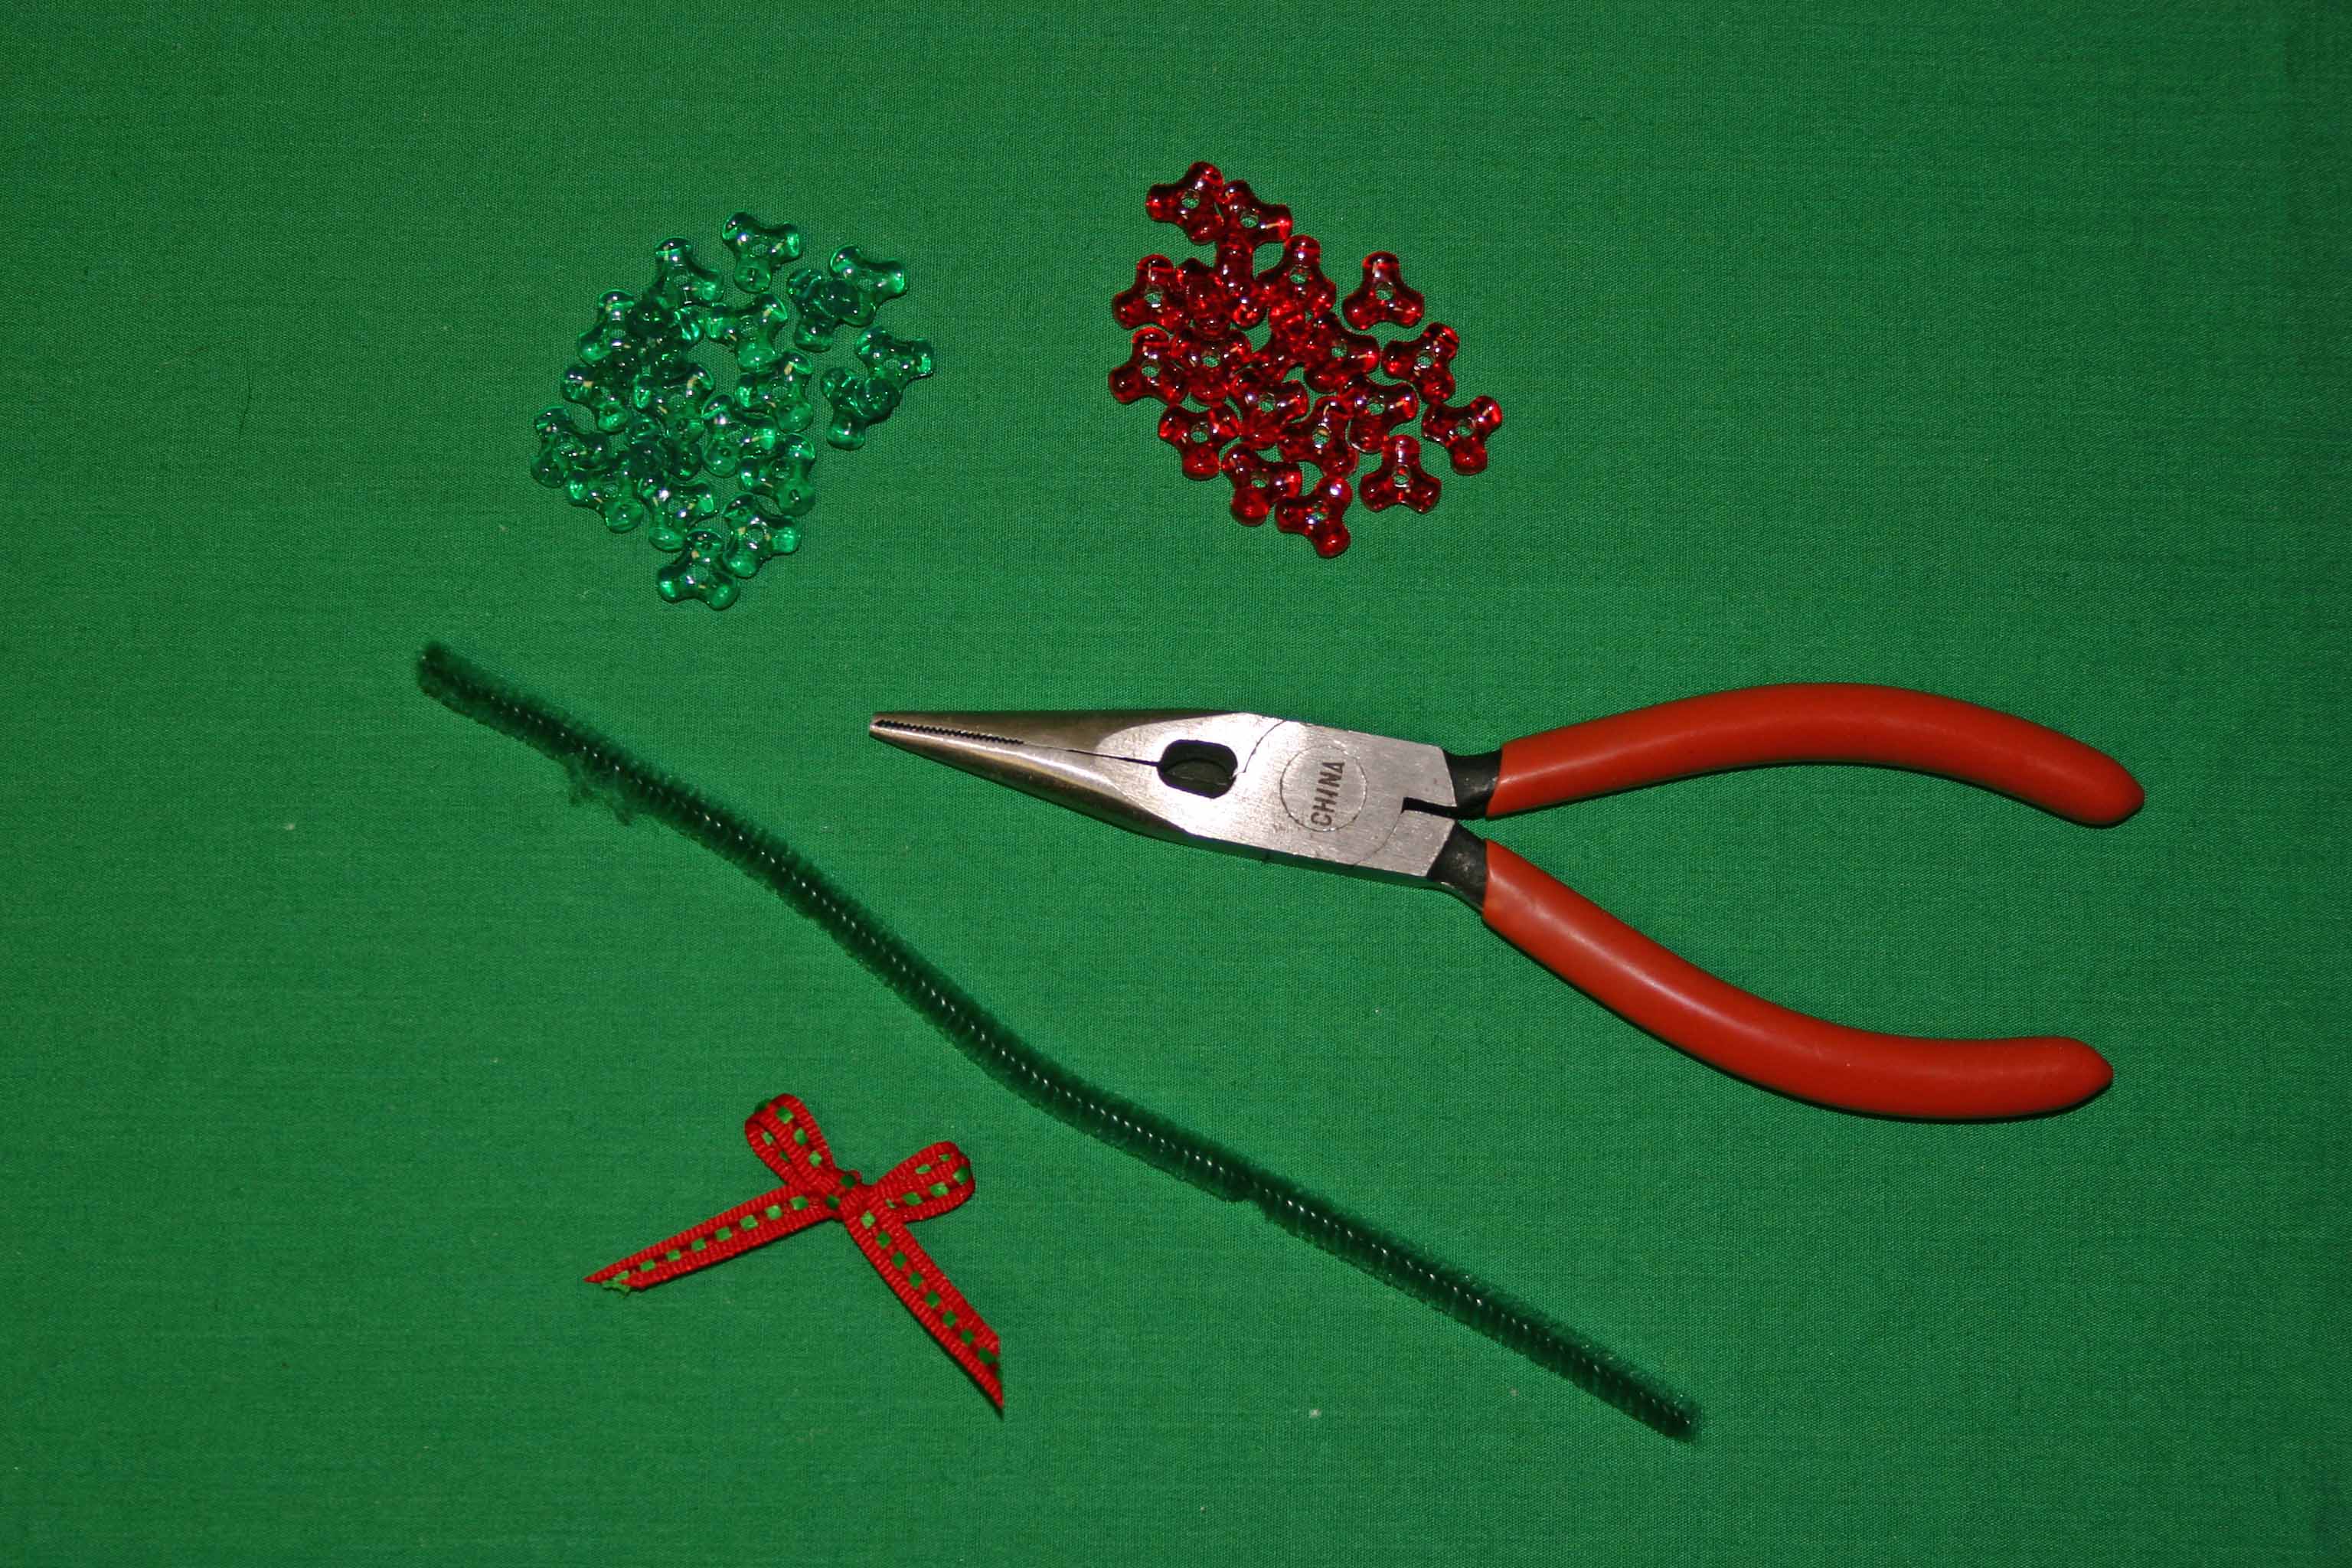
At 1.5 inches in diameter, the beaded wreath makes a simple but elegant addition to your tree. Easy Christmas Crafts: Beaded Christmas Wreath Materials and Tools:
Make a bow with the decorative ribbon.
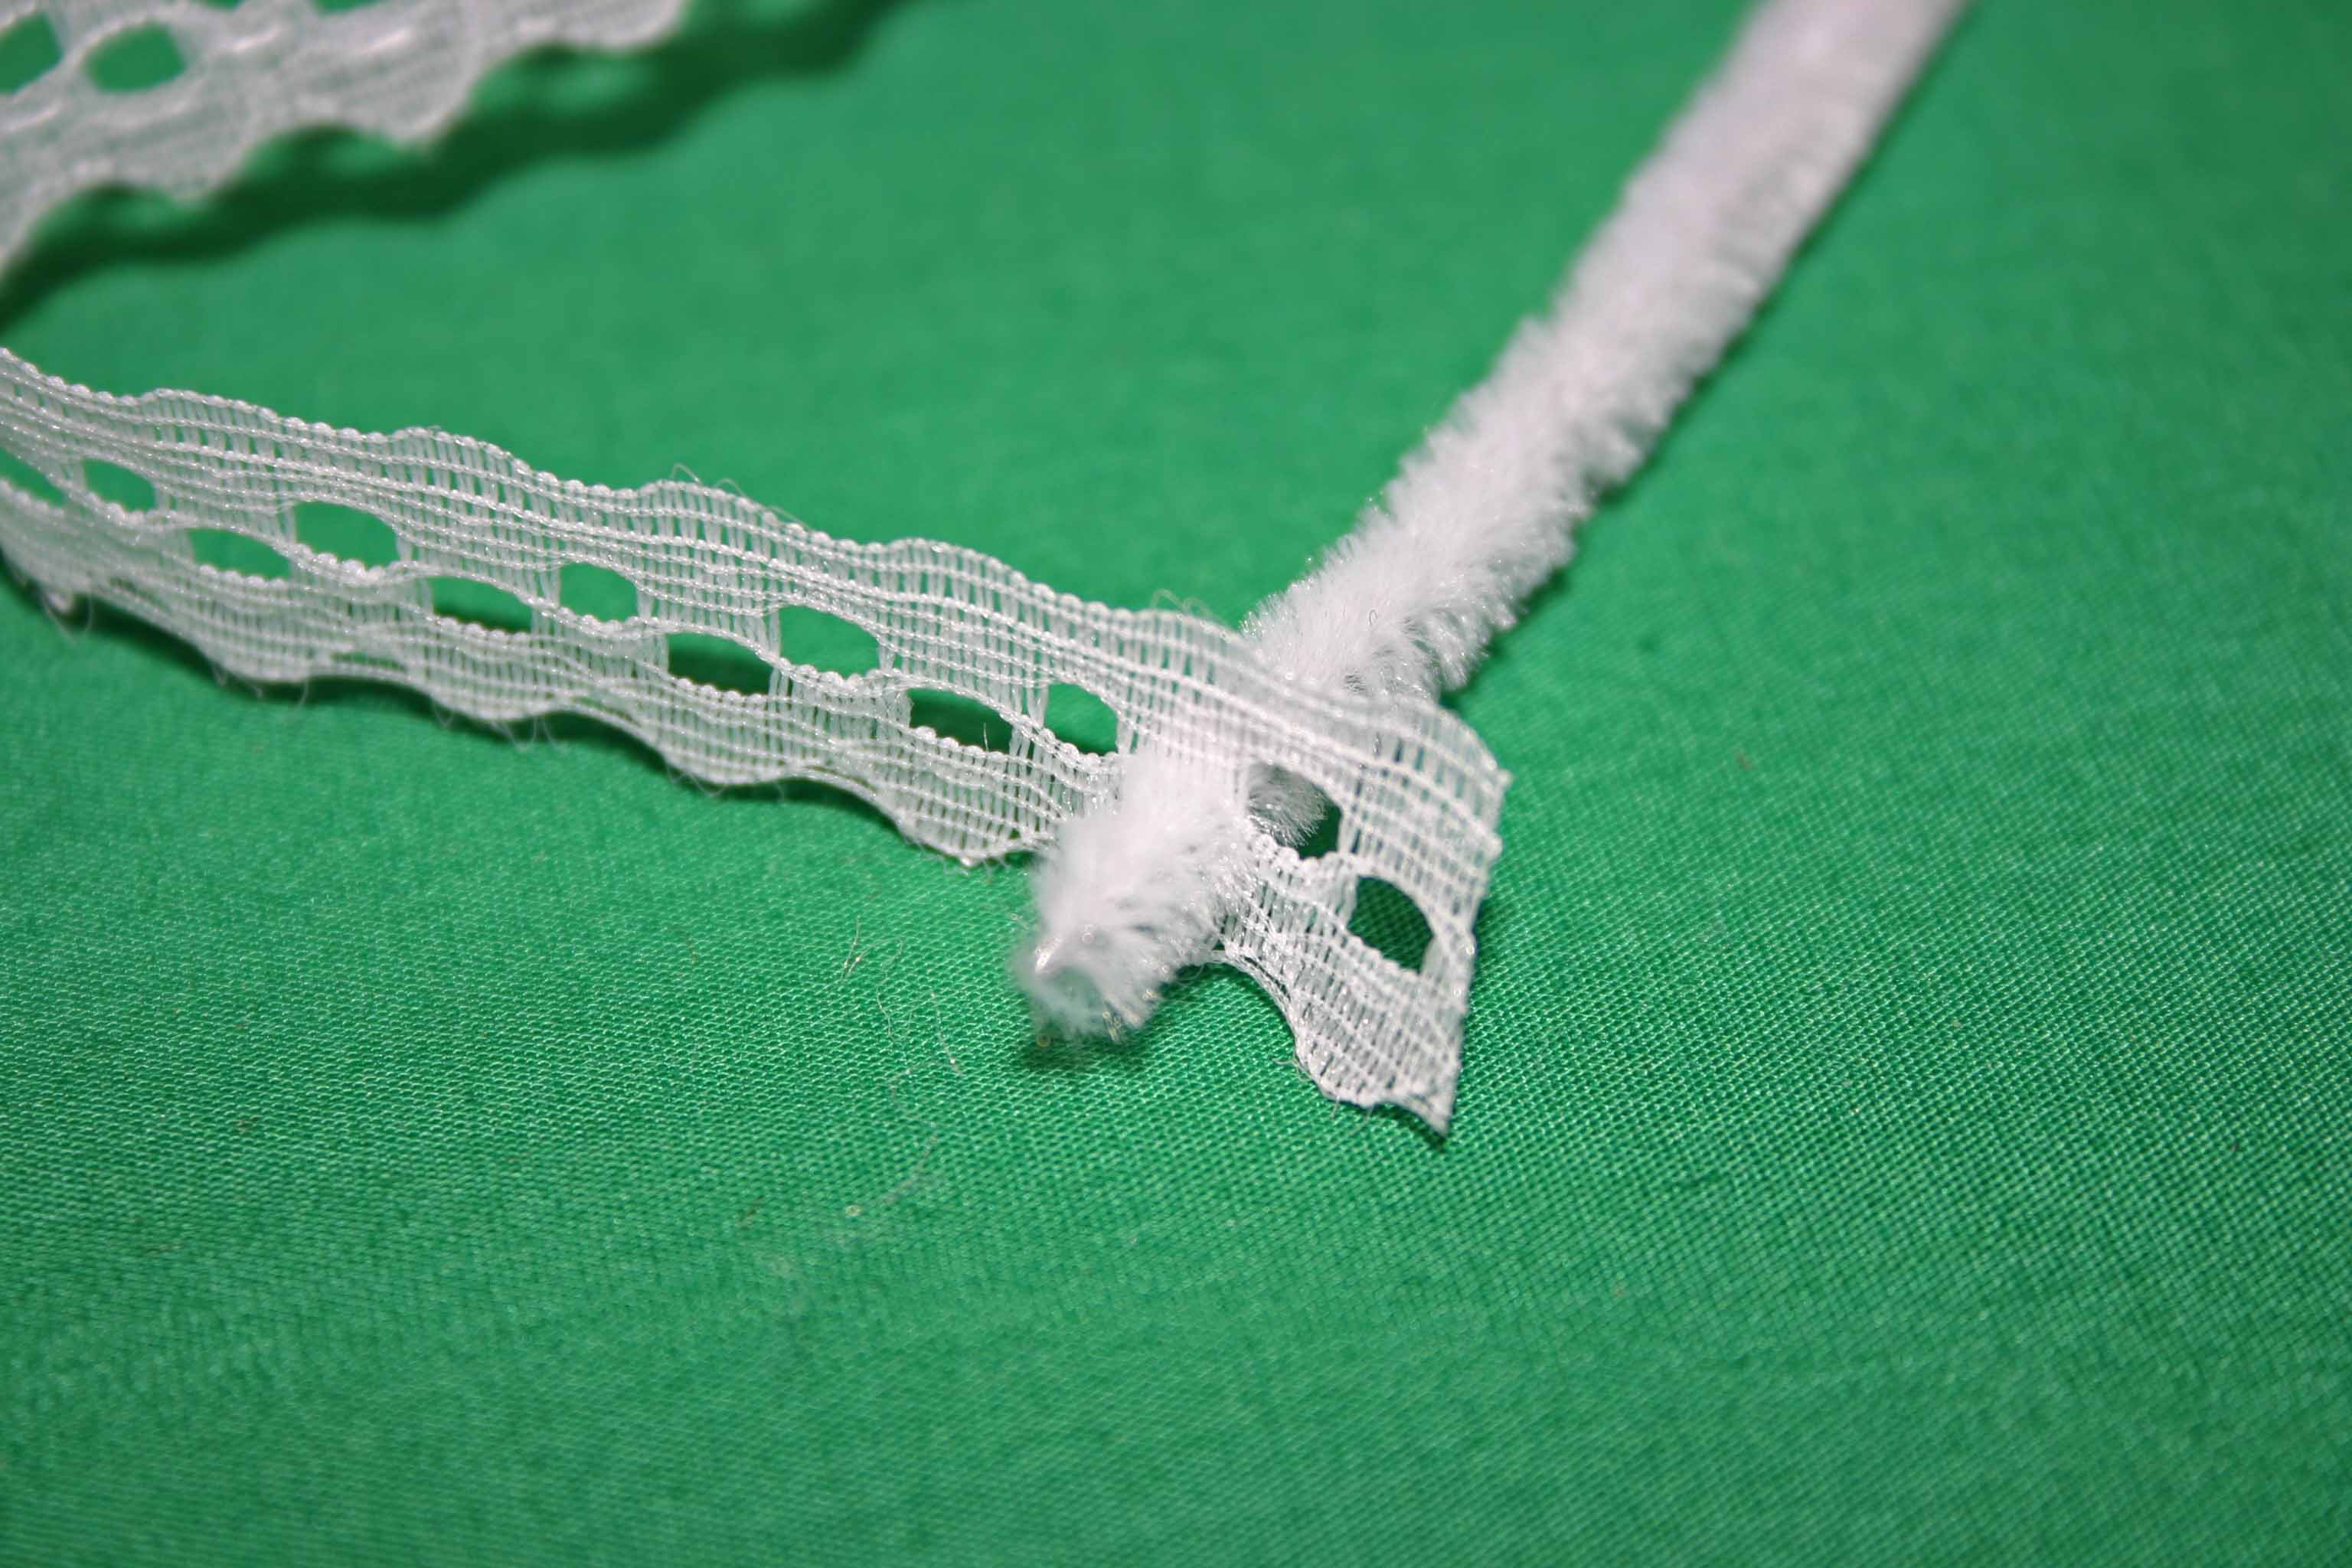
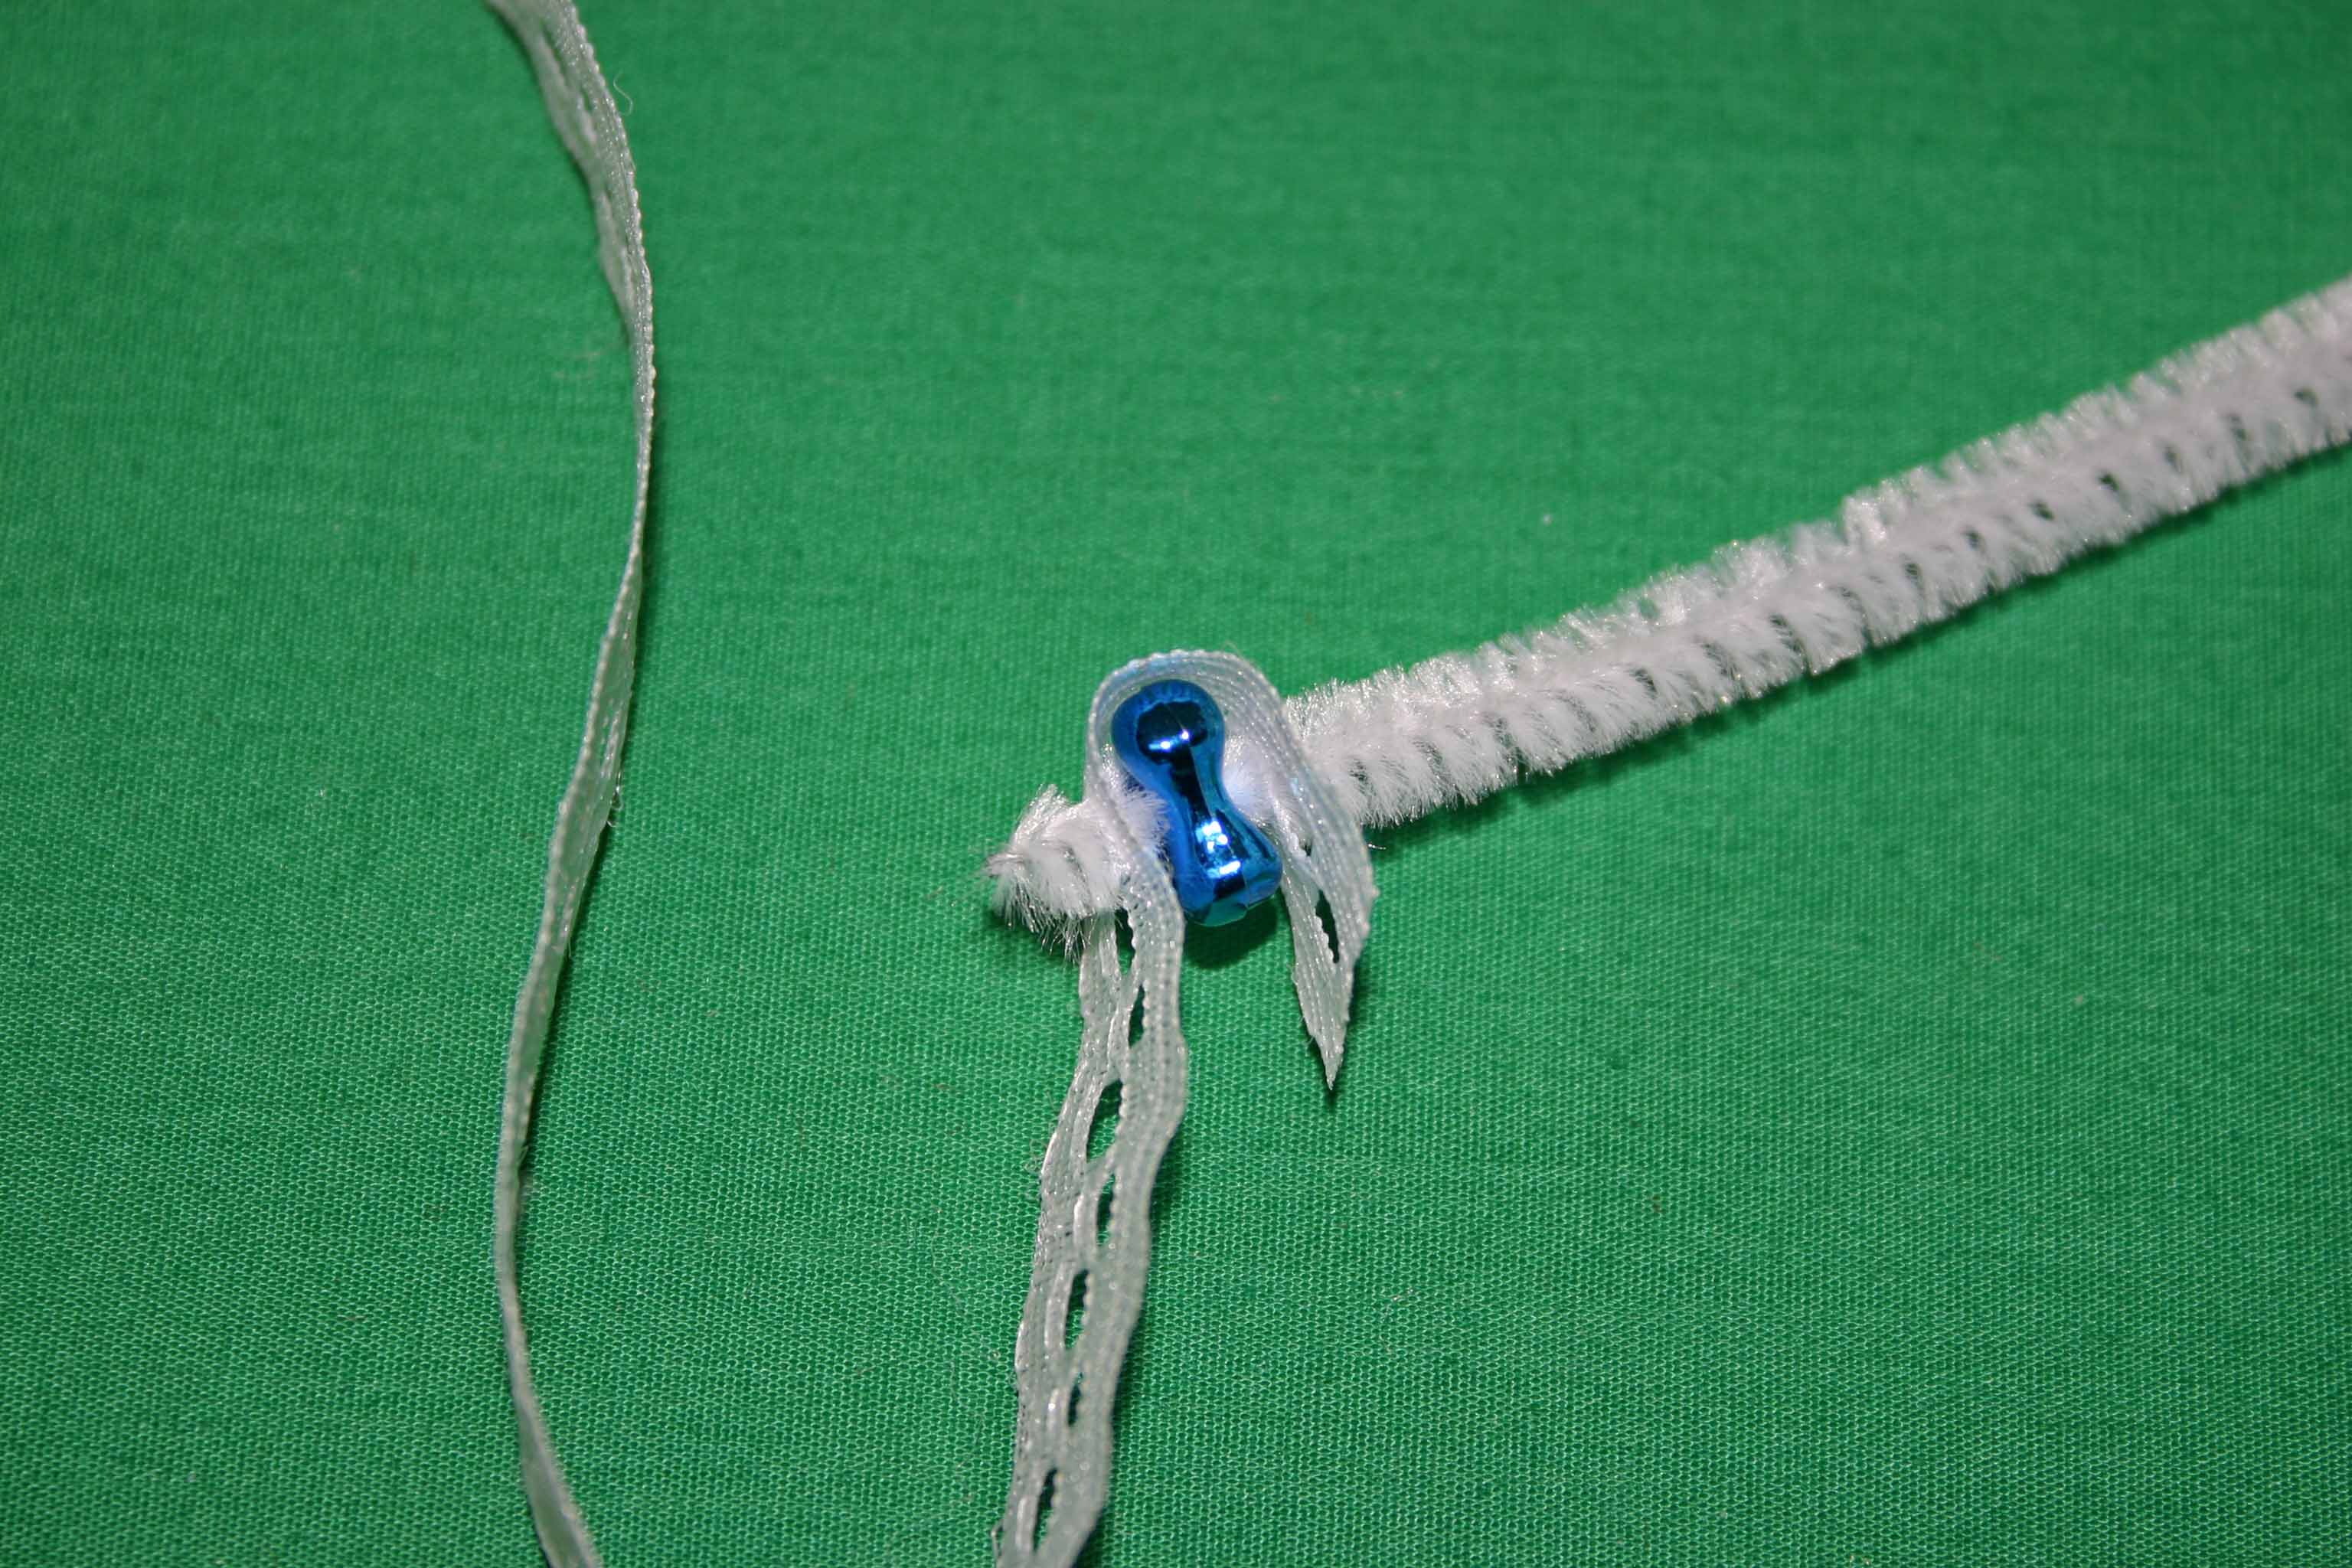
Start the wreath by pushing the fiber wire through a hole in the lace near one end. Keep the lace near the end of the wire.
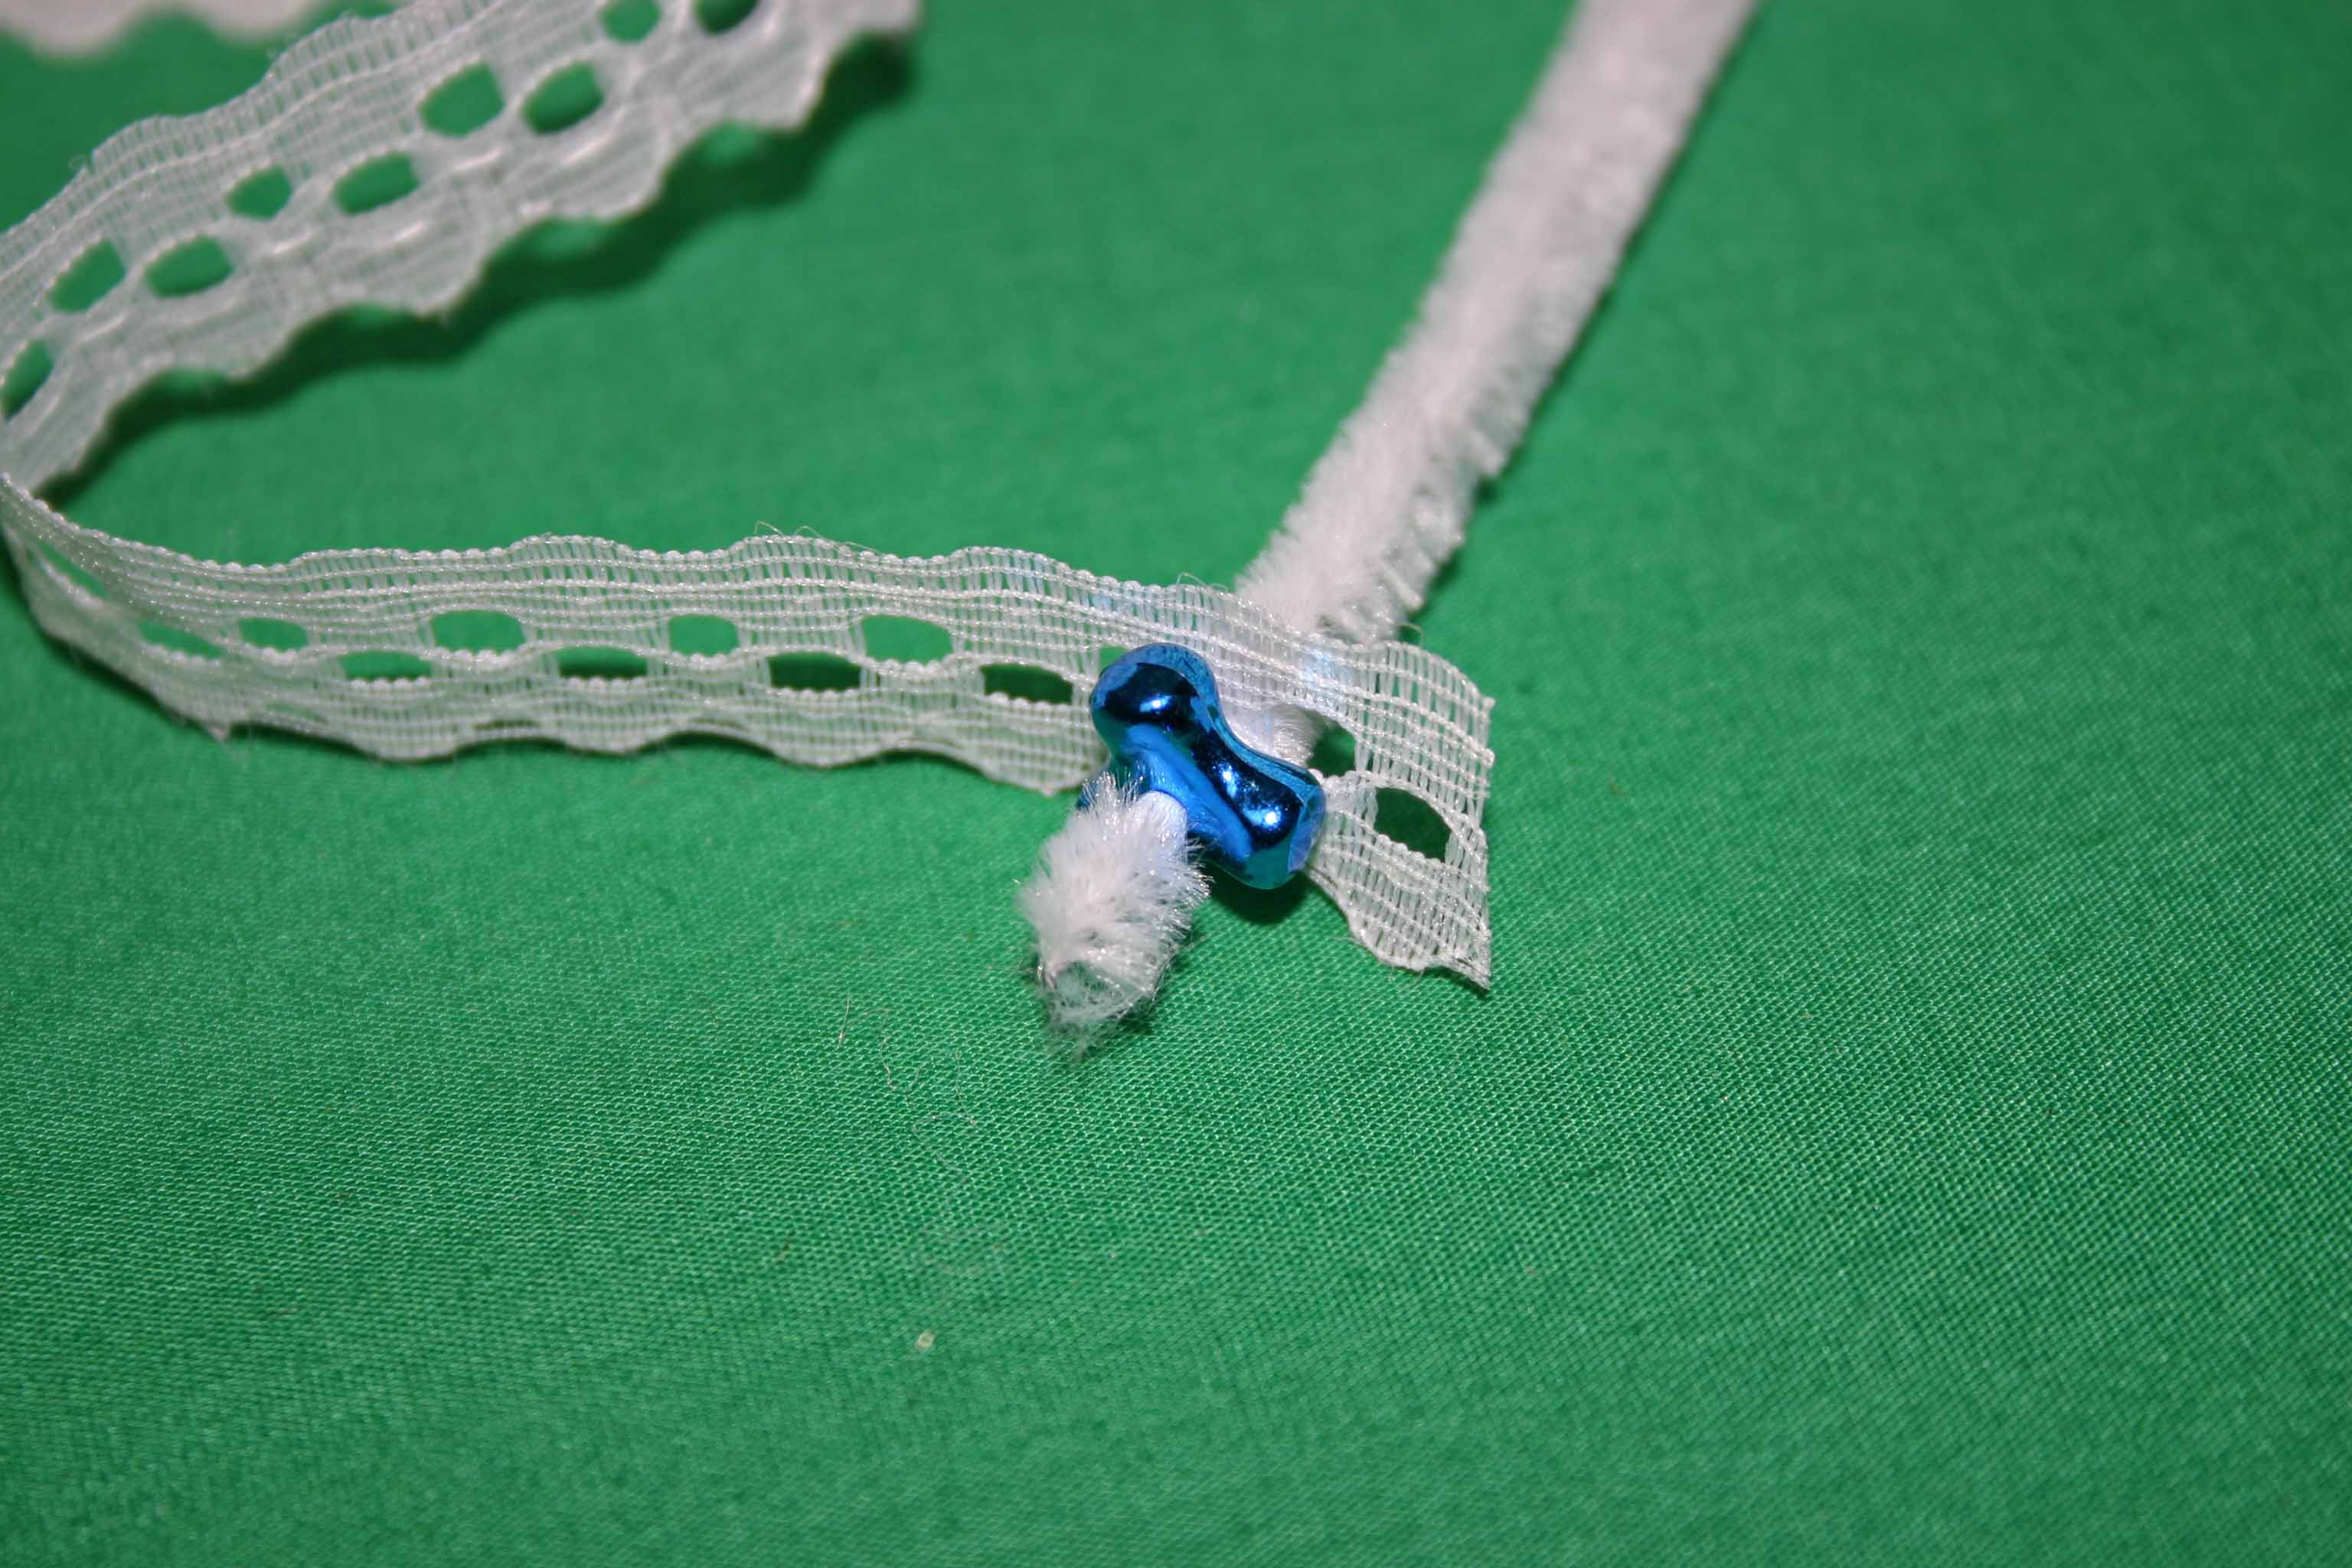
Add a bead to the end of the wire. Keep the bead and the lace near the end.
Fold the lace over the end of the wire next to the bead. Keep the lace close to the edge of the bead.
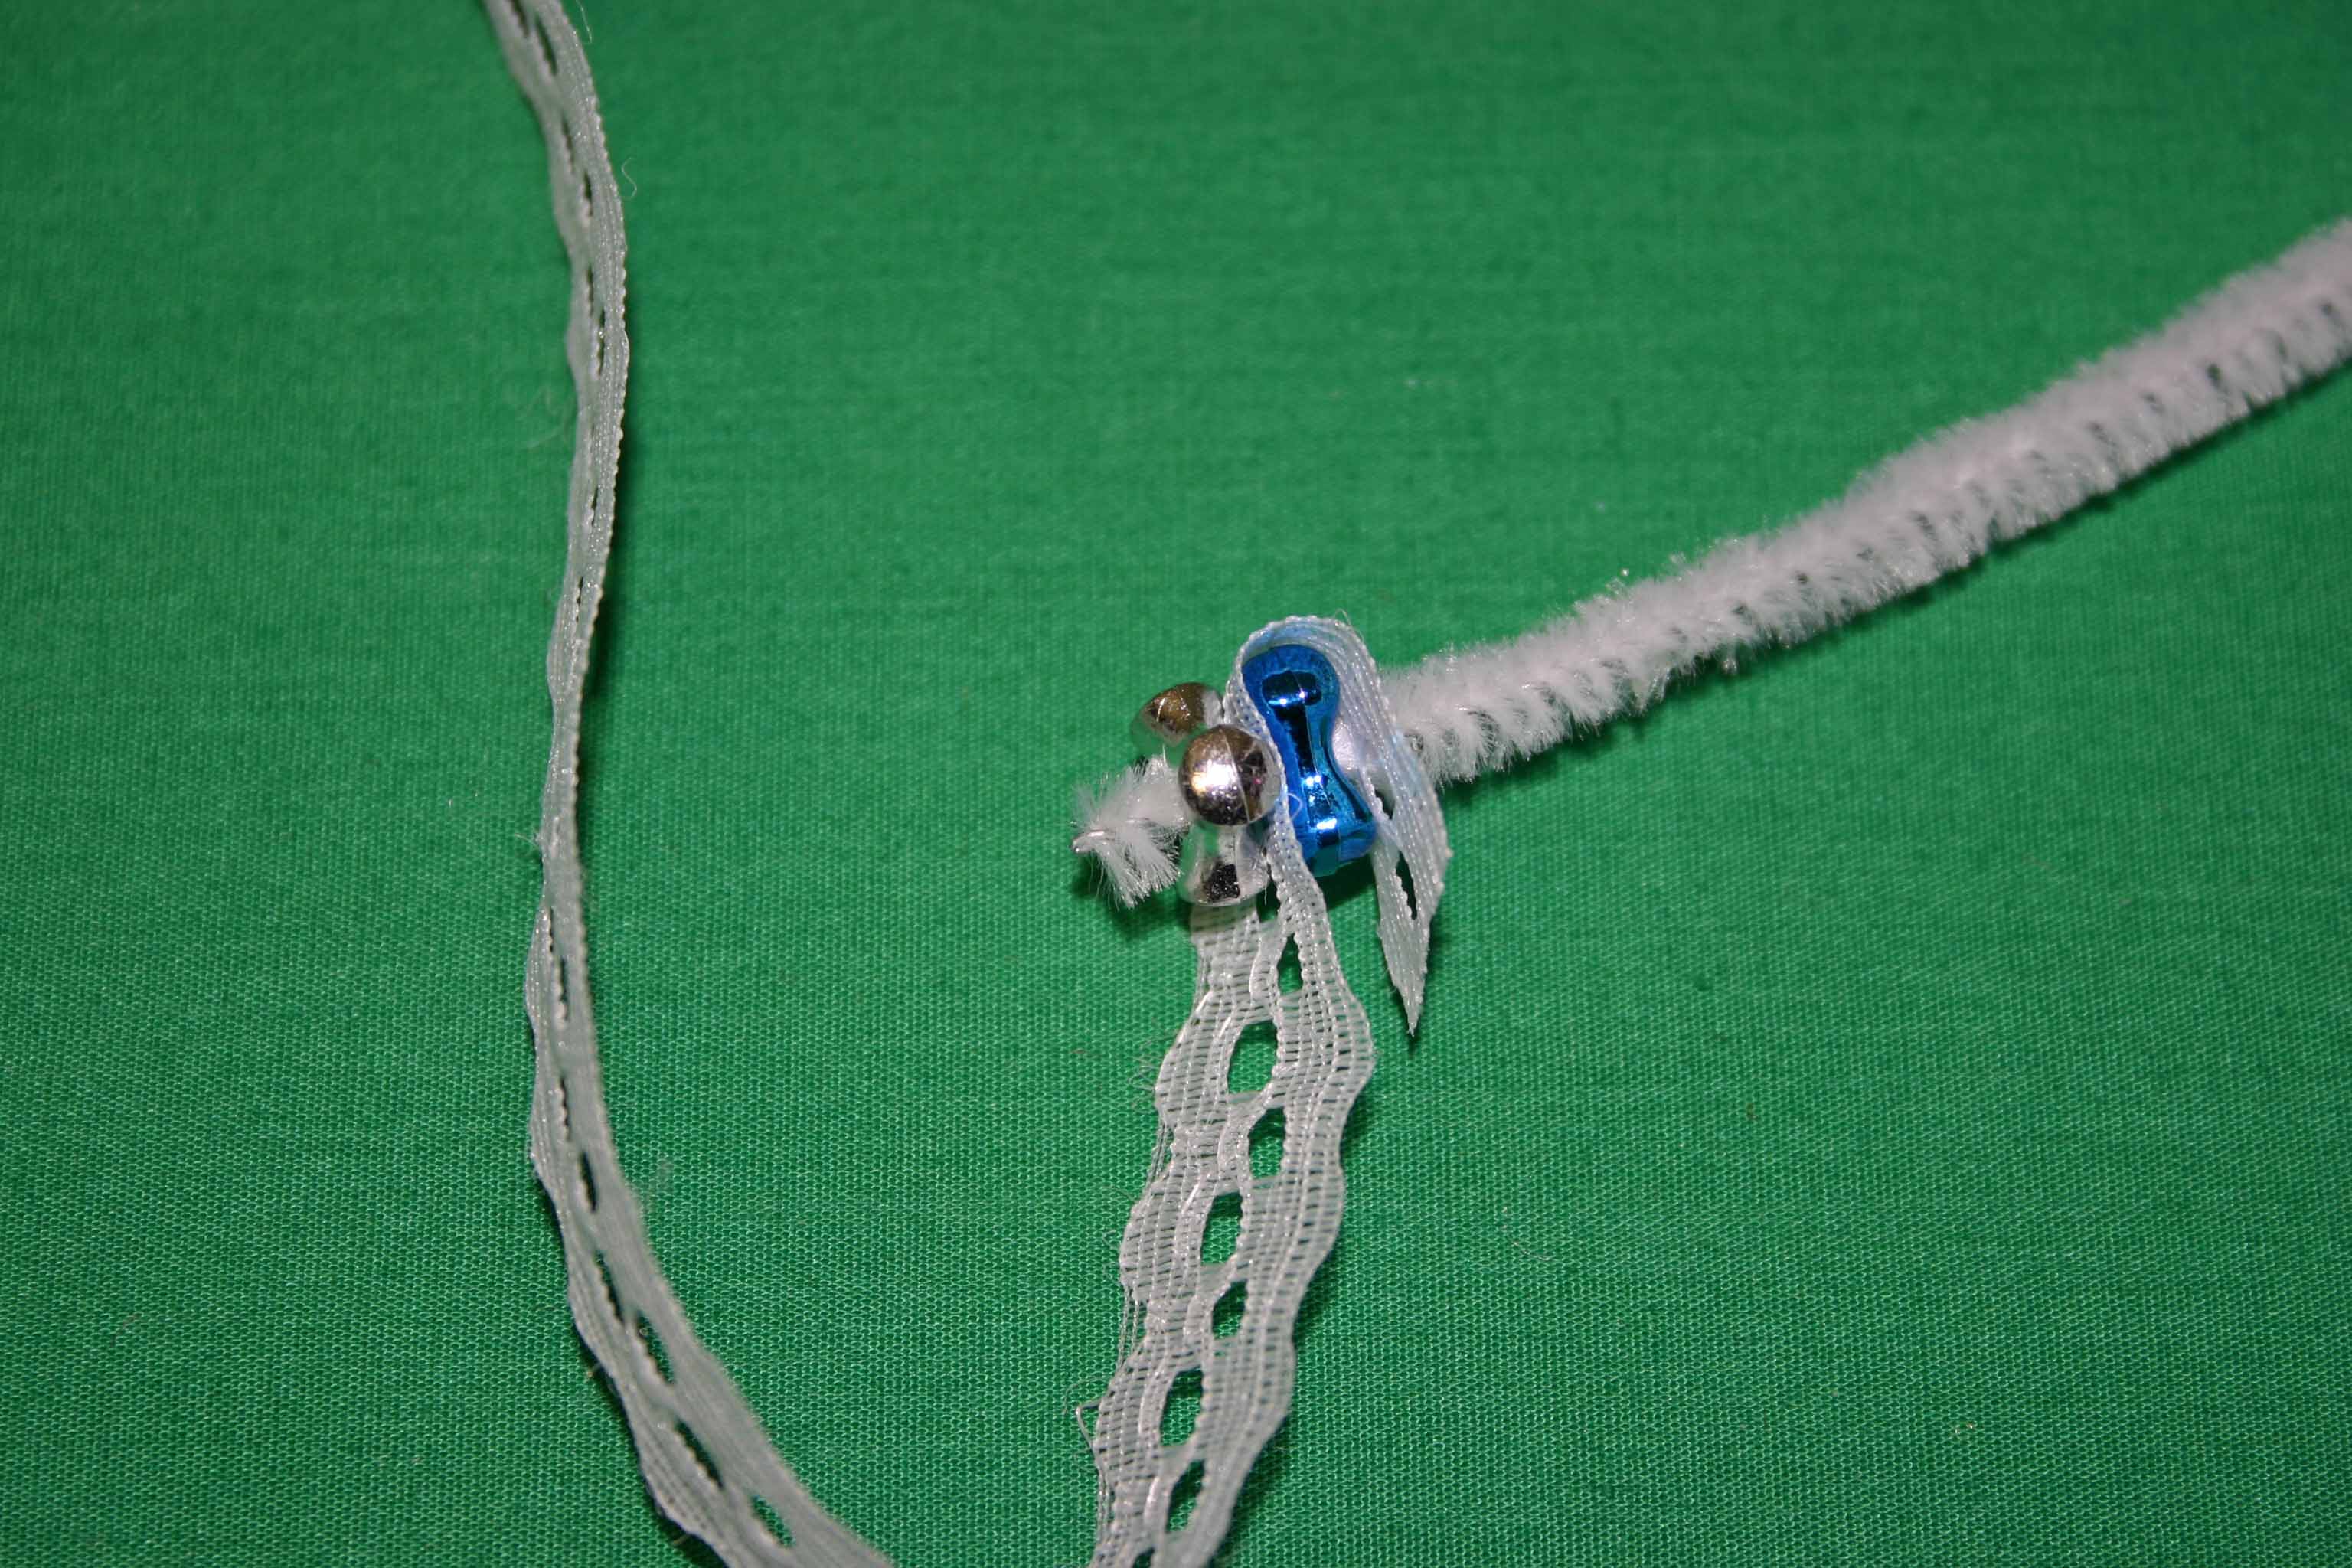
Add another bead to the wire.
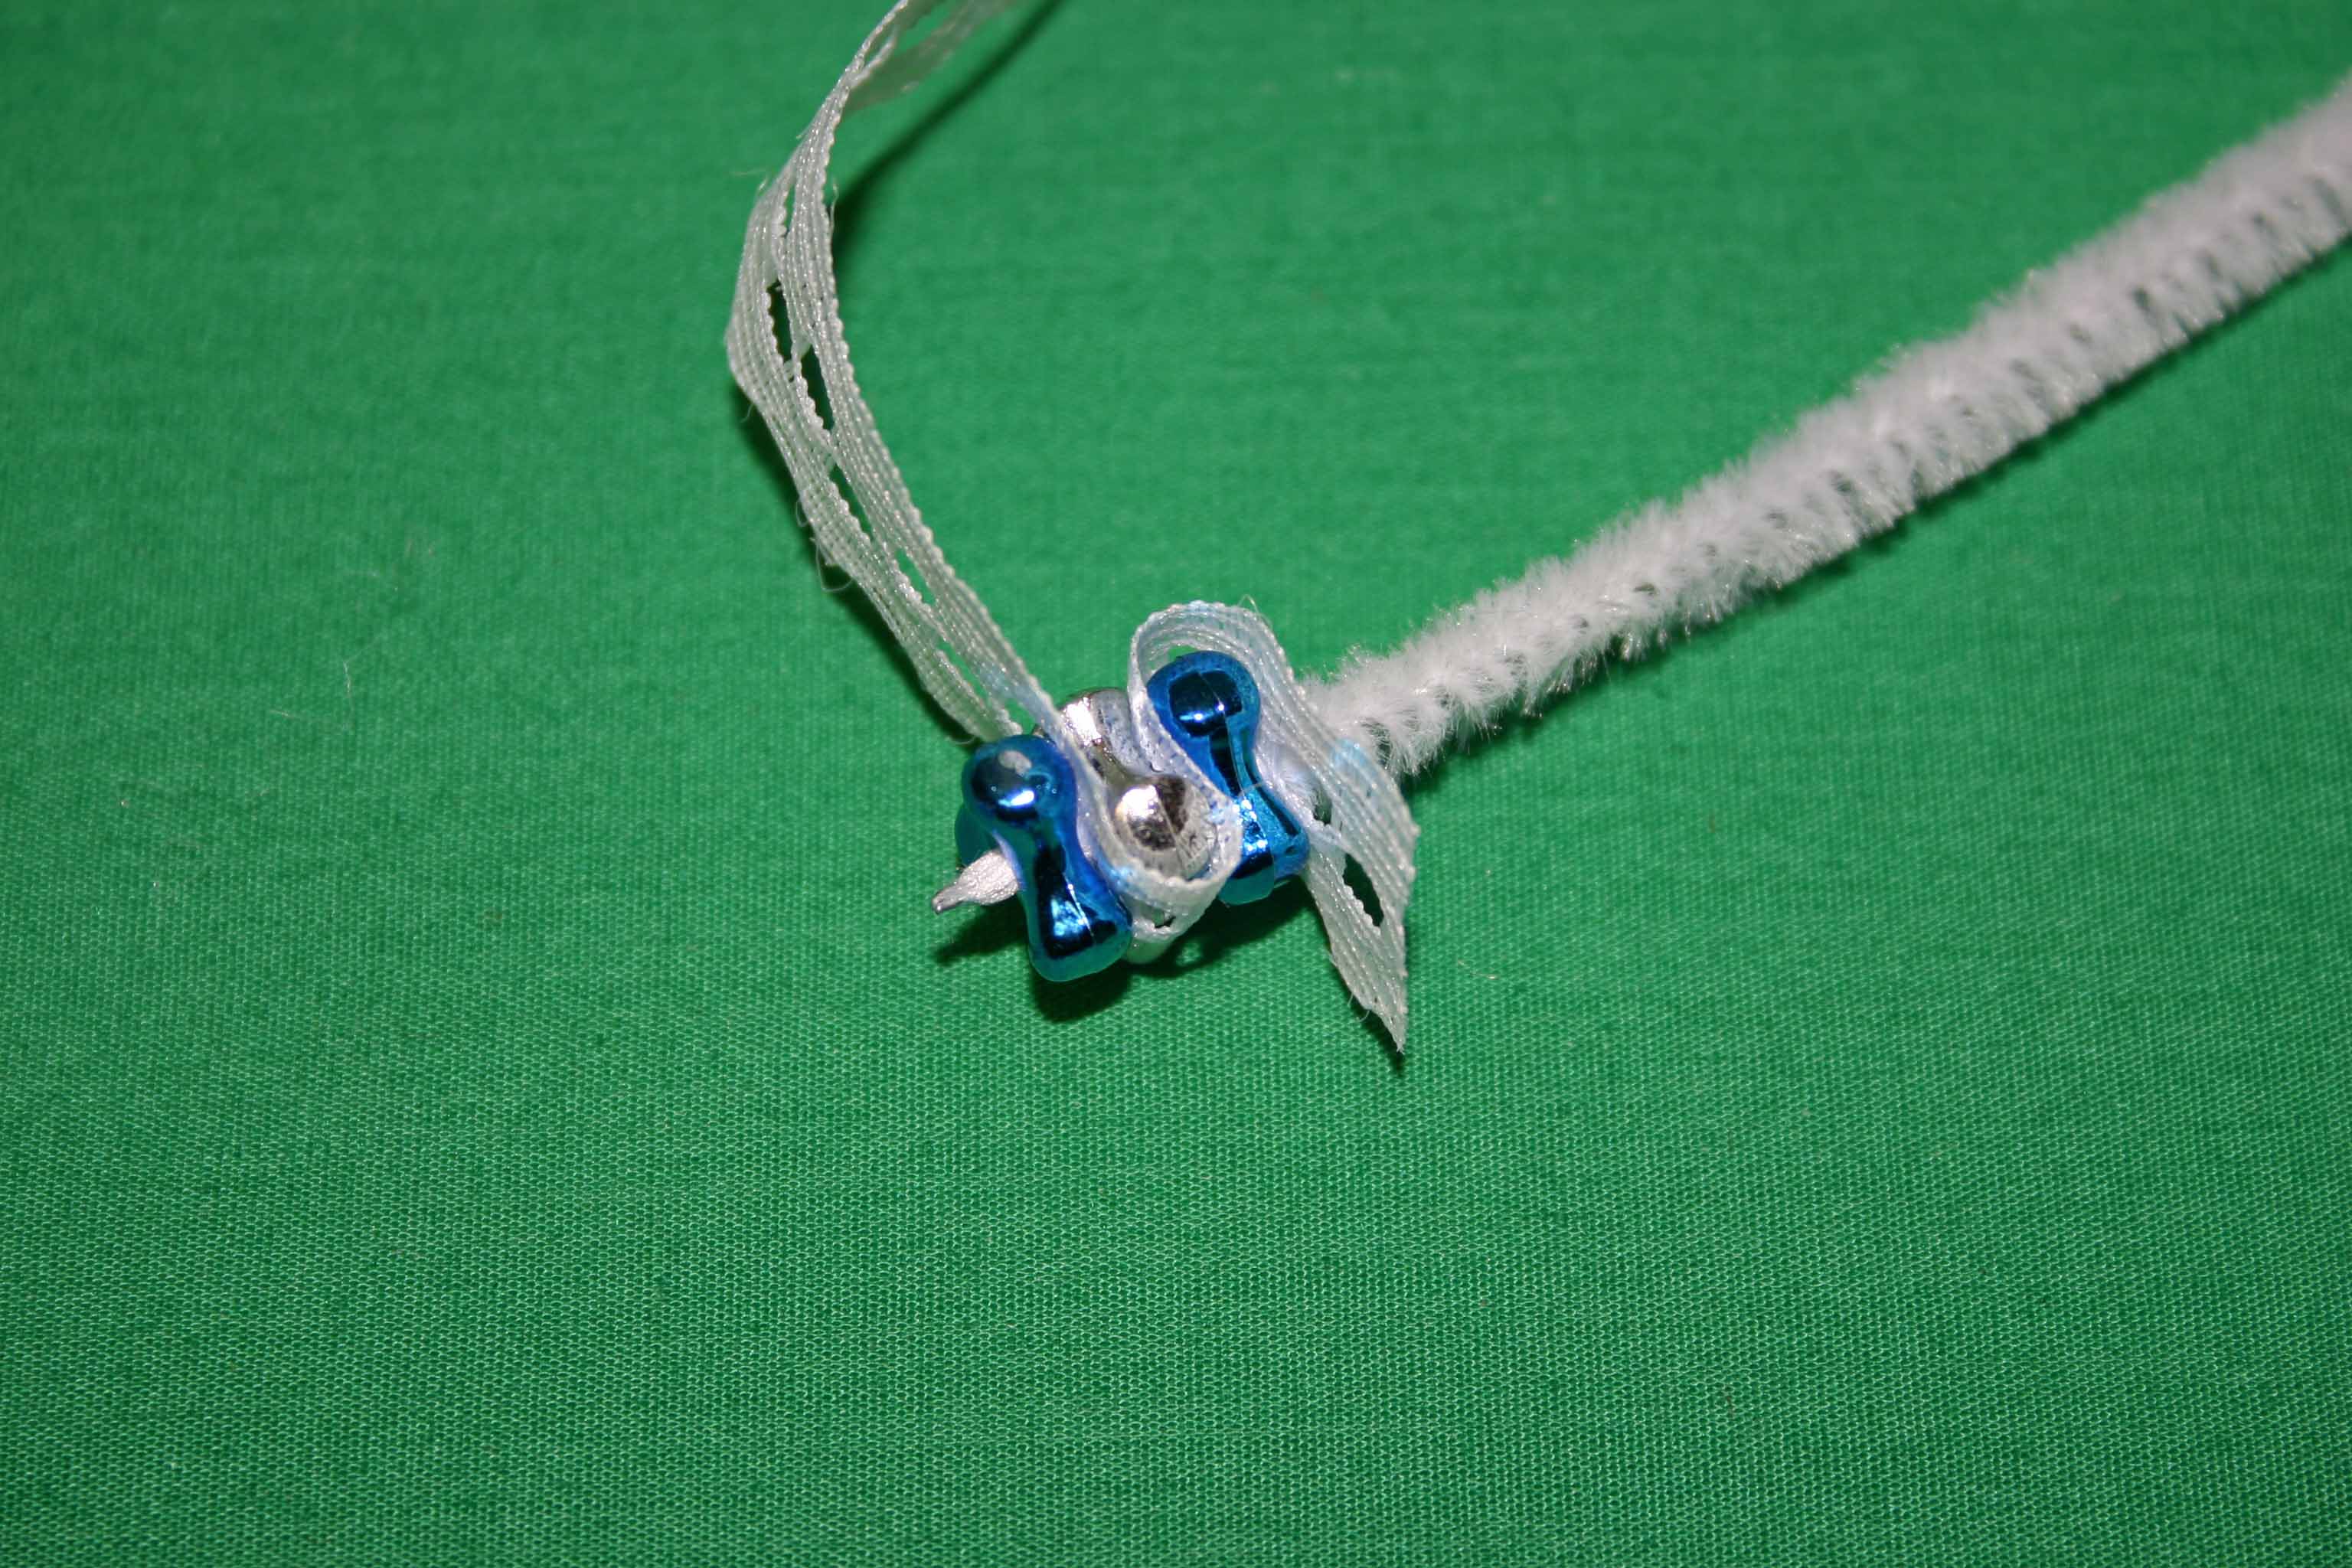
Fold the lace over the silver bead and add another blue bead.
Continue folding the lace over the alternate beads. Keep the beads and lace near the end of the wire.
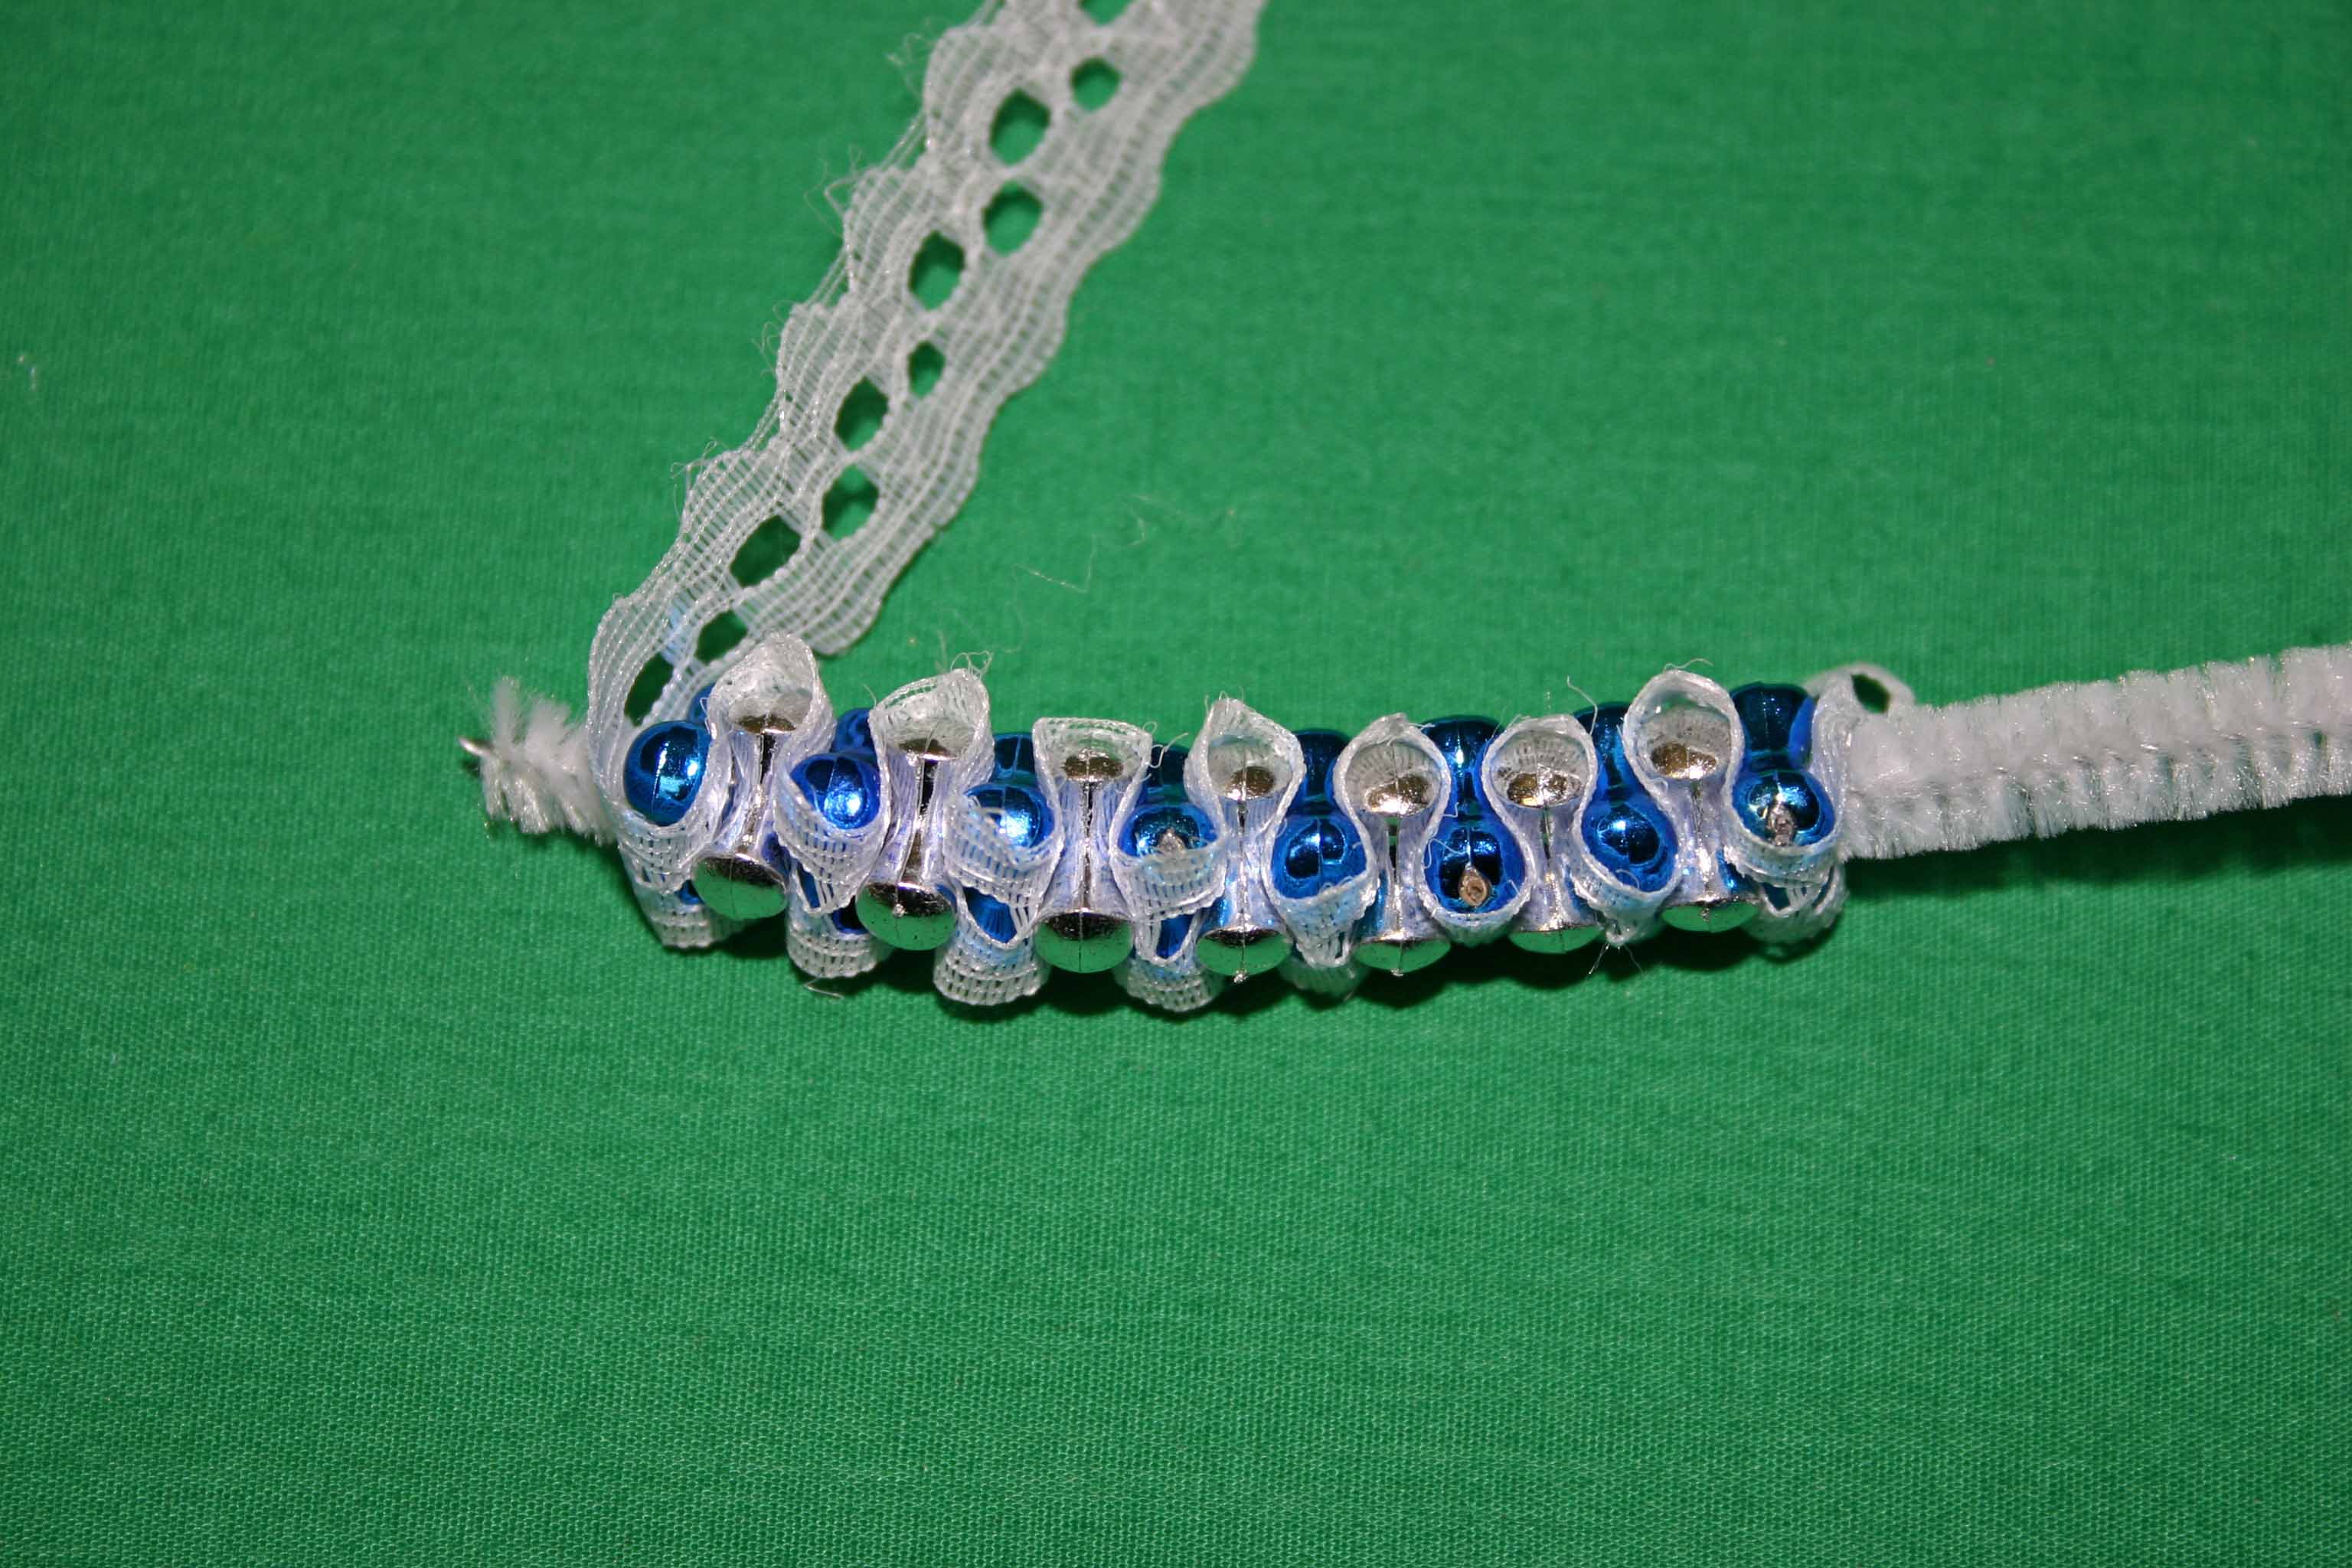
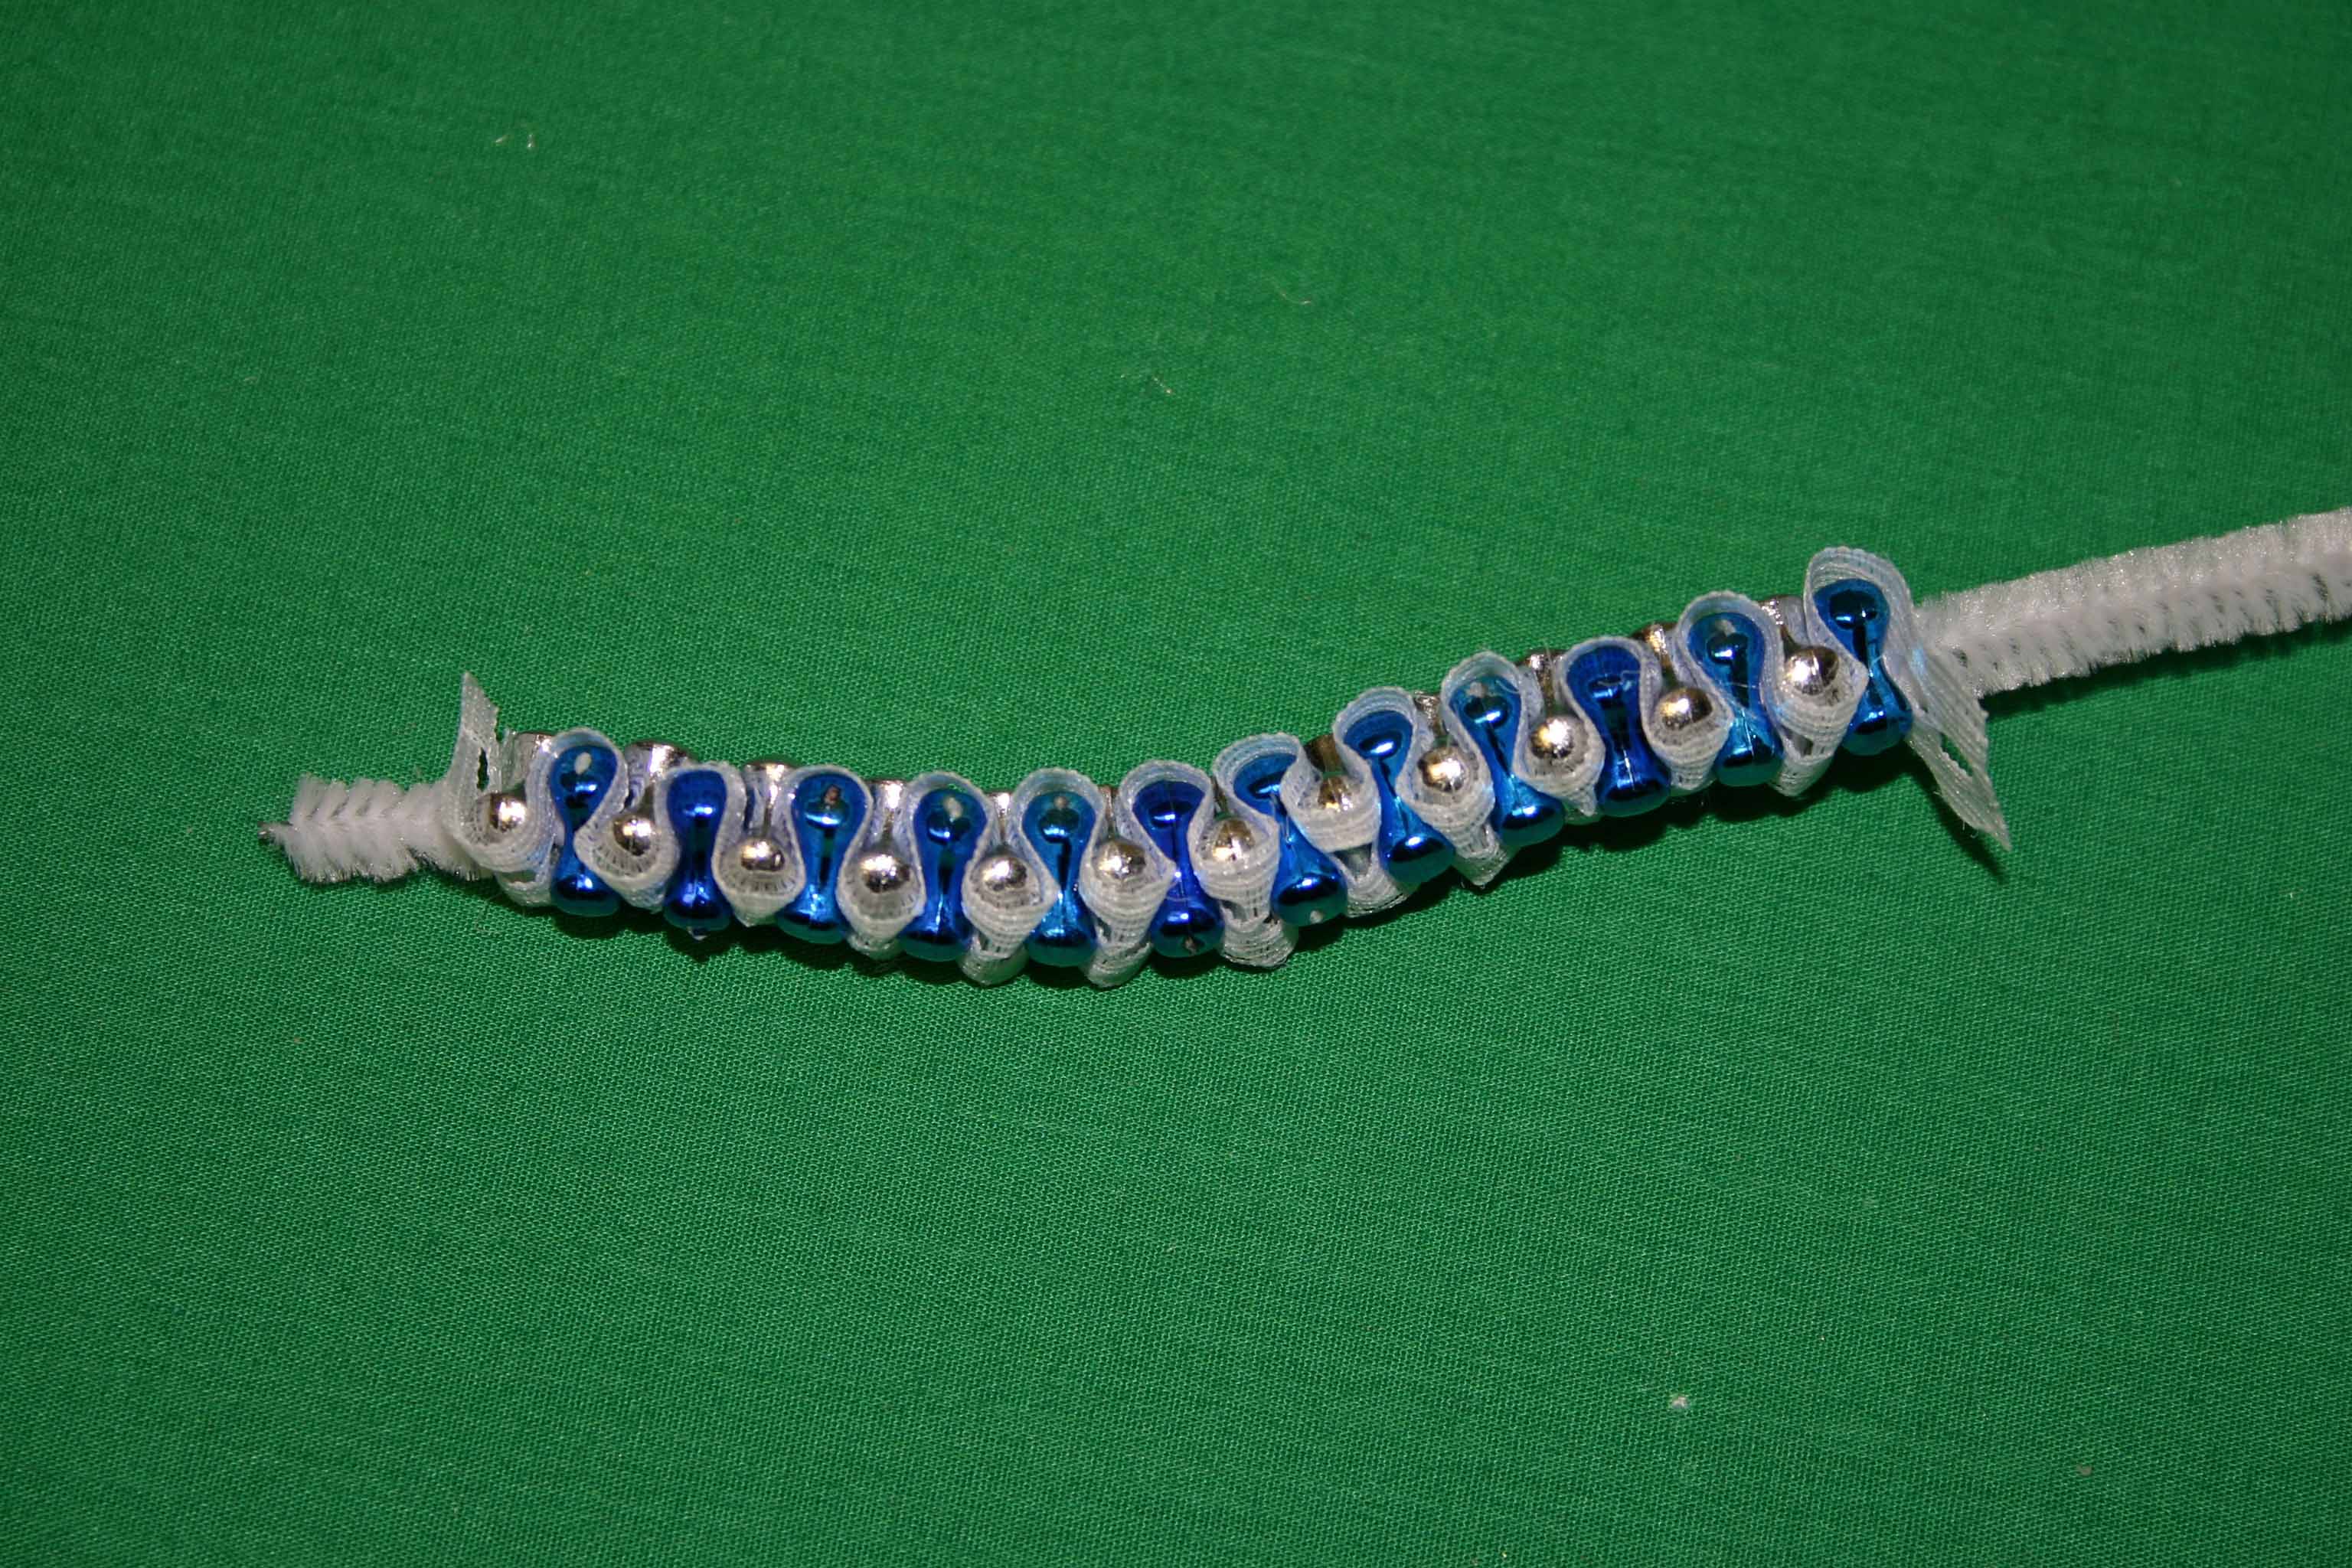
Here, all of the 24 beads - 12 blue and 12 silver - have been added to the wire with lace folded over each bead.
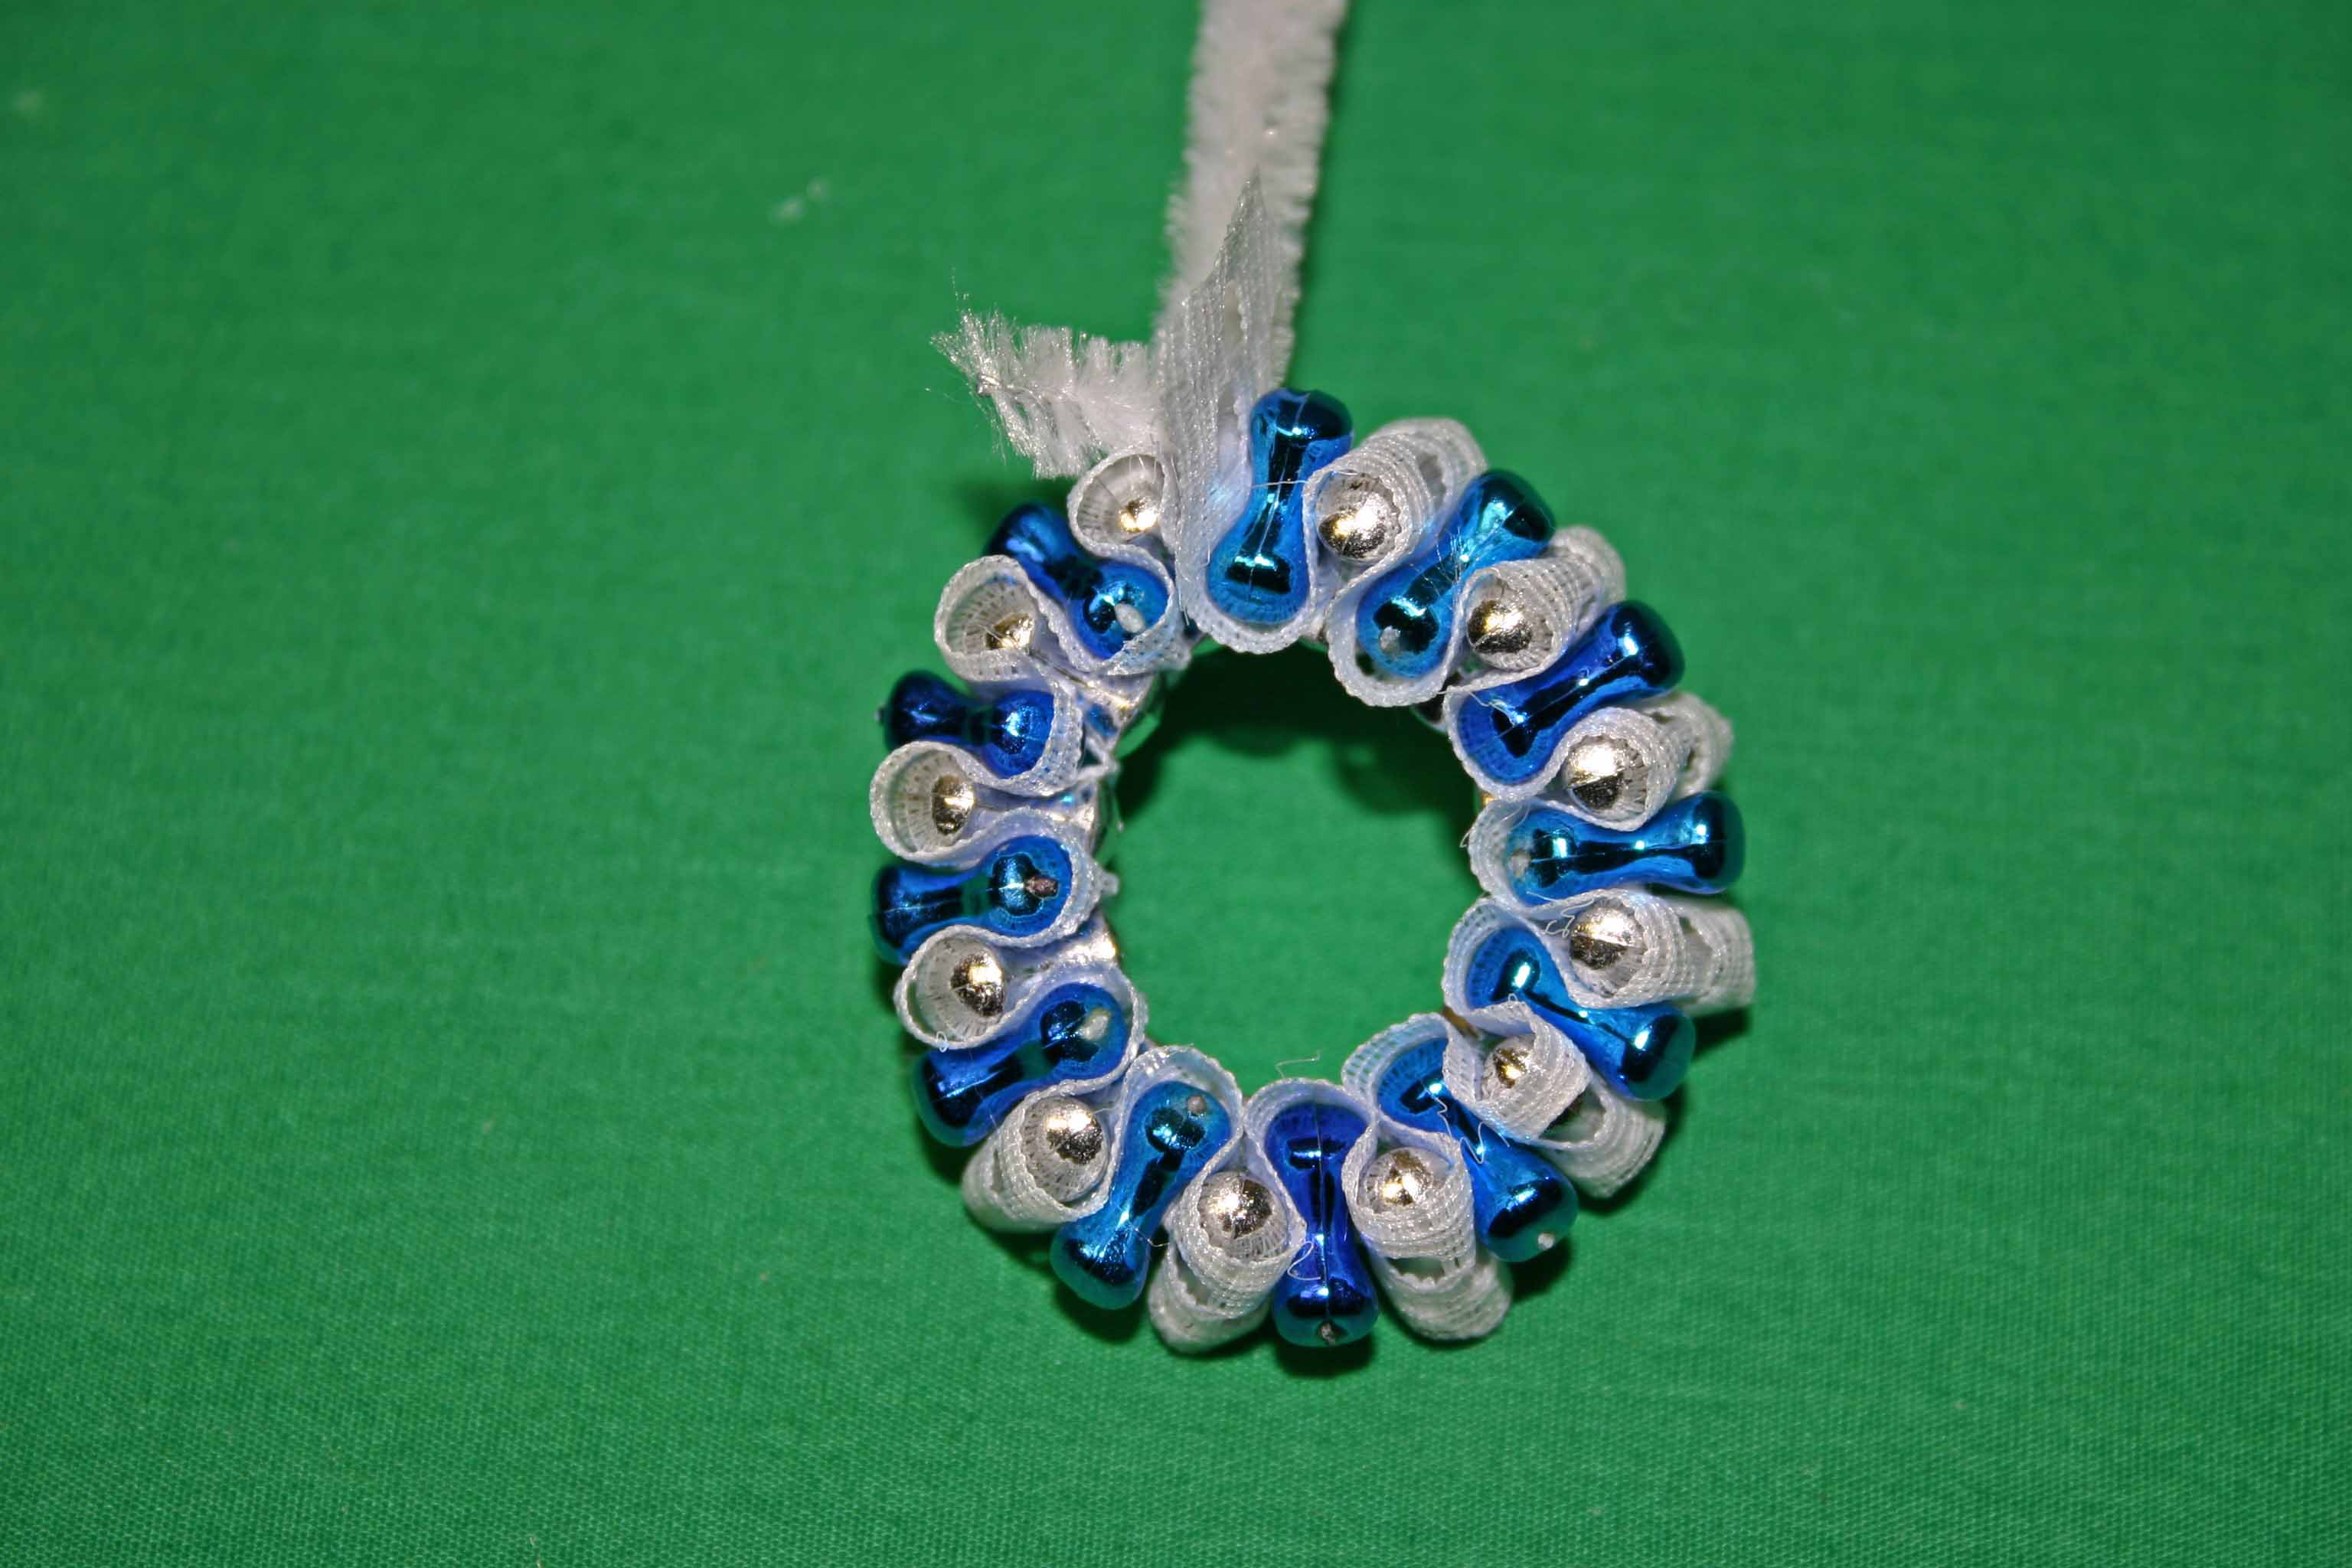
Make a circle with the beads joining the wires at each end.
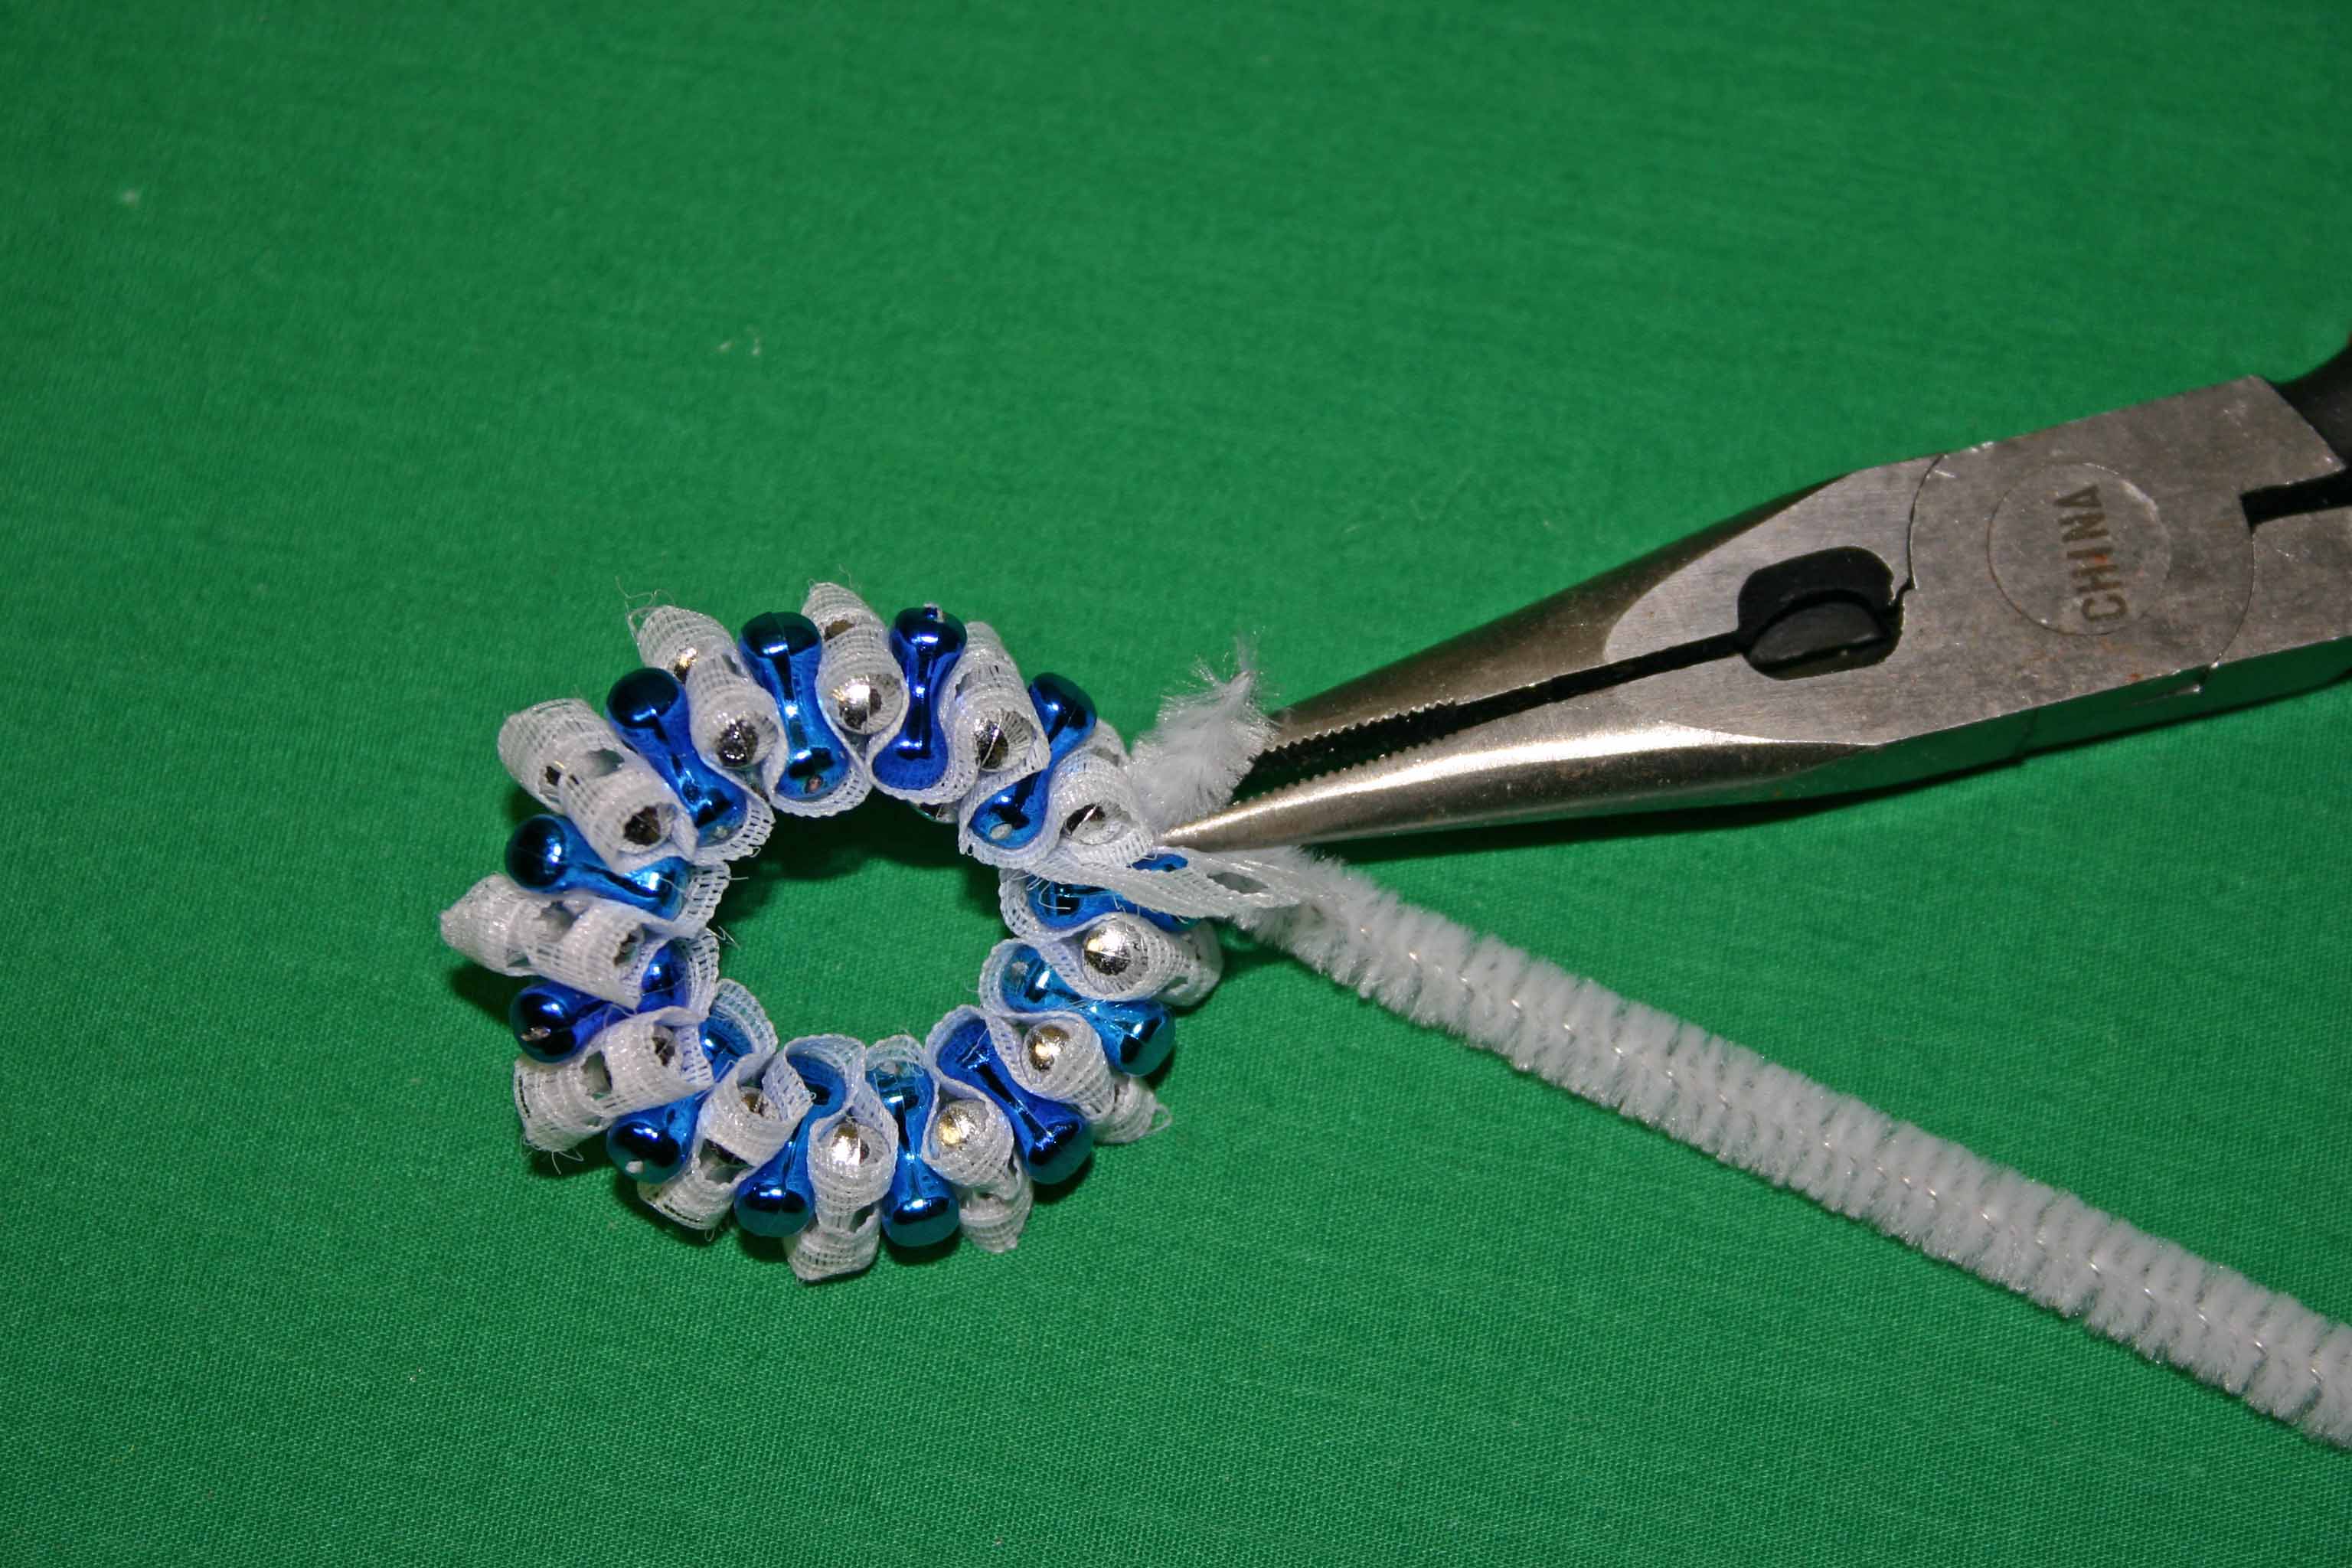
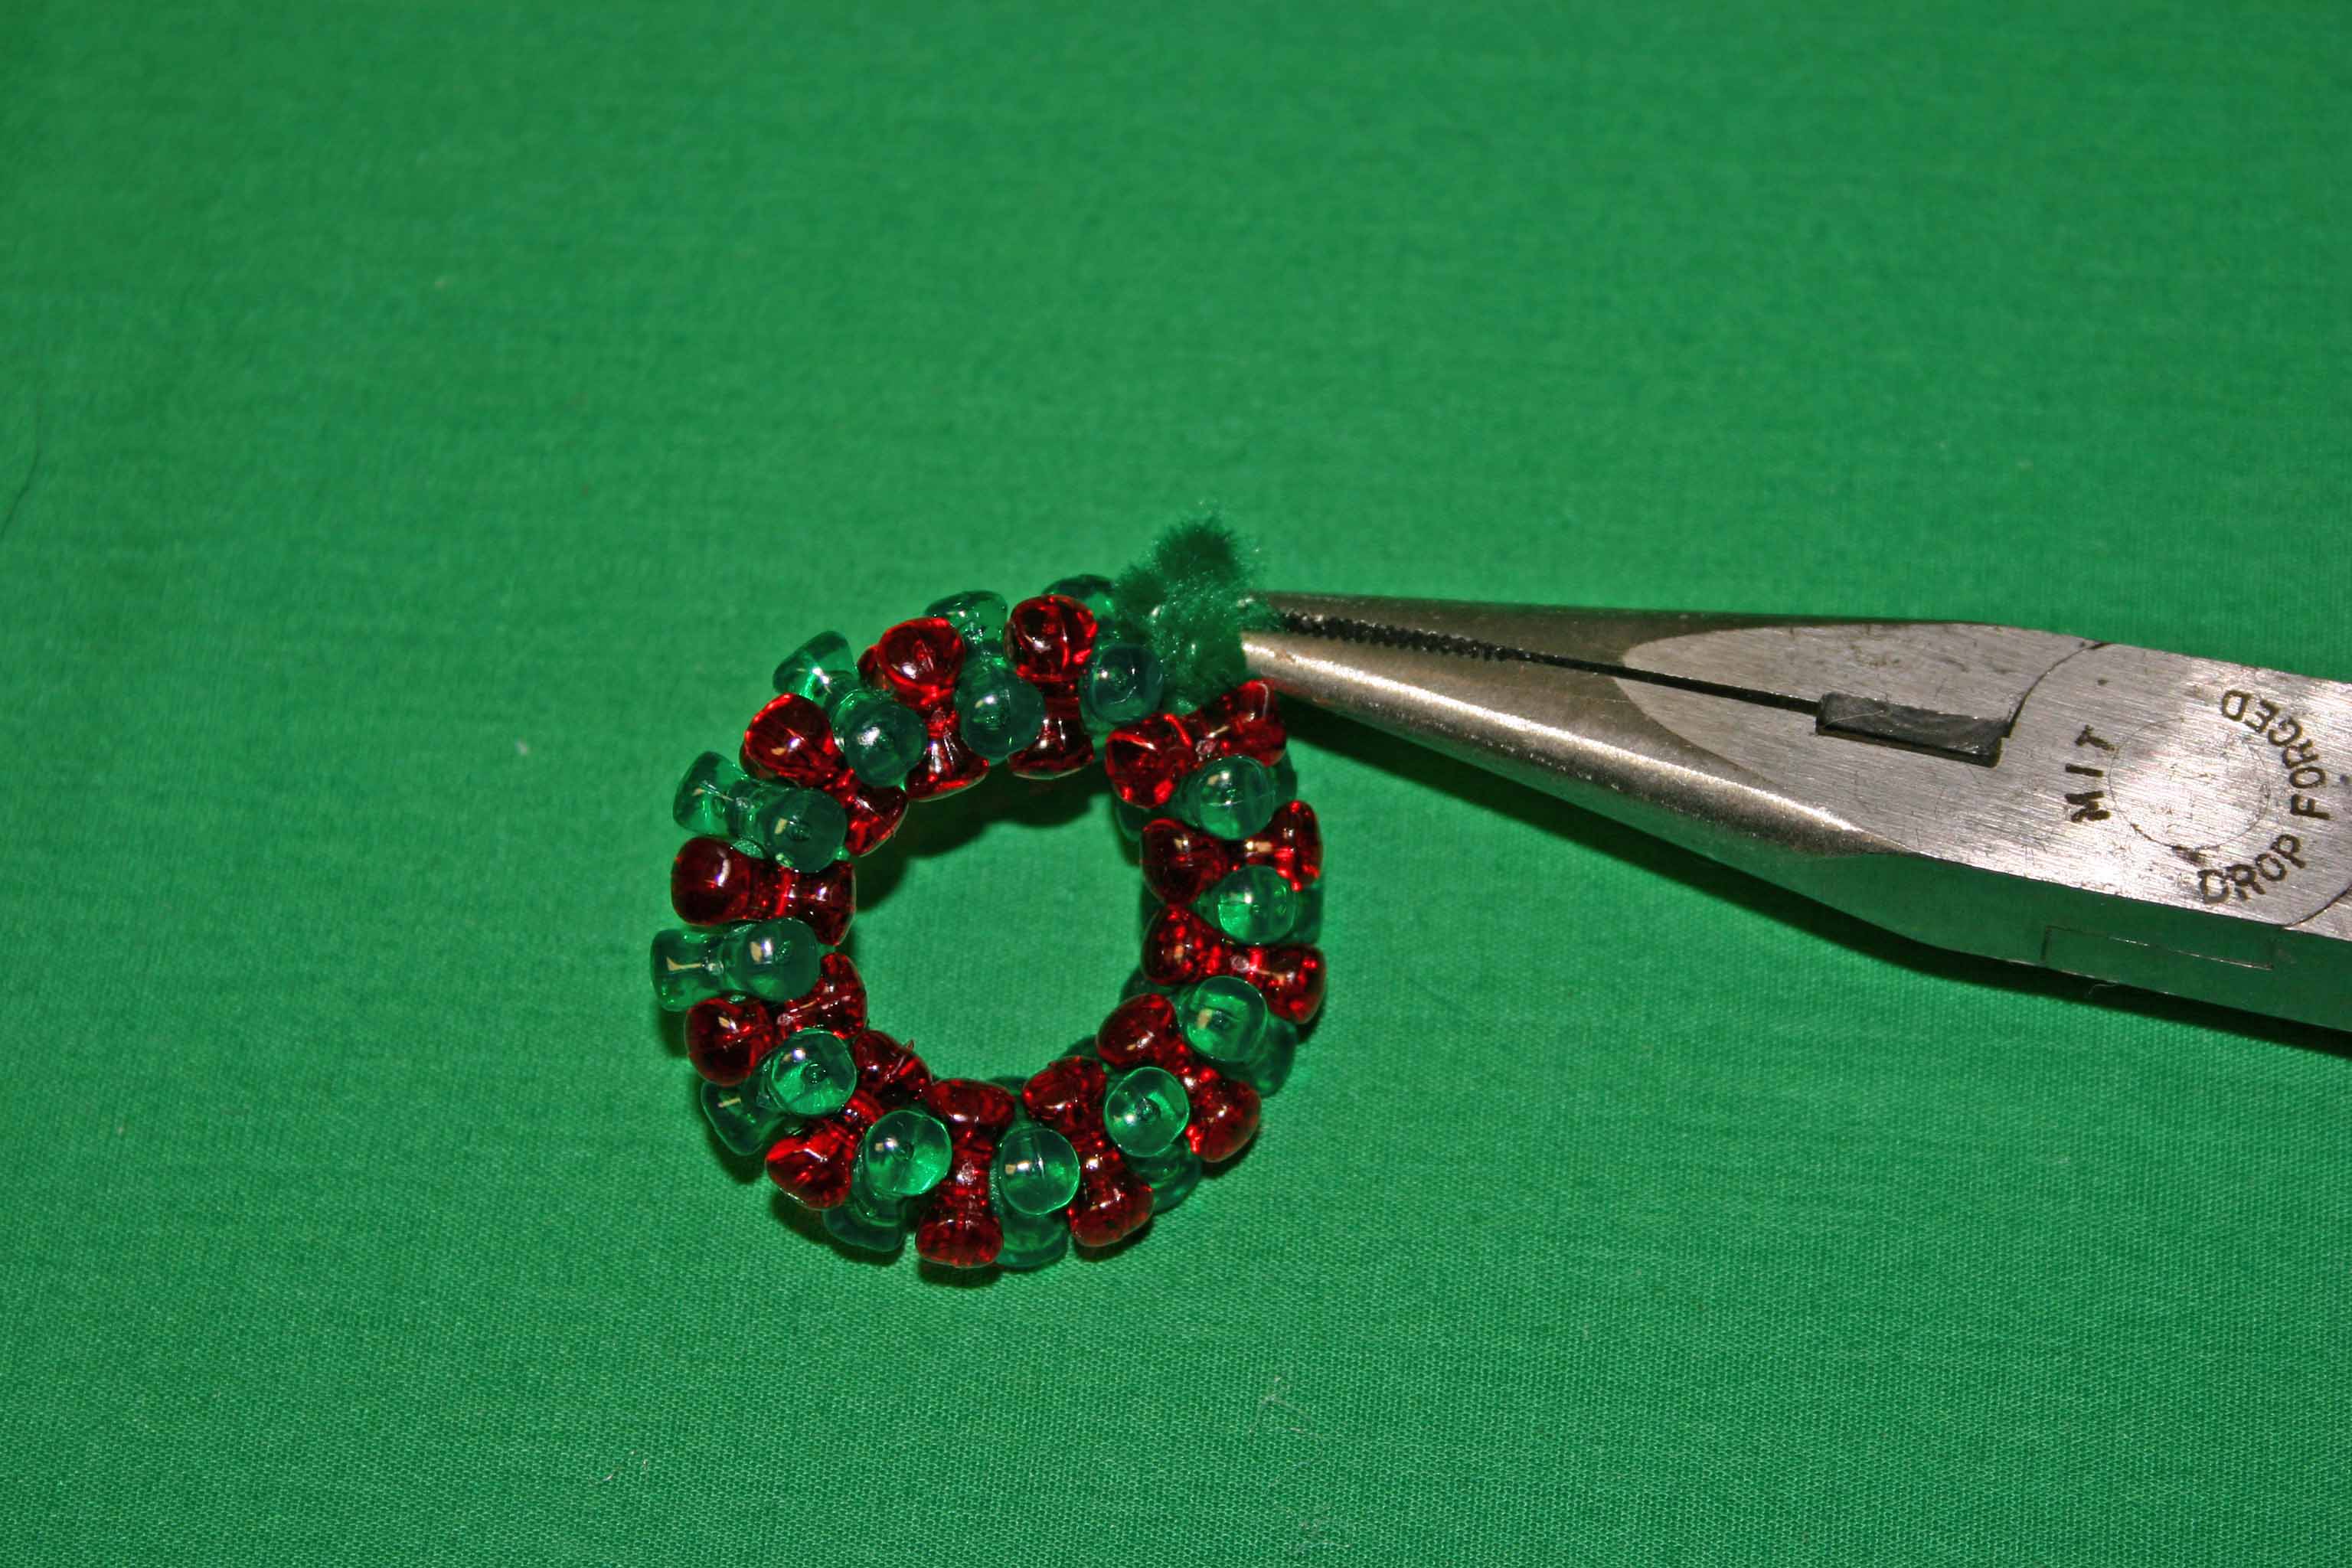
Twist the wires together to make a firm circle but not so much that the wire breaks. The needlenose pliers help with twisting the wires.
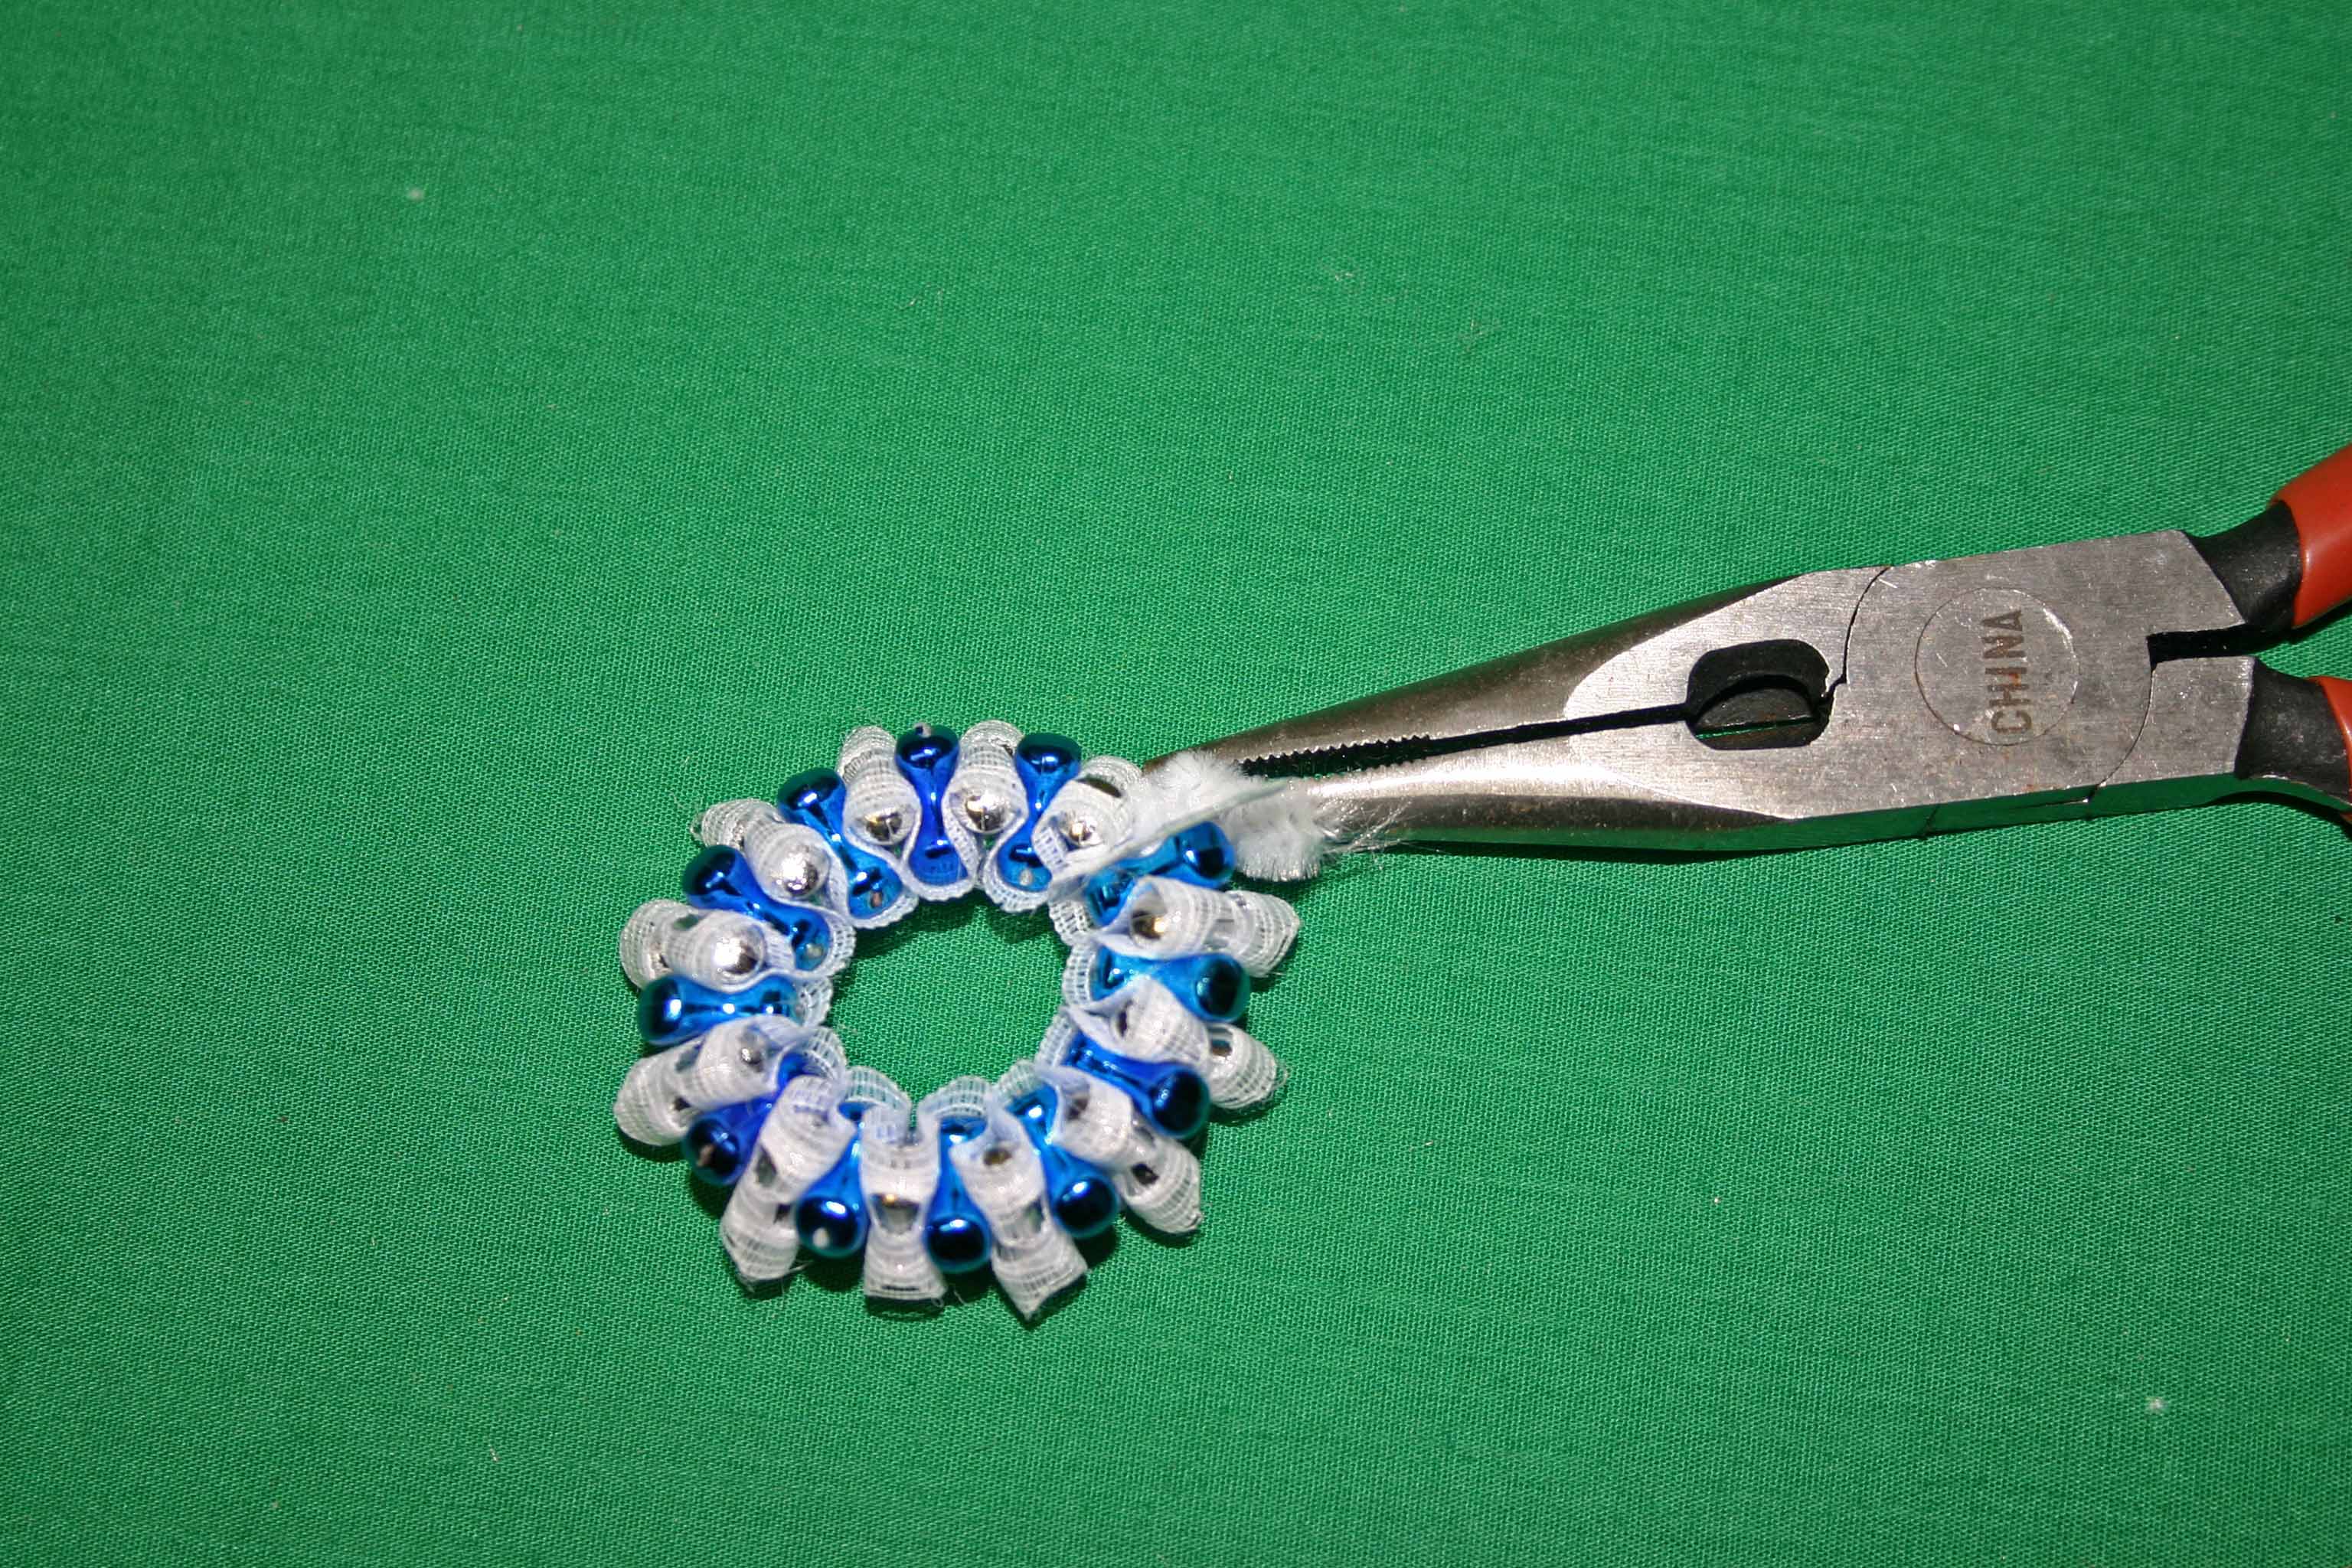
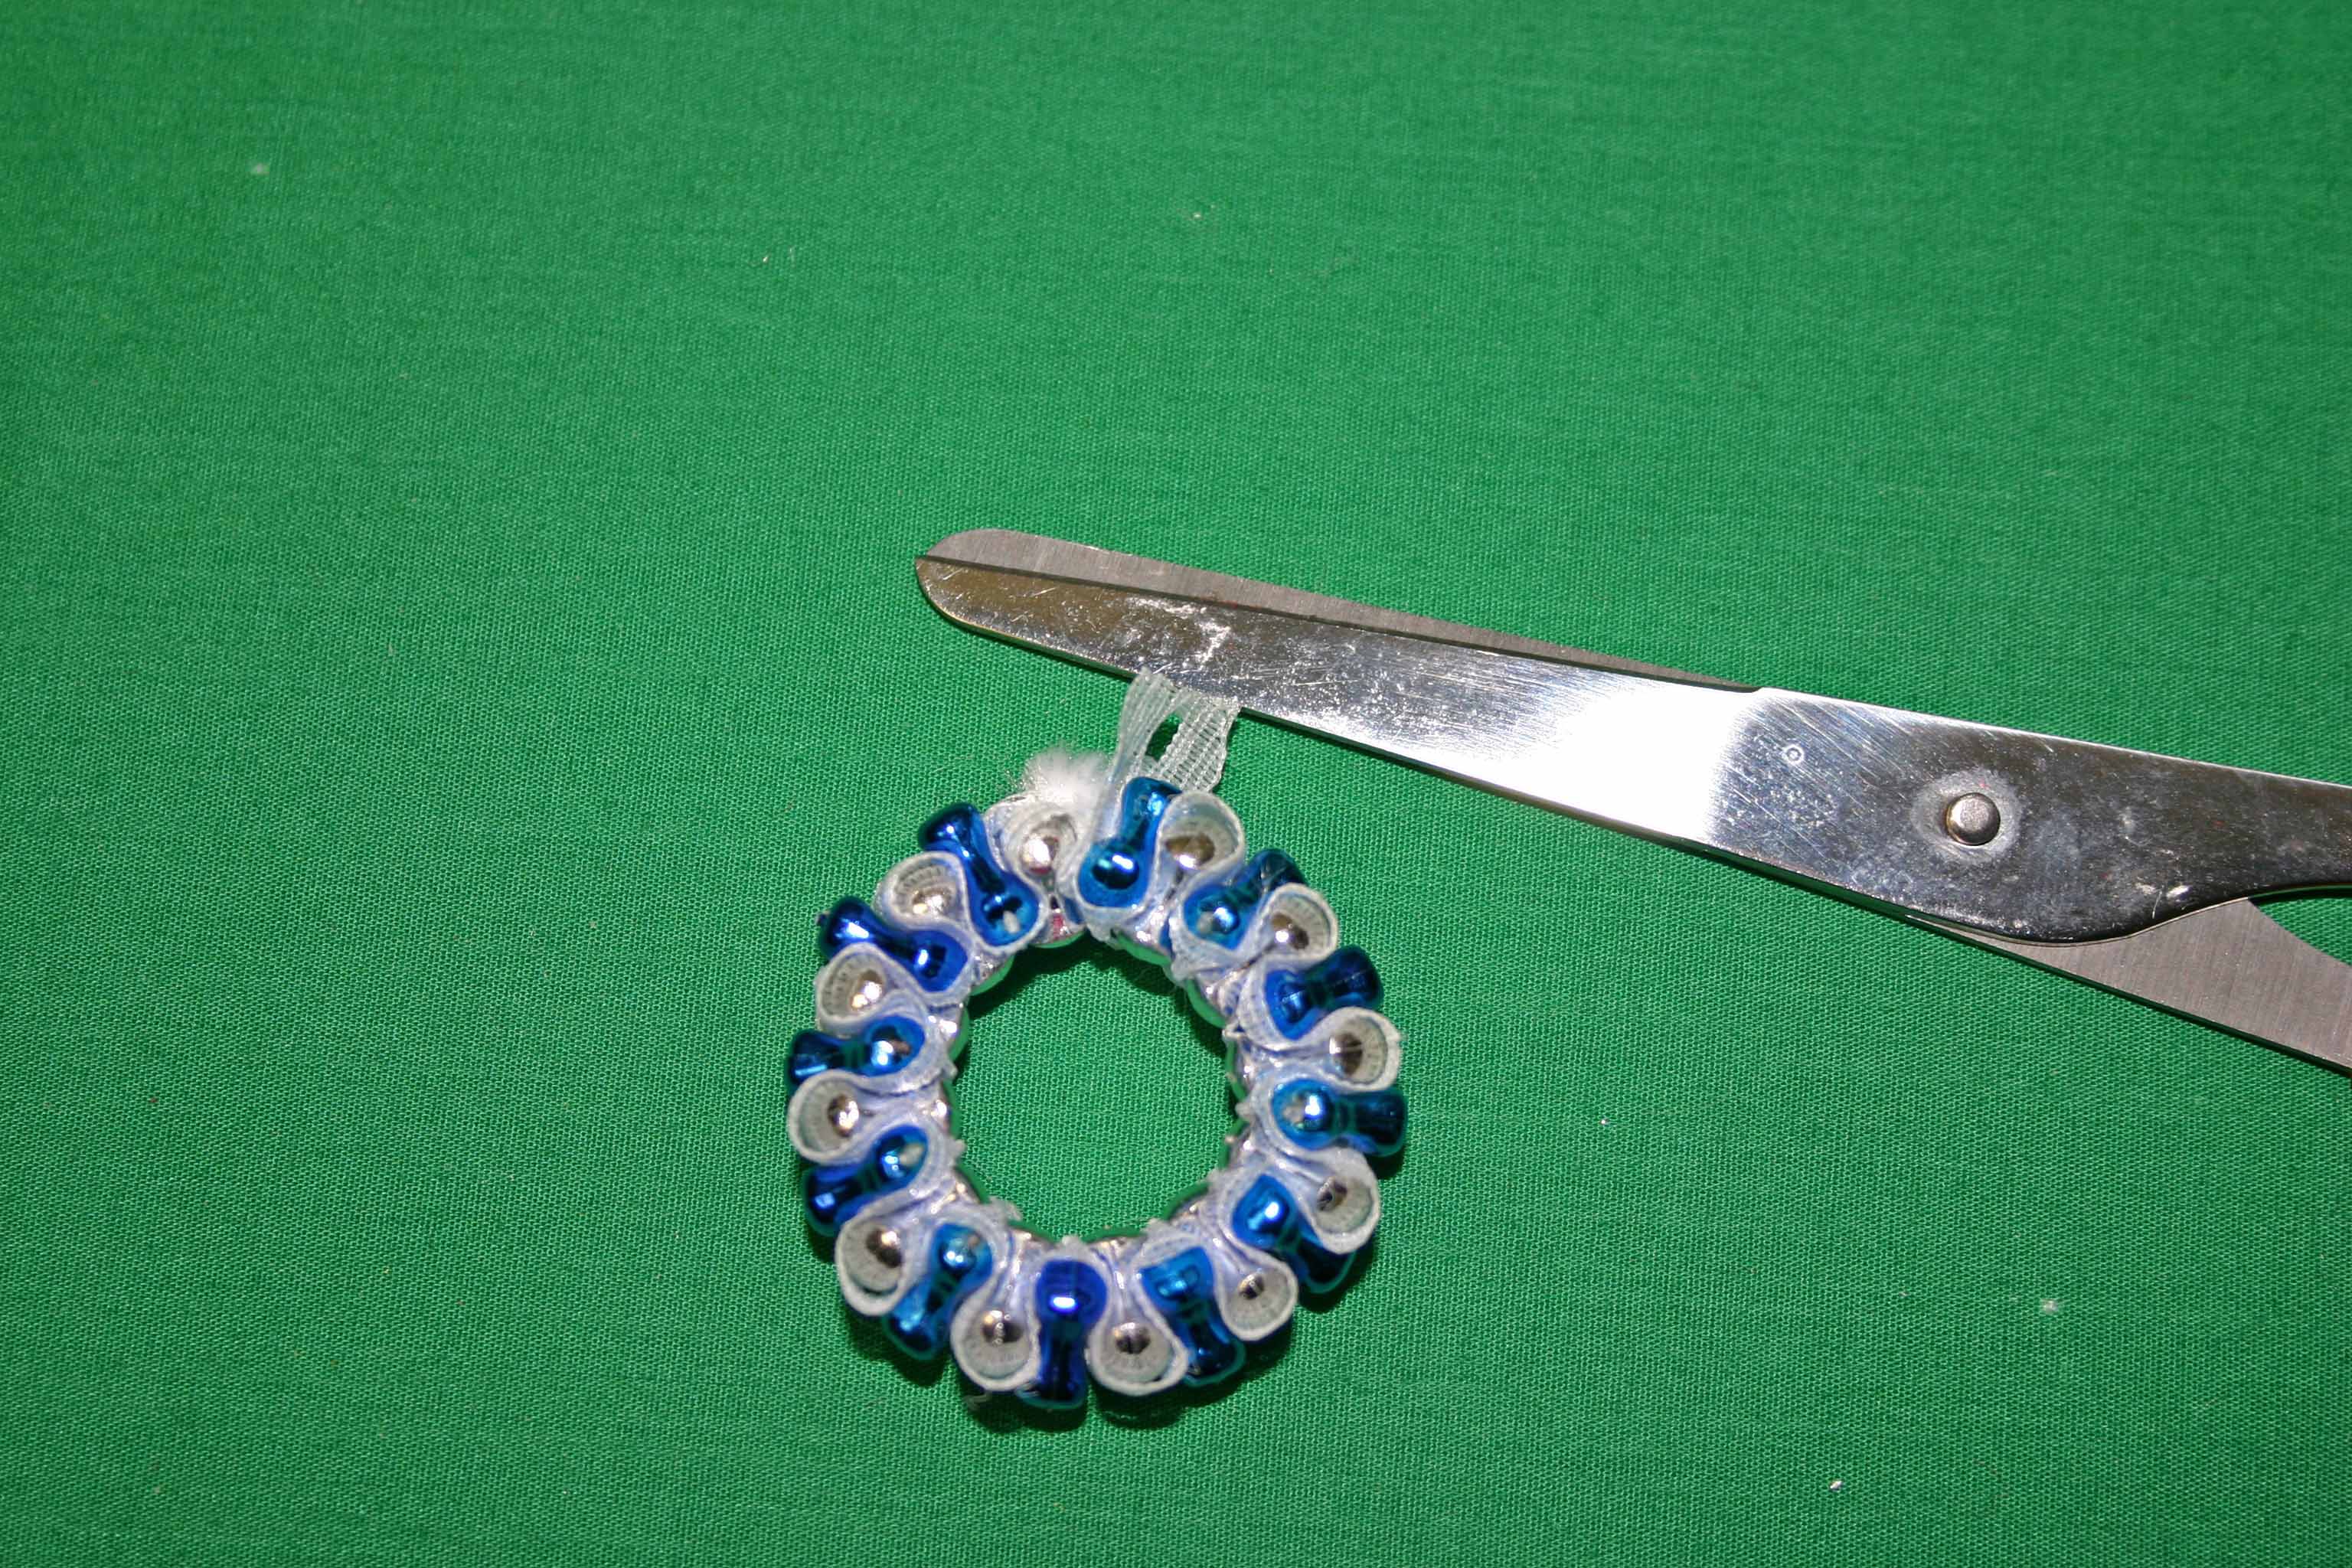
Cut the ends of the wire with the cutting edge of the needlenose pliers leaving 1/4 to 3/8 inch of wire. (This wire easily breaks if you don't have needlenose pliers.) Circle the sharp ends of the wire back into the wreath shape to prevent sharp edges on the wreath. The point of the needlenose pliers make this easier to do.
Trim any excess lace at the joint to be even with the wreath shape.
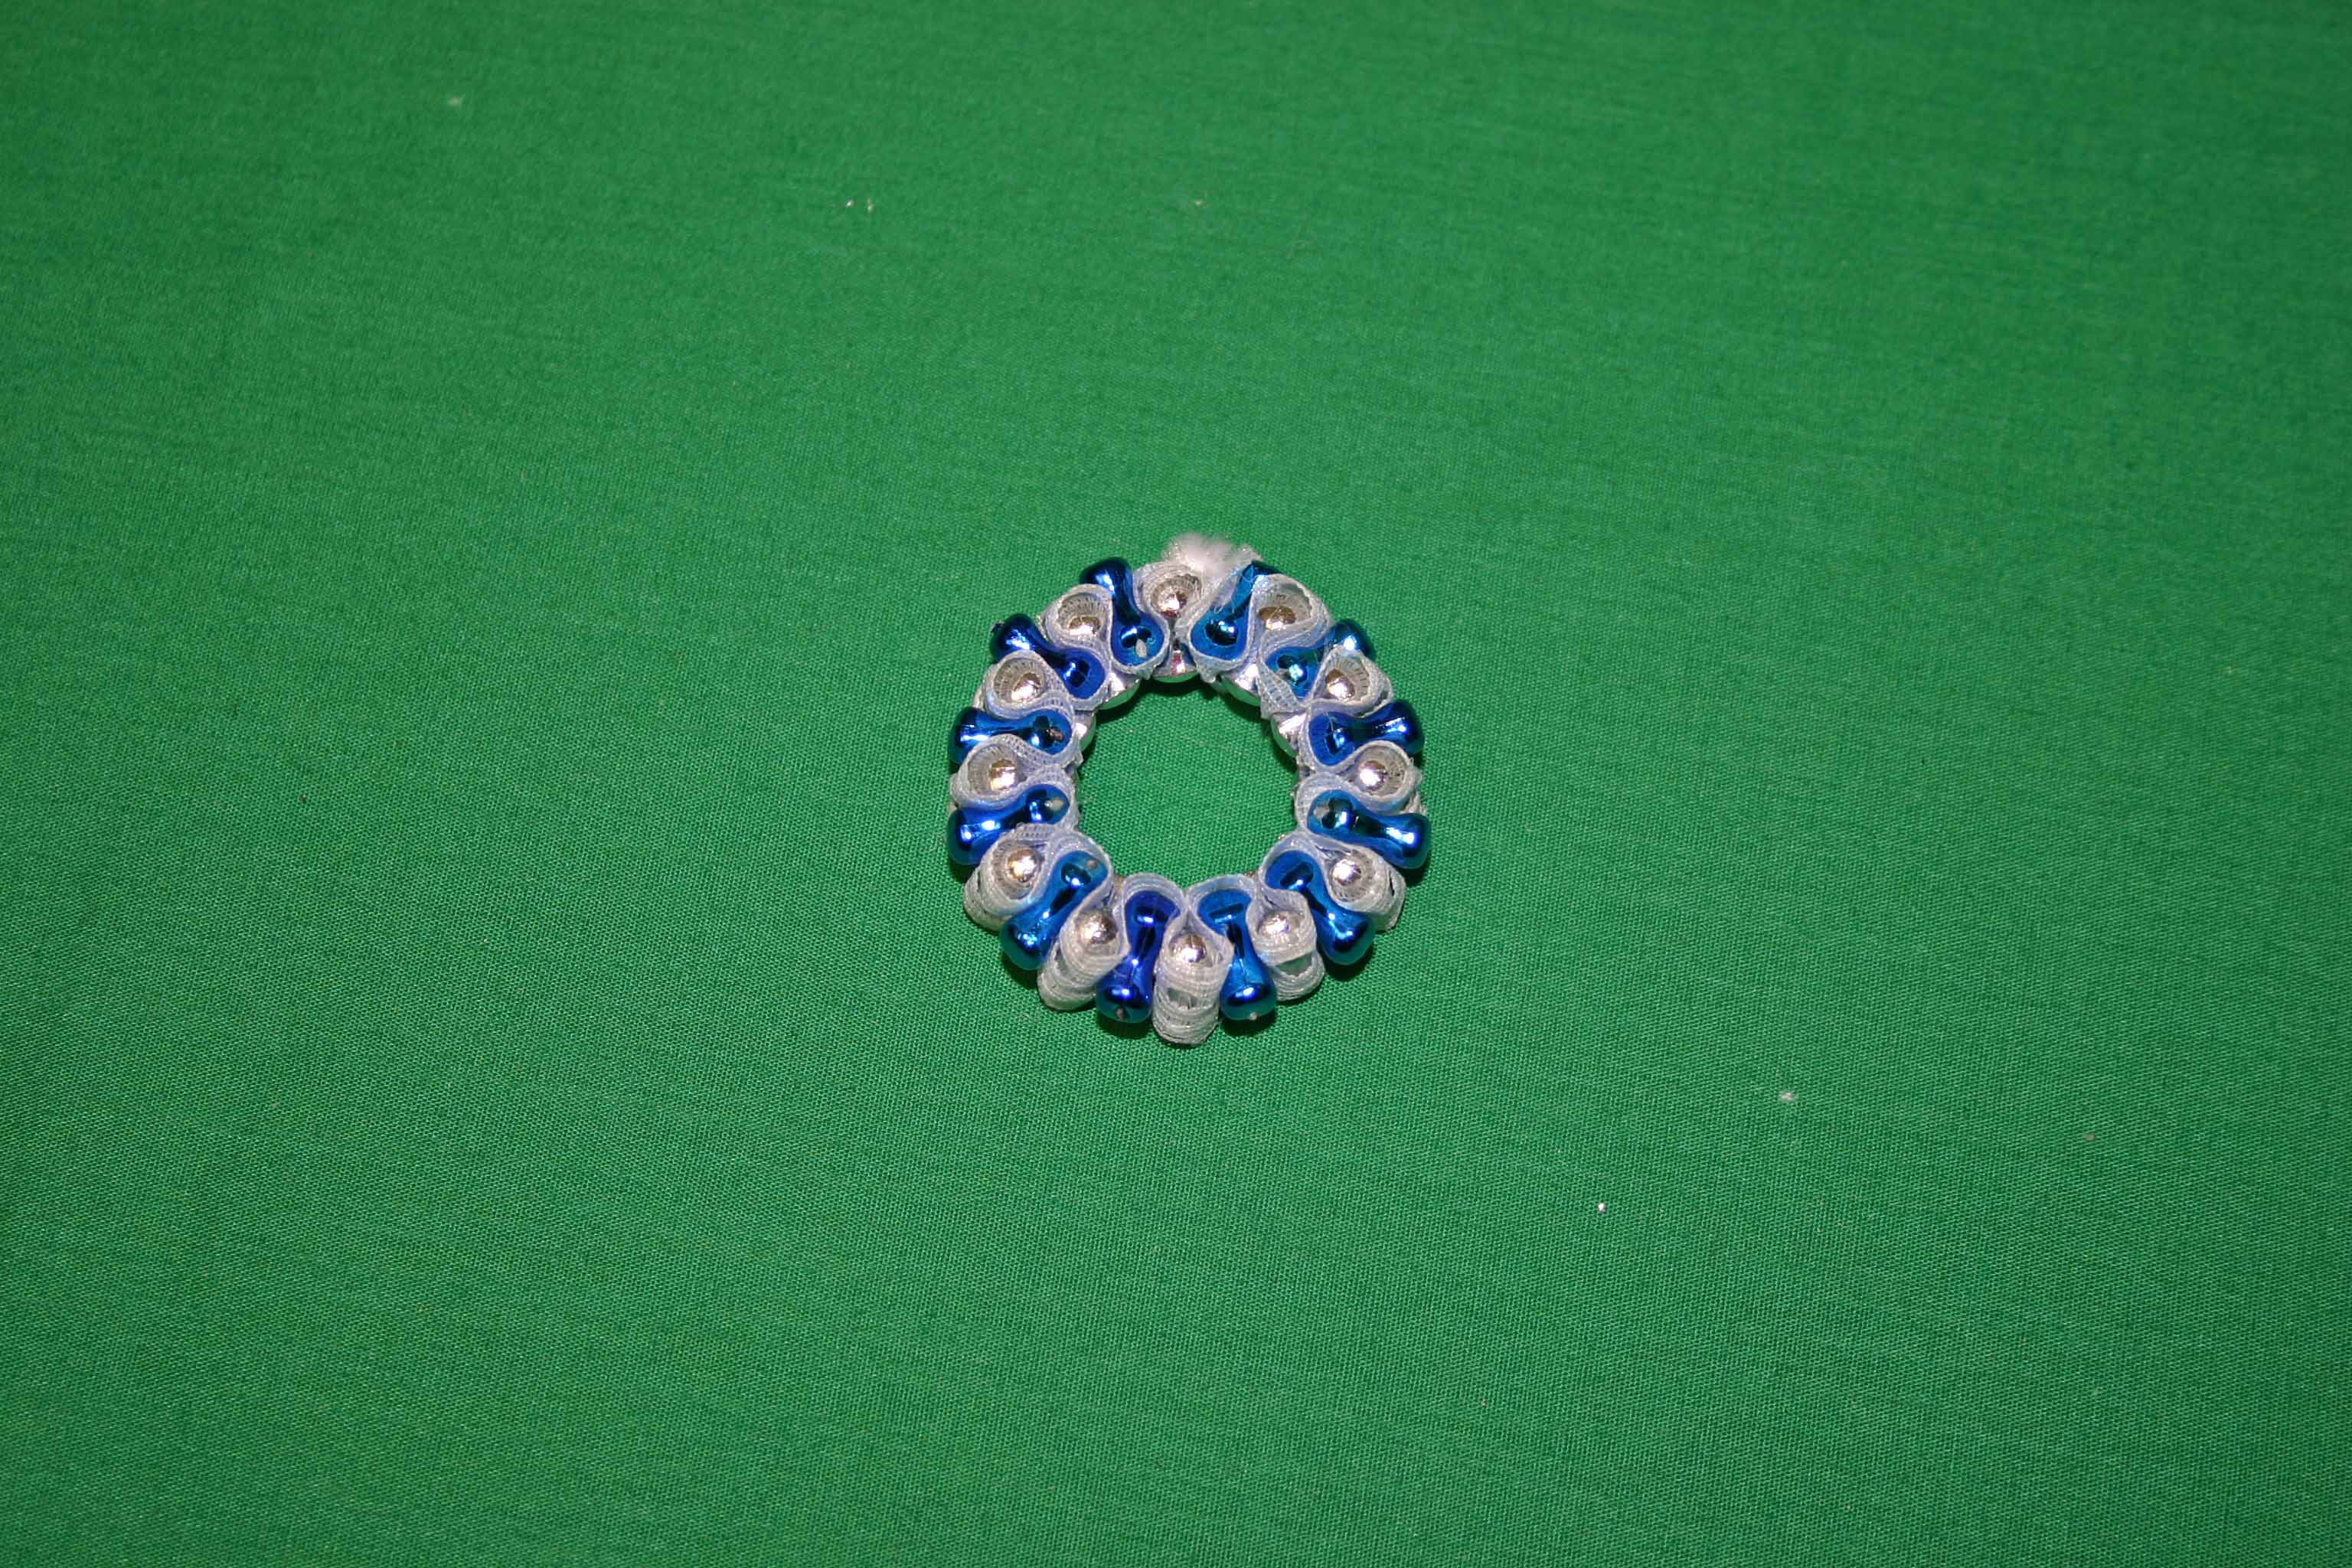
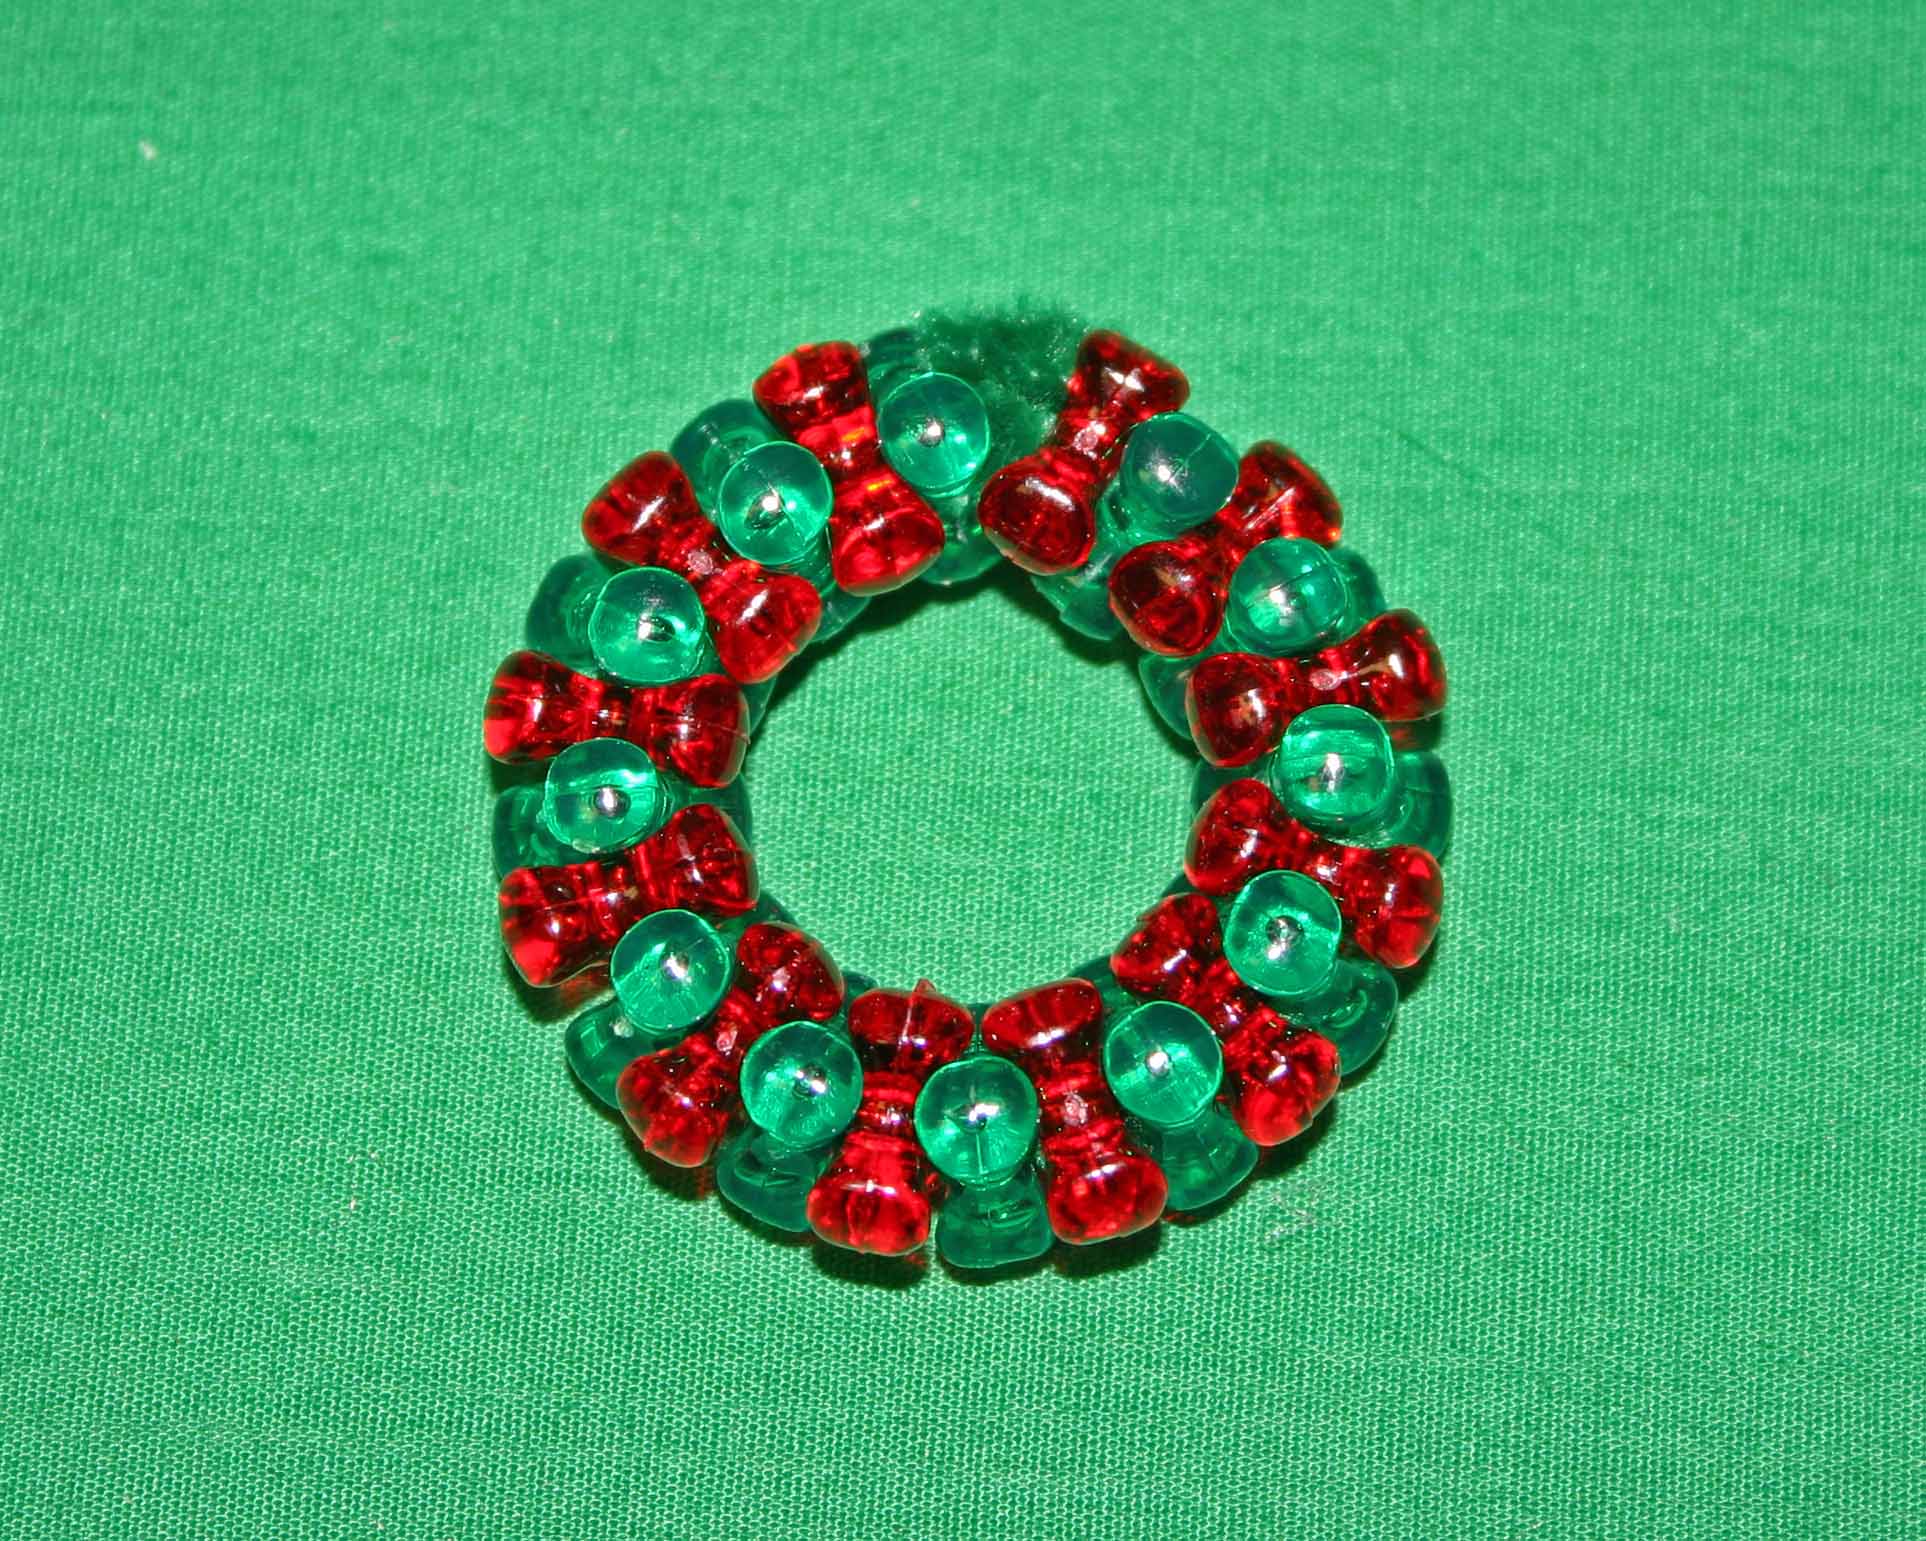
Here, the wreath circle waits for the finishing bow.
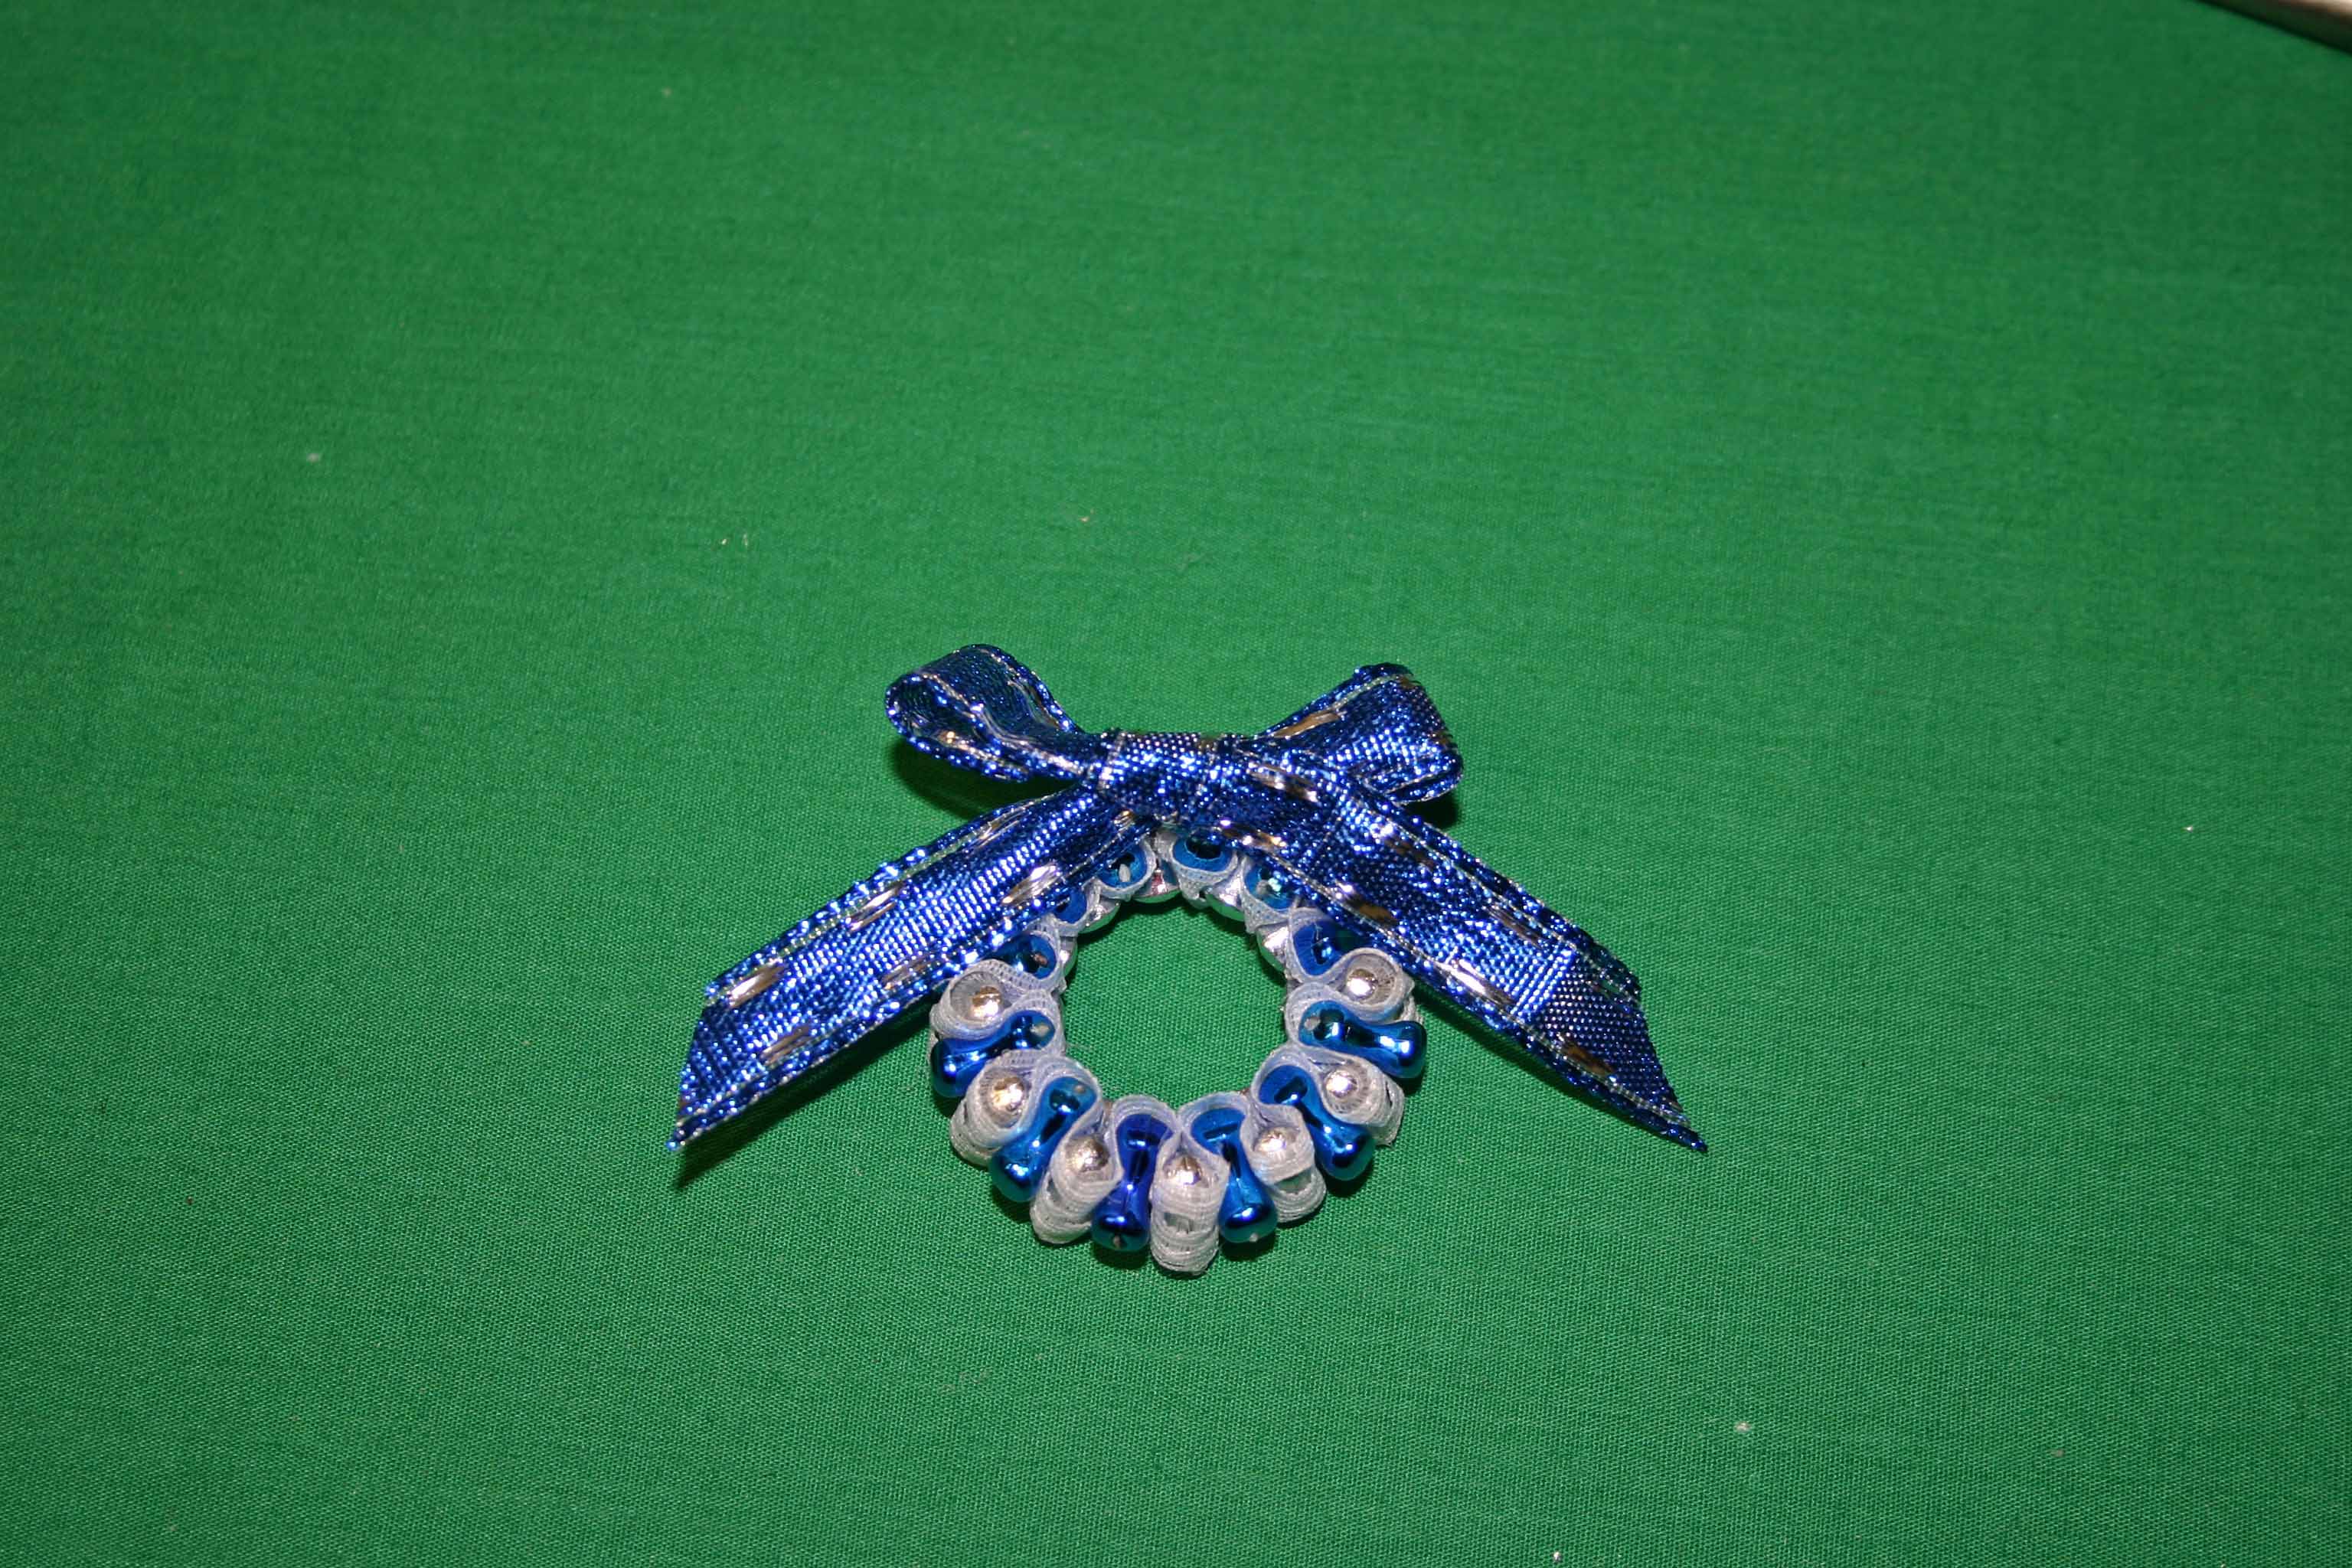
Add the bow over the joint to hide the twisted knot of fiber wire. The bow can be added with simple glue, a hot glue gun or with needle and thread.
For the final touch, add a loop of yarn to hang the beaded Christmas wreath on the tree.
Now, let's look at a similar wreath without the lace:
The materials and tools are the same minus the lace. Make a bow with the decorative ribbon.
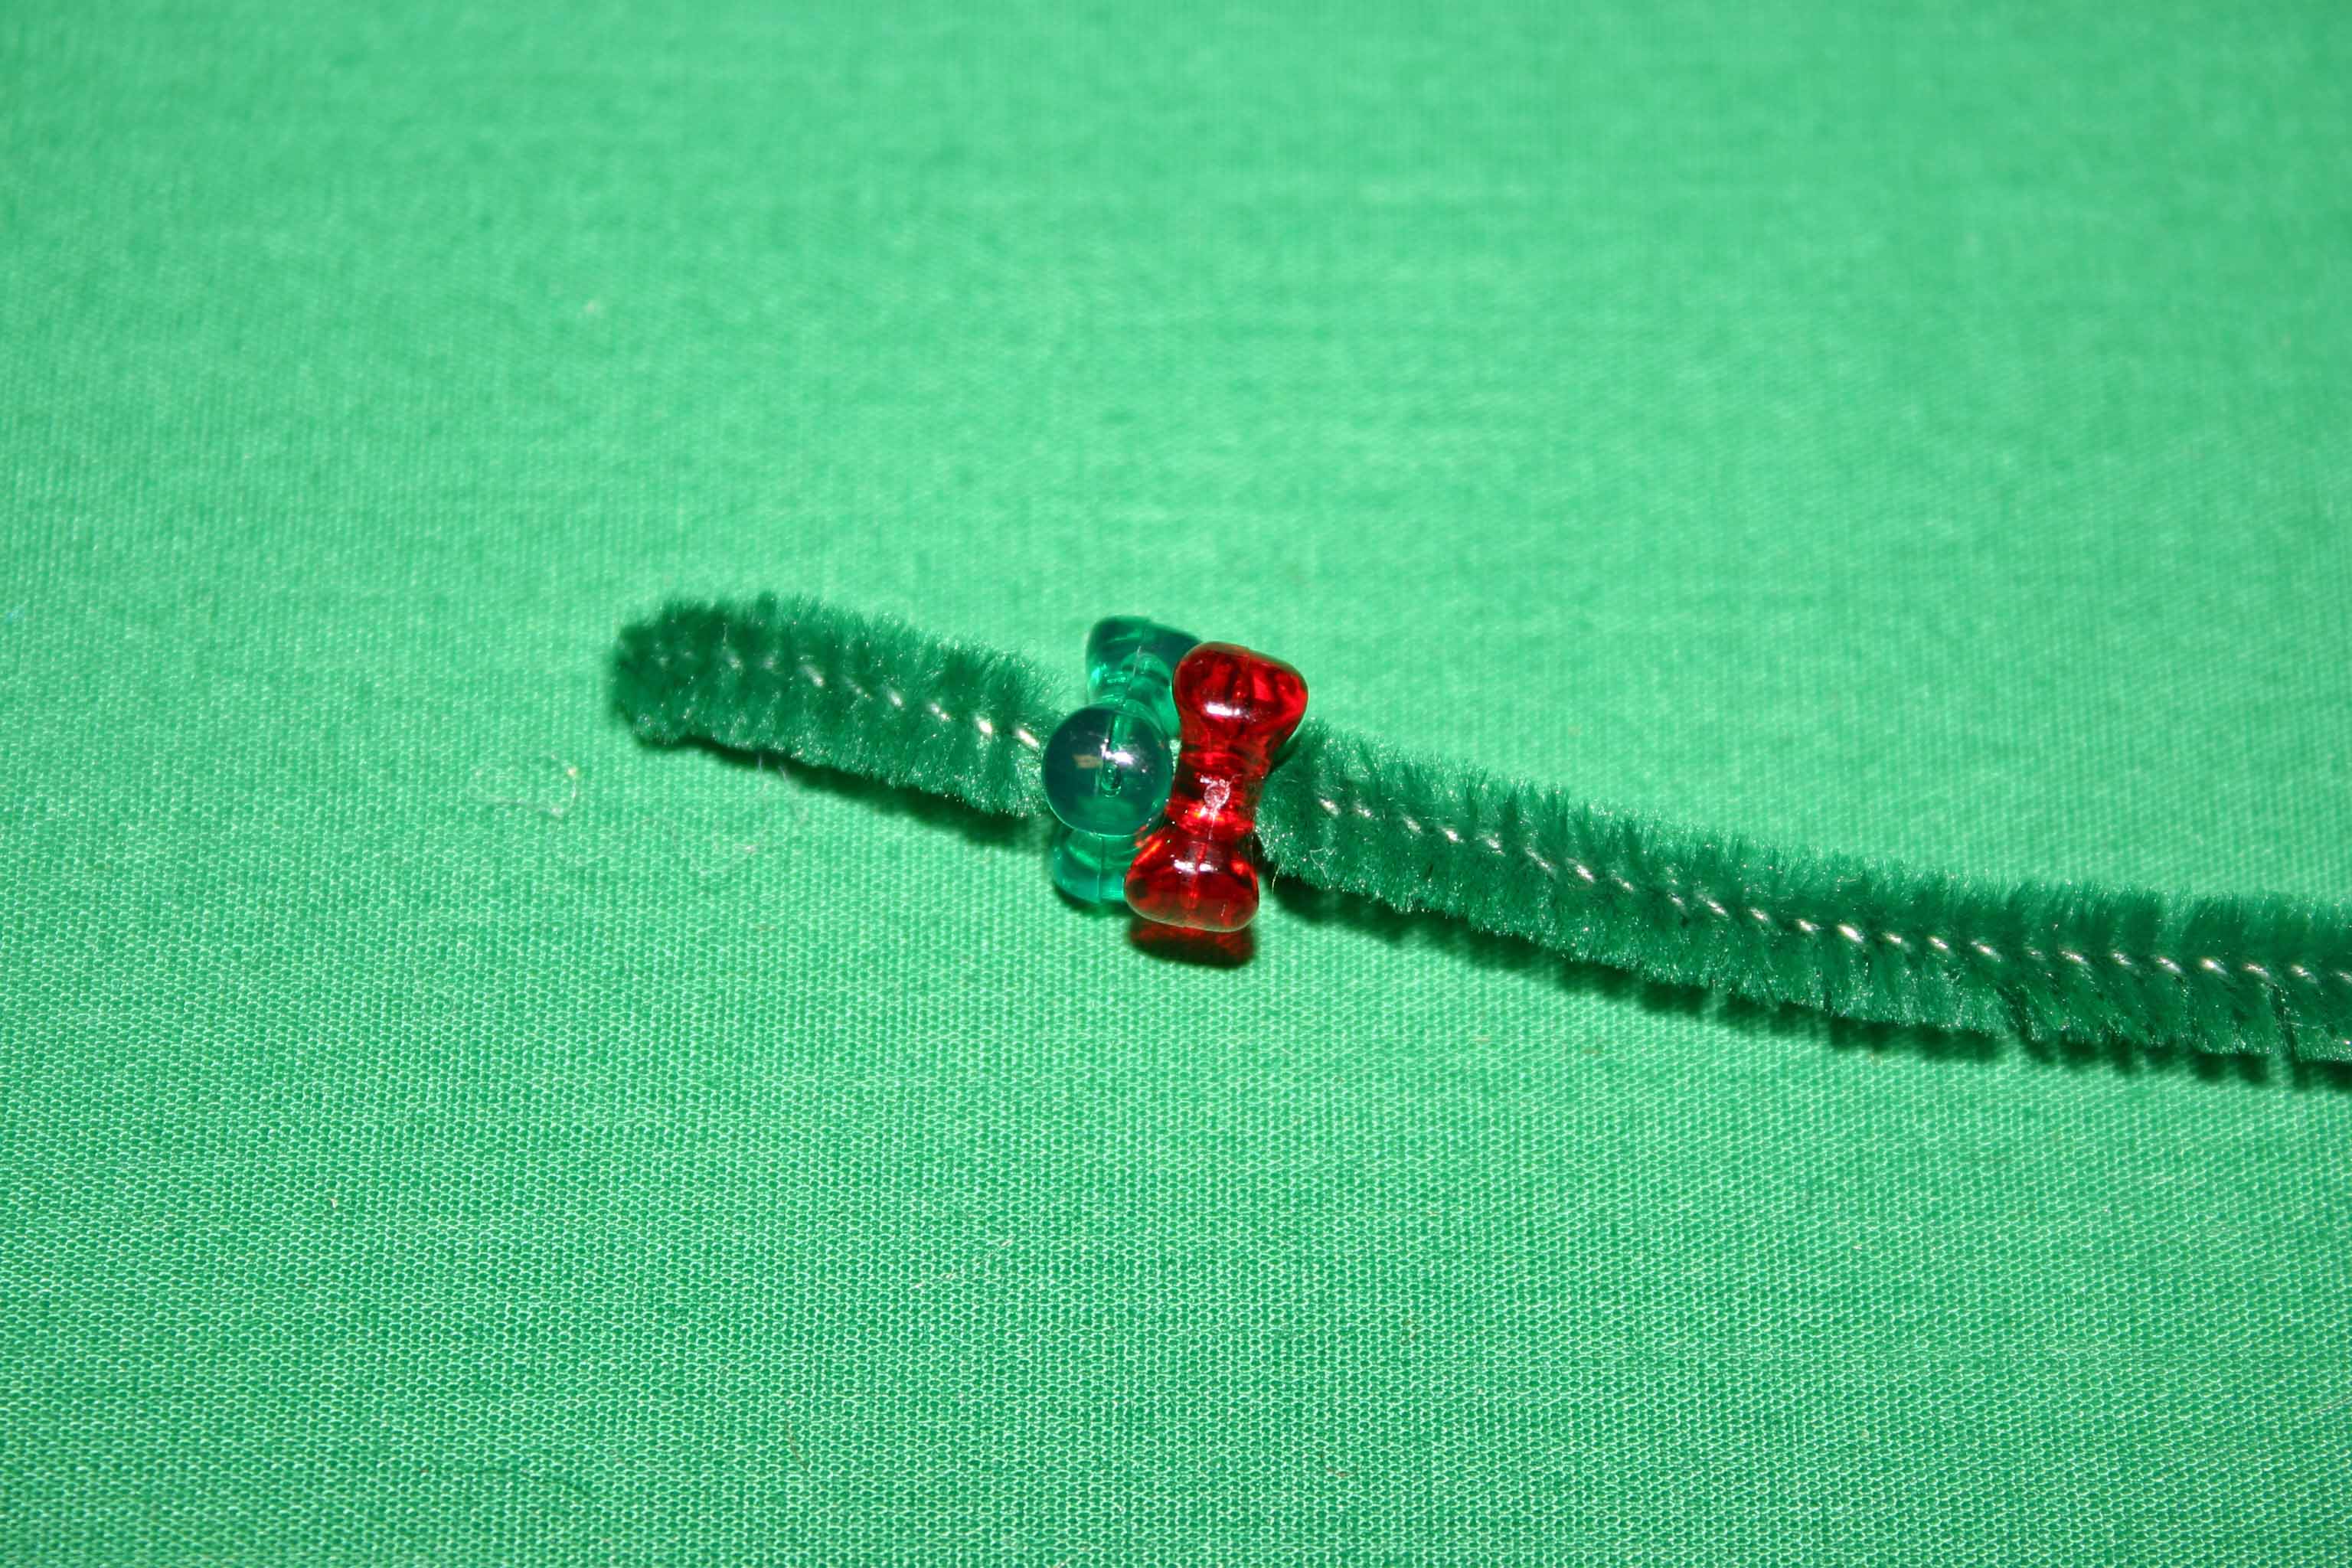
Add the beads to the fiber wire, alternating colors if desired.
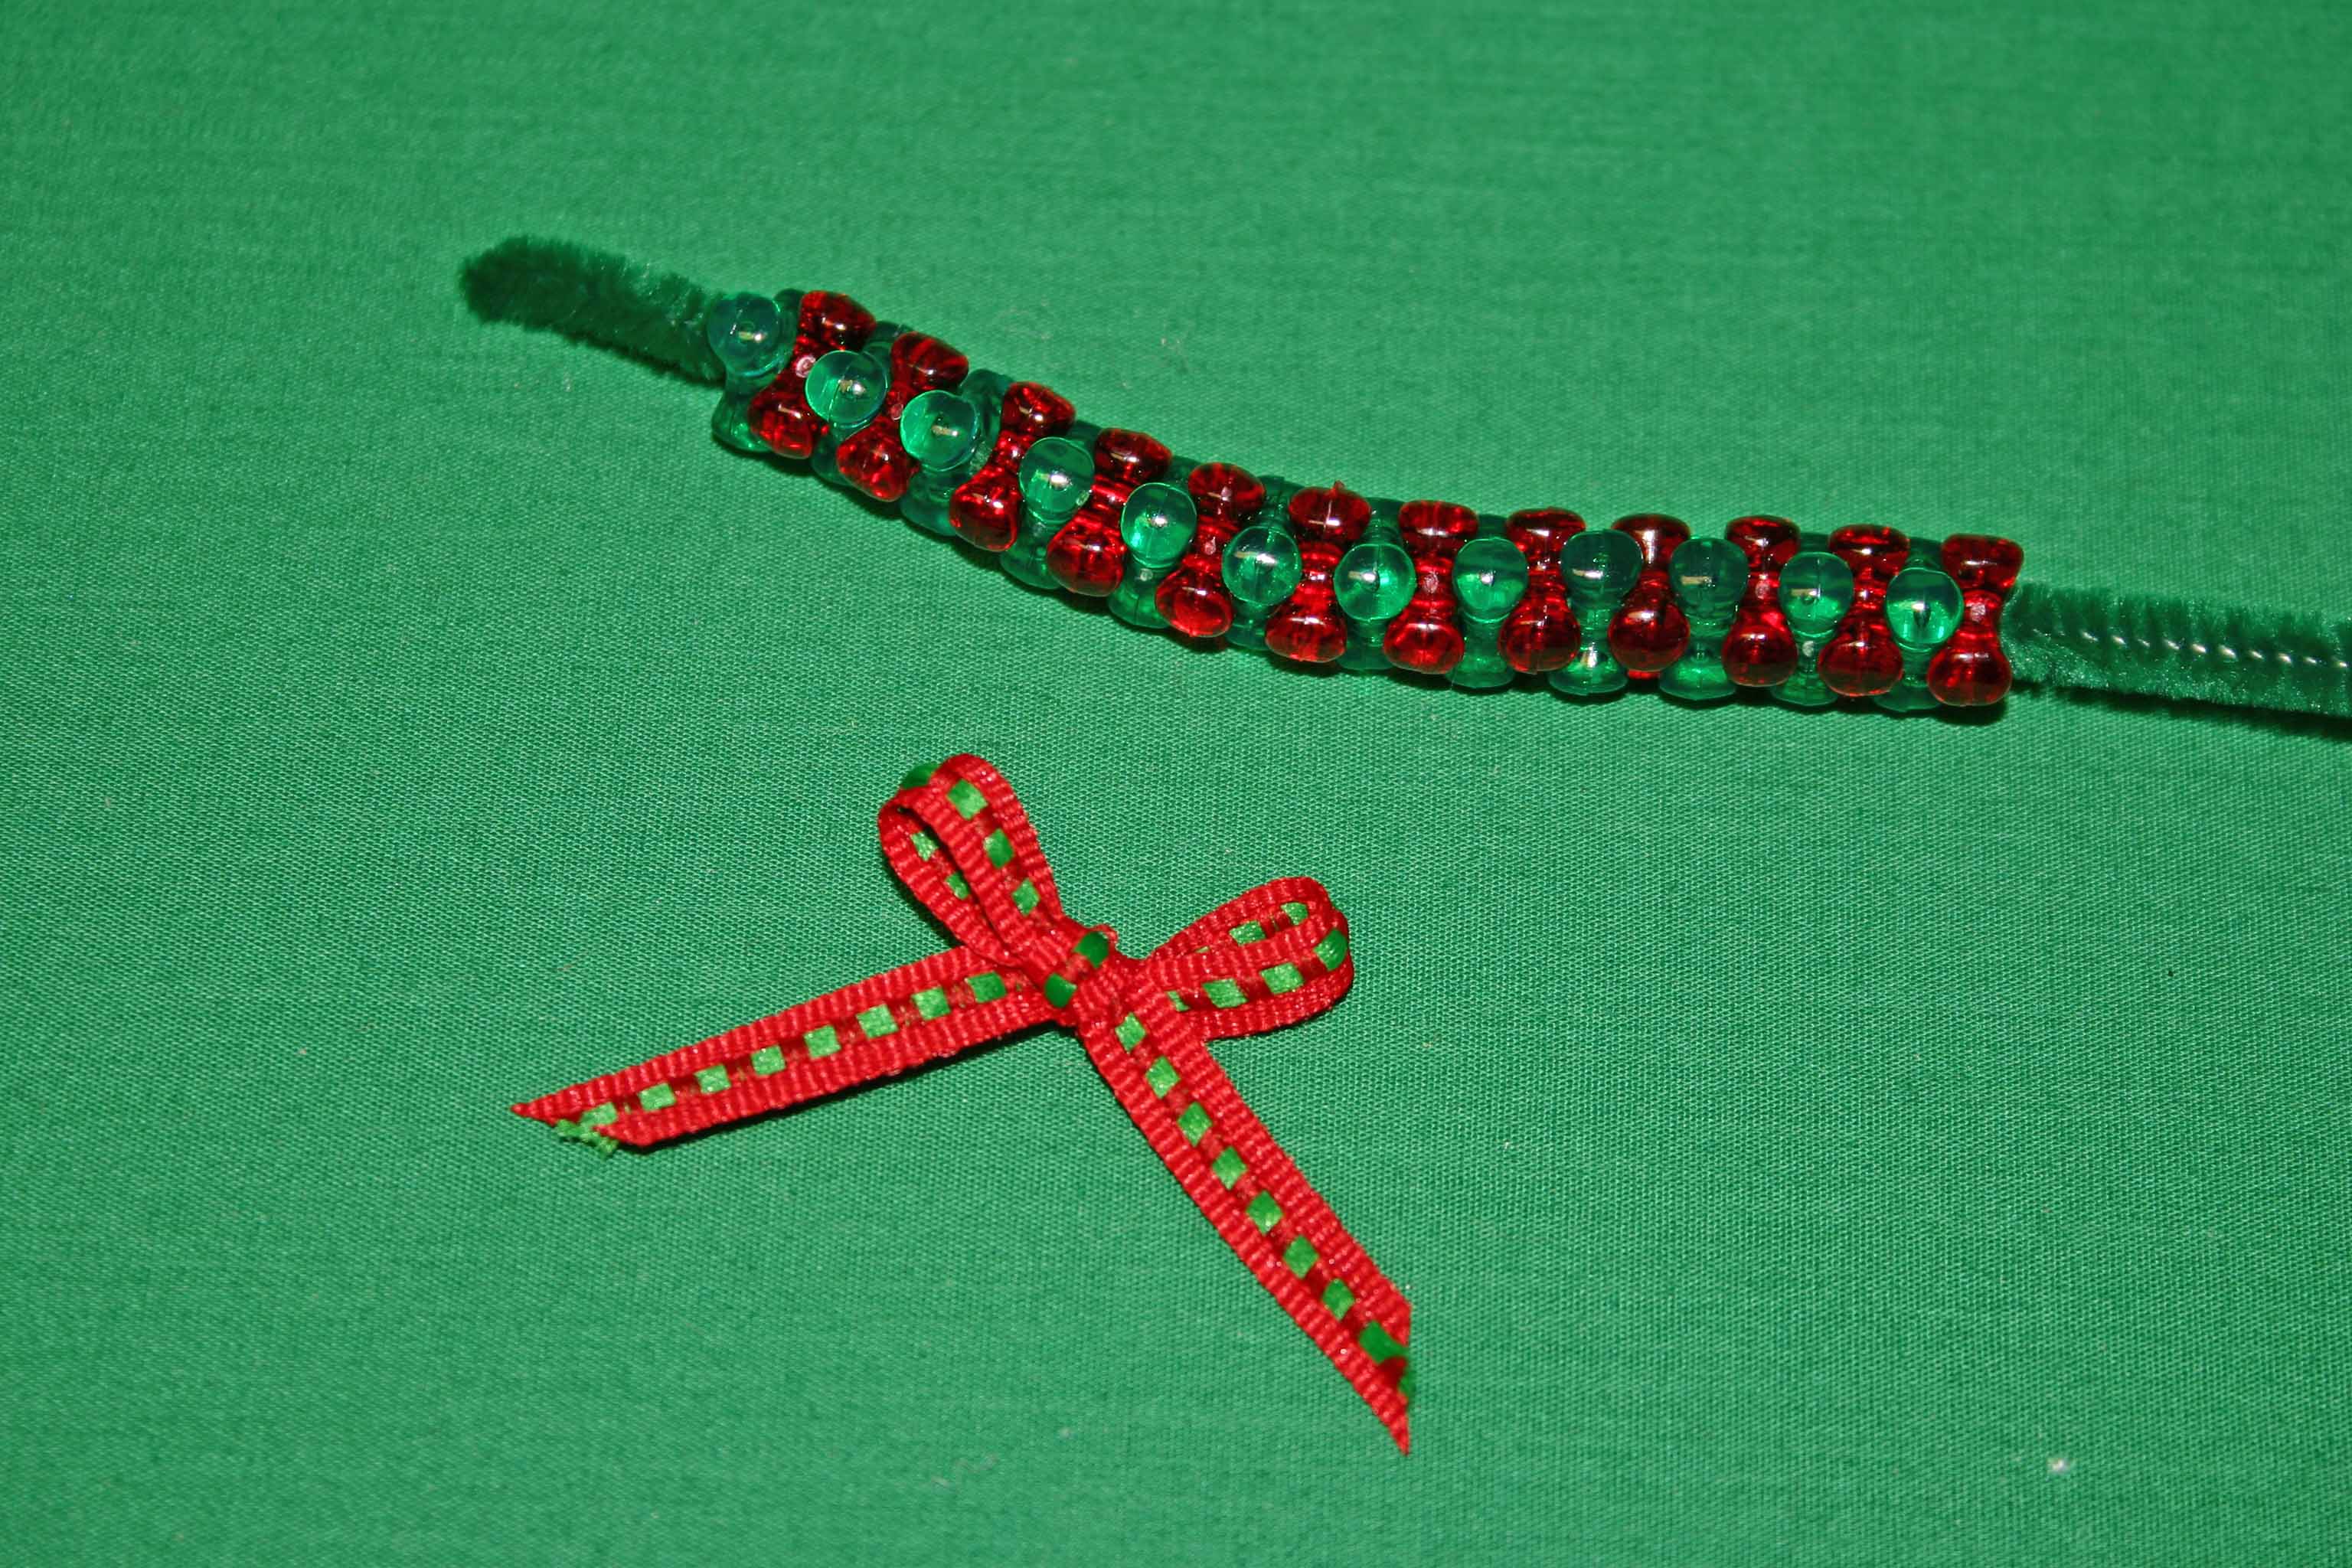
Continue placing the beads on the fiber wire until all 24 have been added.
Make a circle with the beads on the wire. Twist the ends of the wire together tightly but not so tight that the wire breaks. Trim the ends of the wire to within 3/8 inch.
Curve the ends of the wire back toward the wreath to prevent any sharp points on the wreath.
The circle awaits embellishment.
Add the ribbon bow to the hide the joint. Use glue or needle and thread to hold the bow in place.
Add the yarn loop to hang the beaded Christmas wreath on the tree.
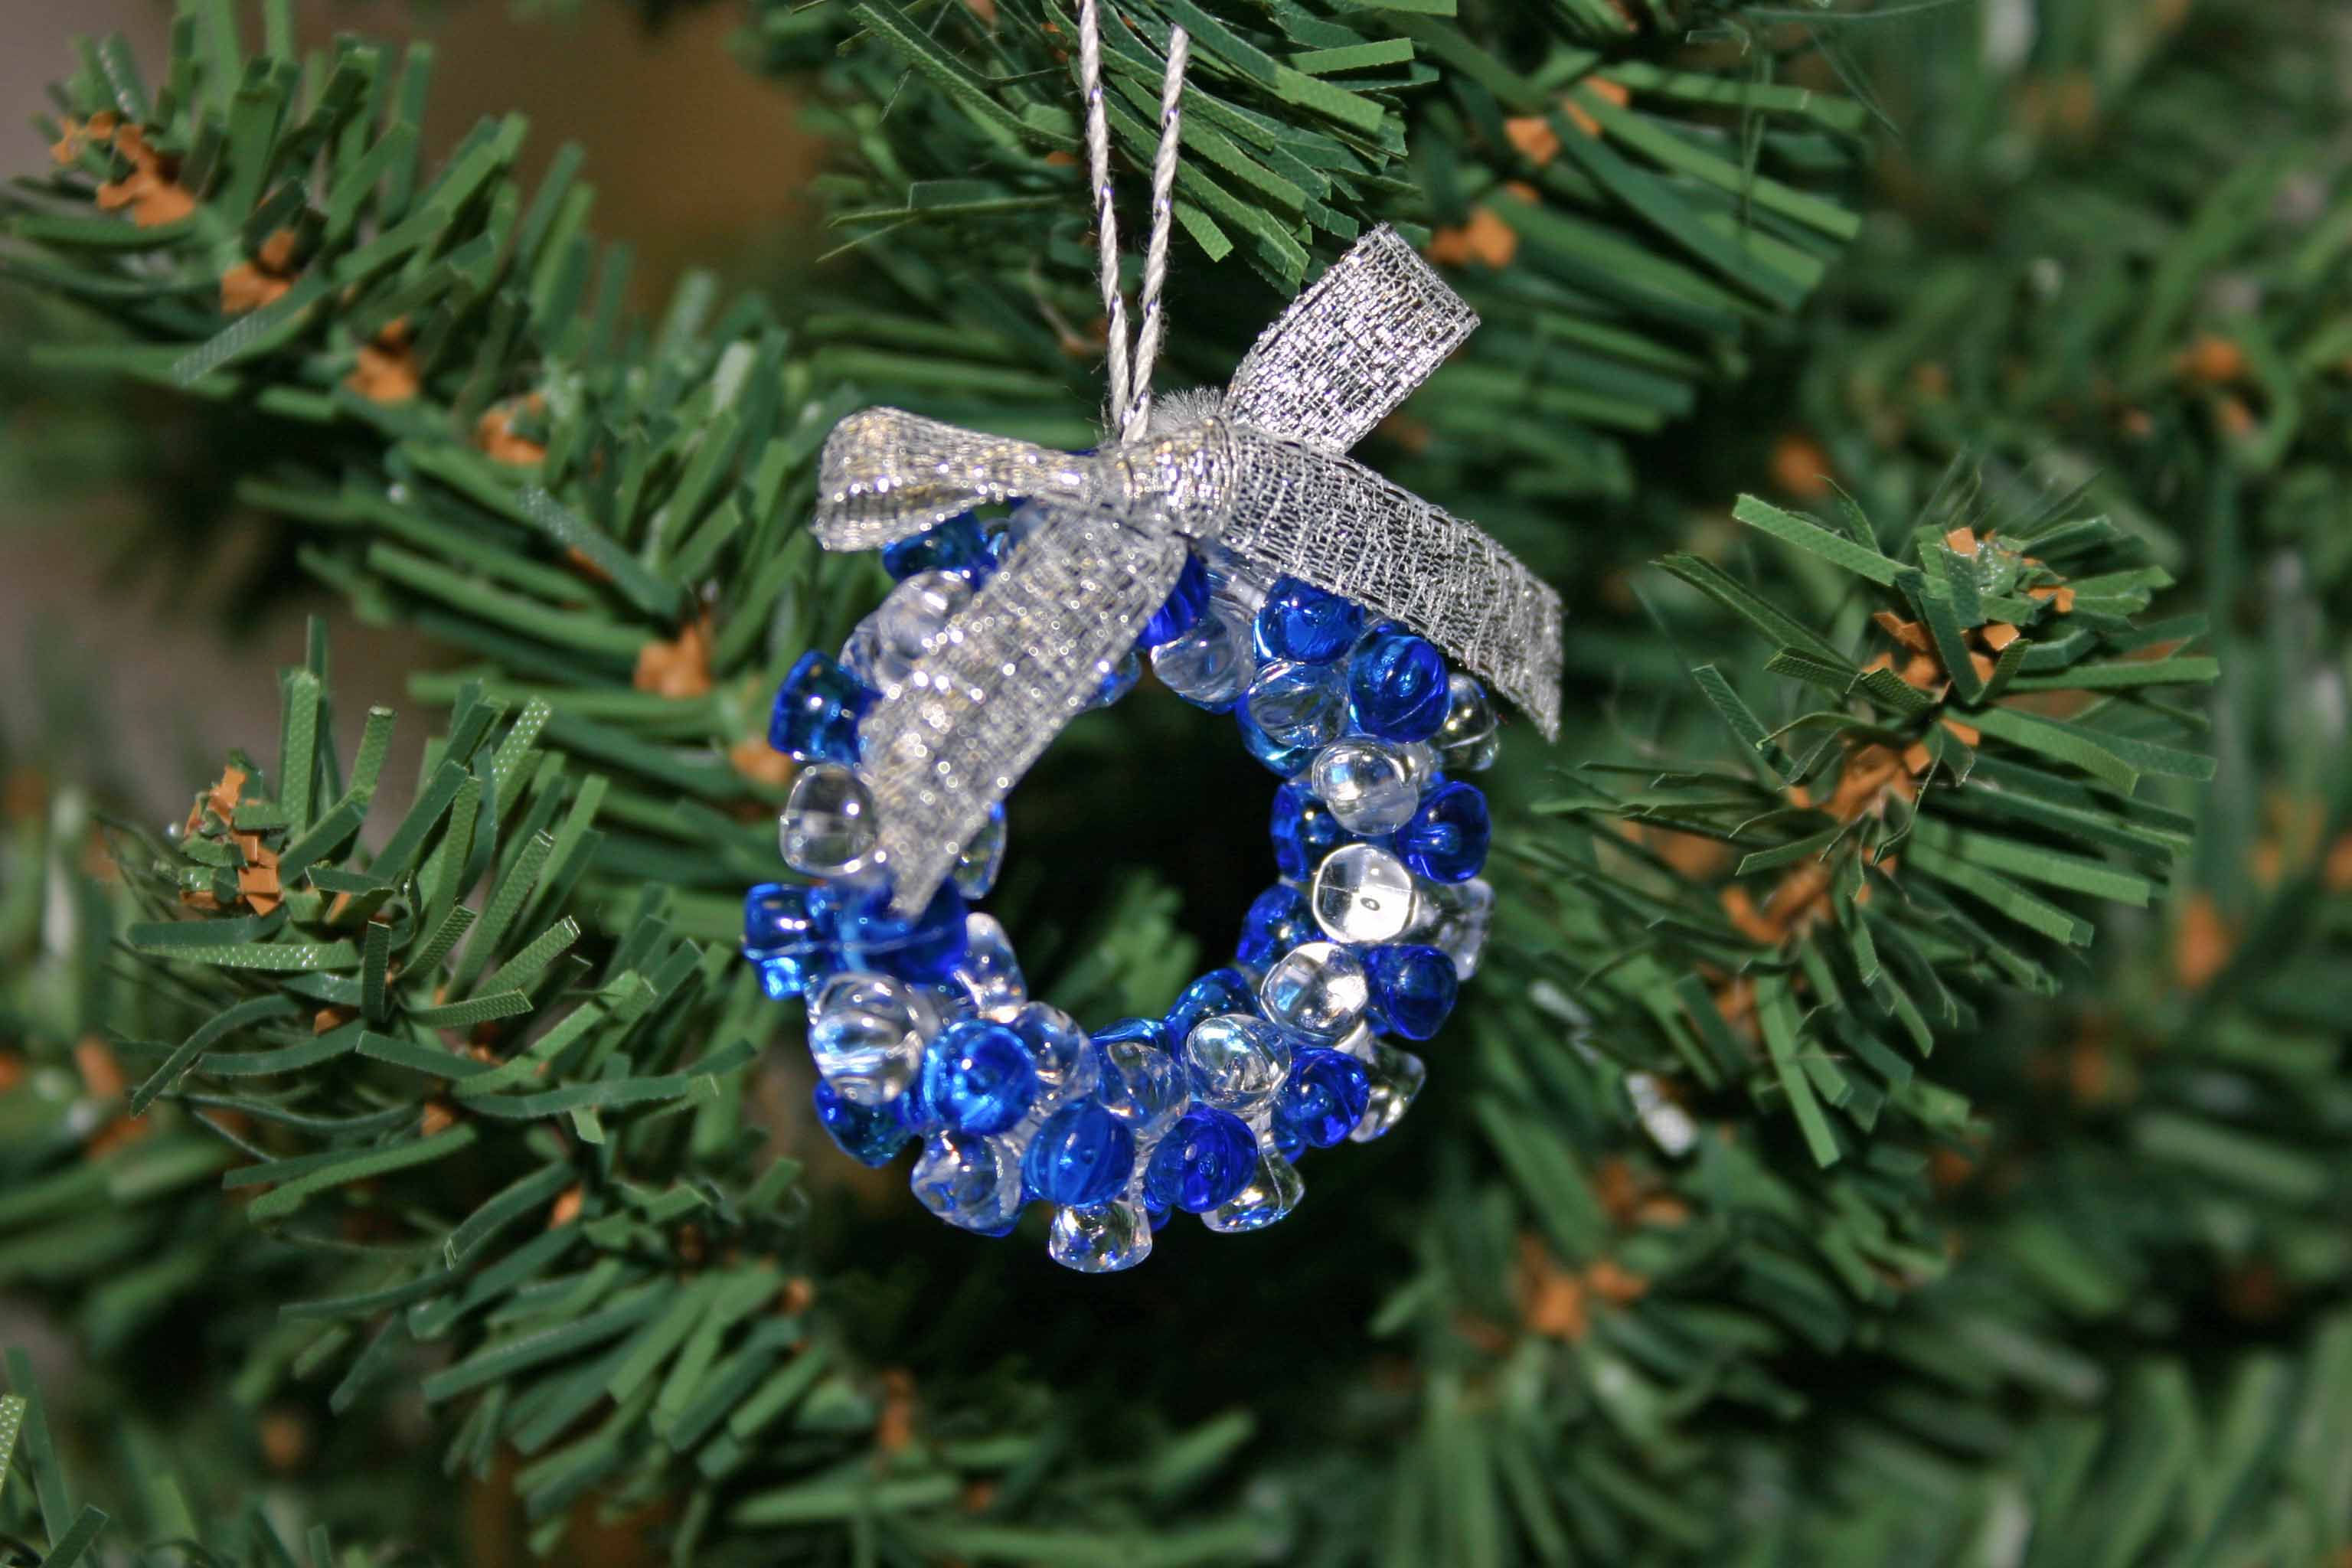
This shows another beaded Christmas wreath with blue and clear beads along with a simple silver bow.
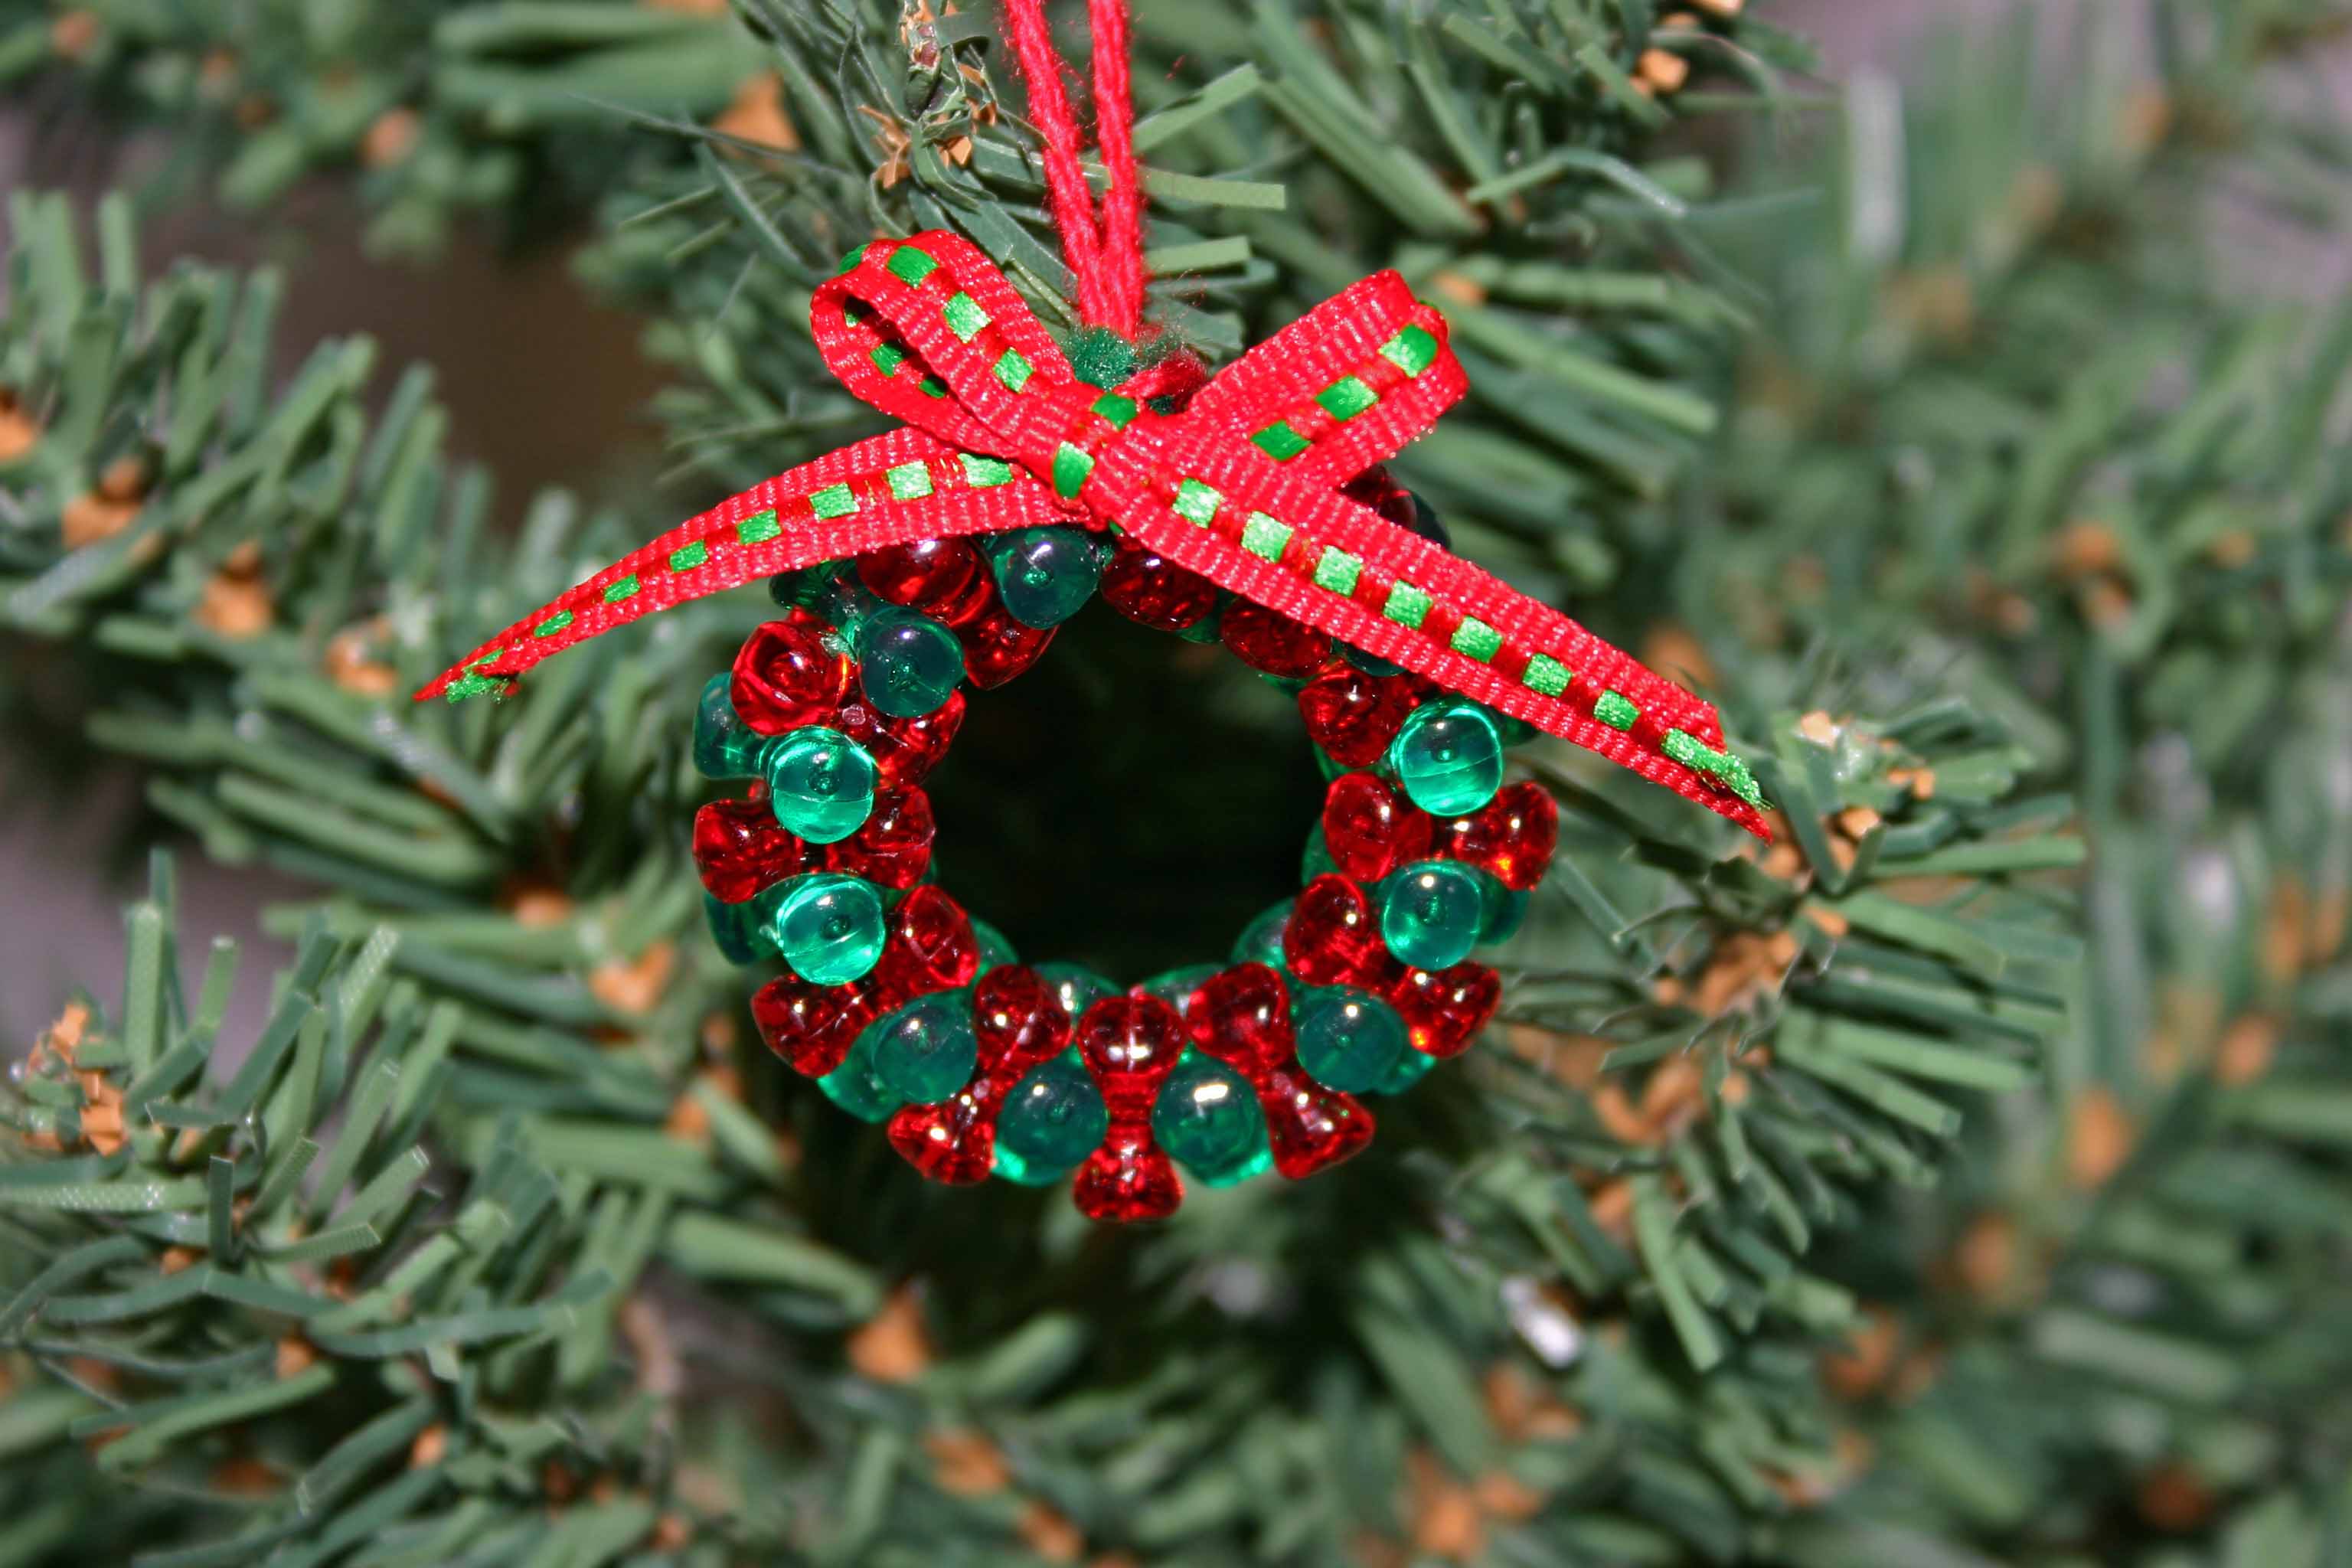
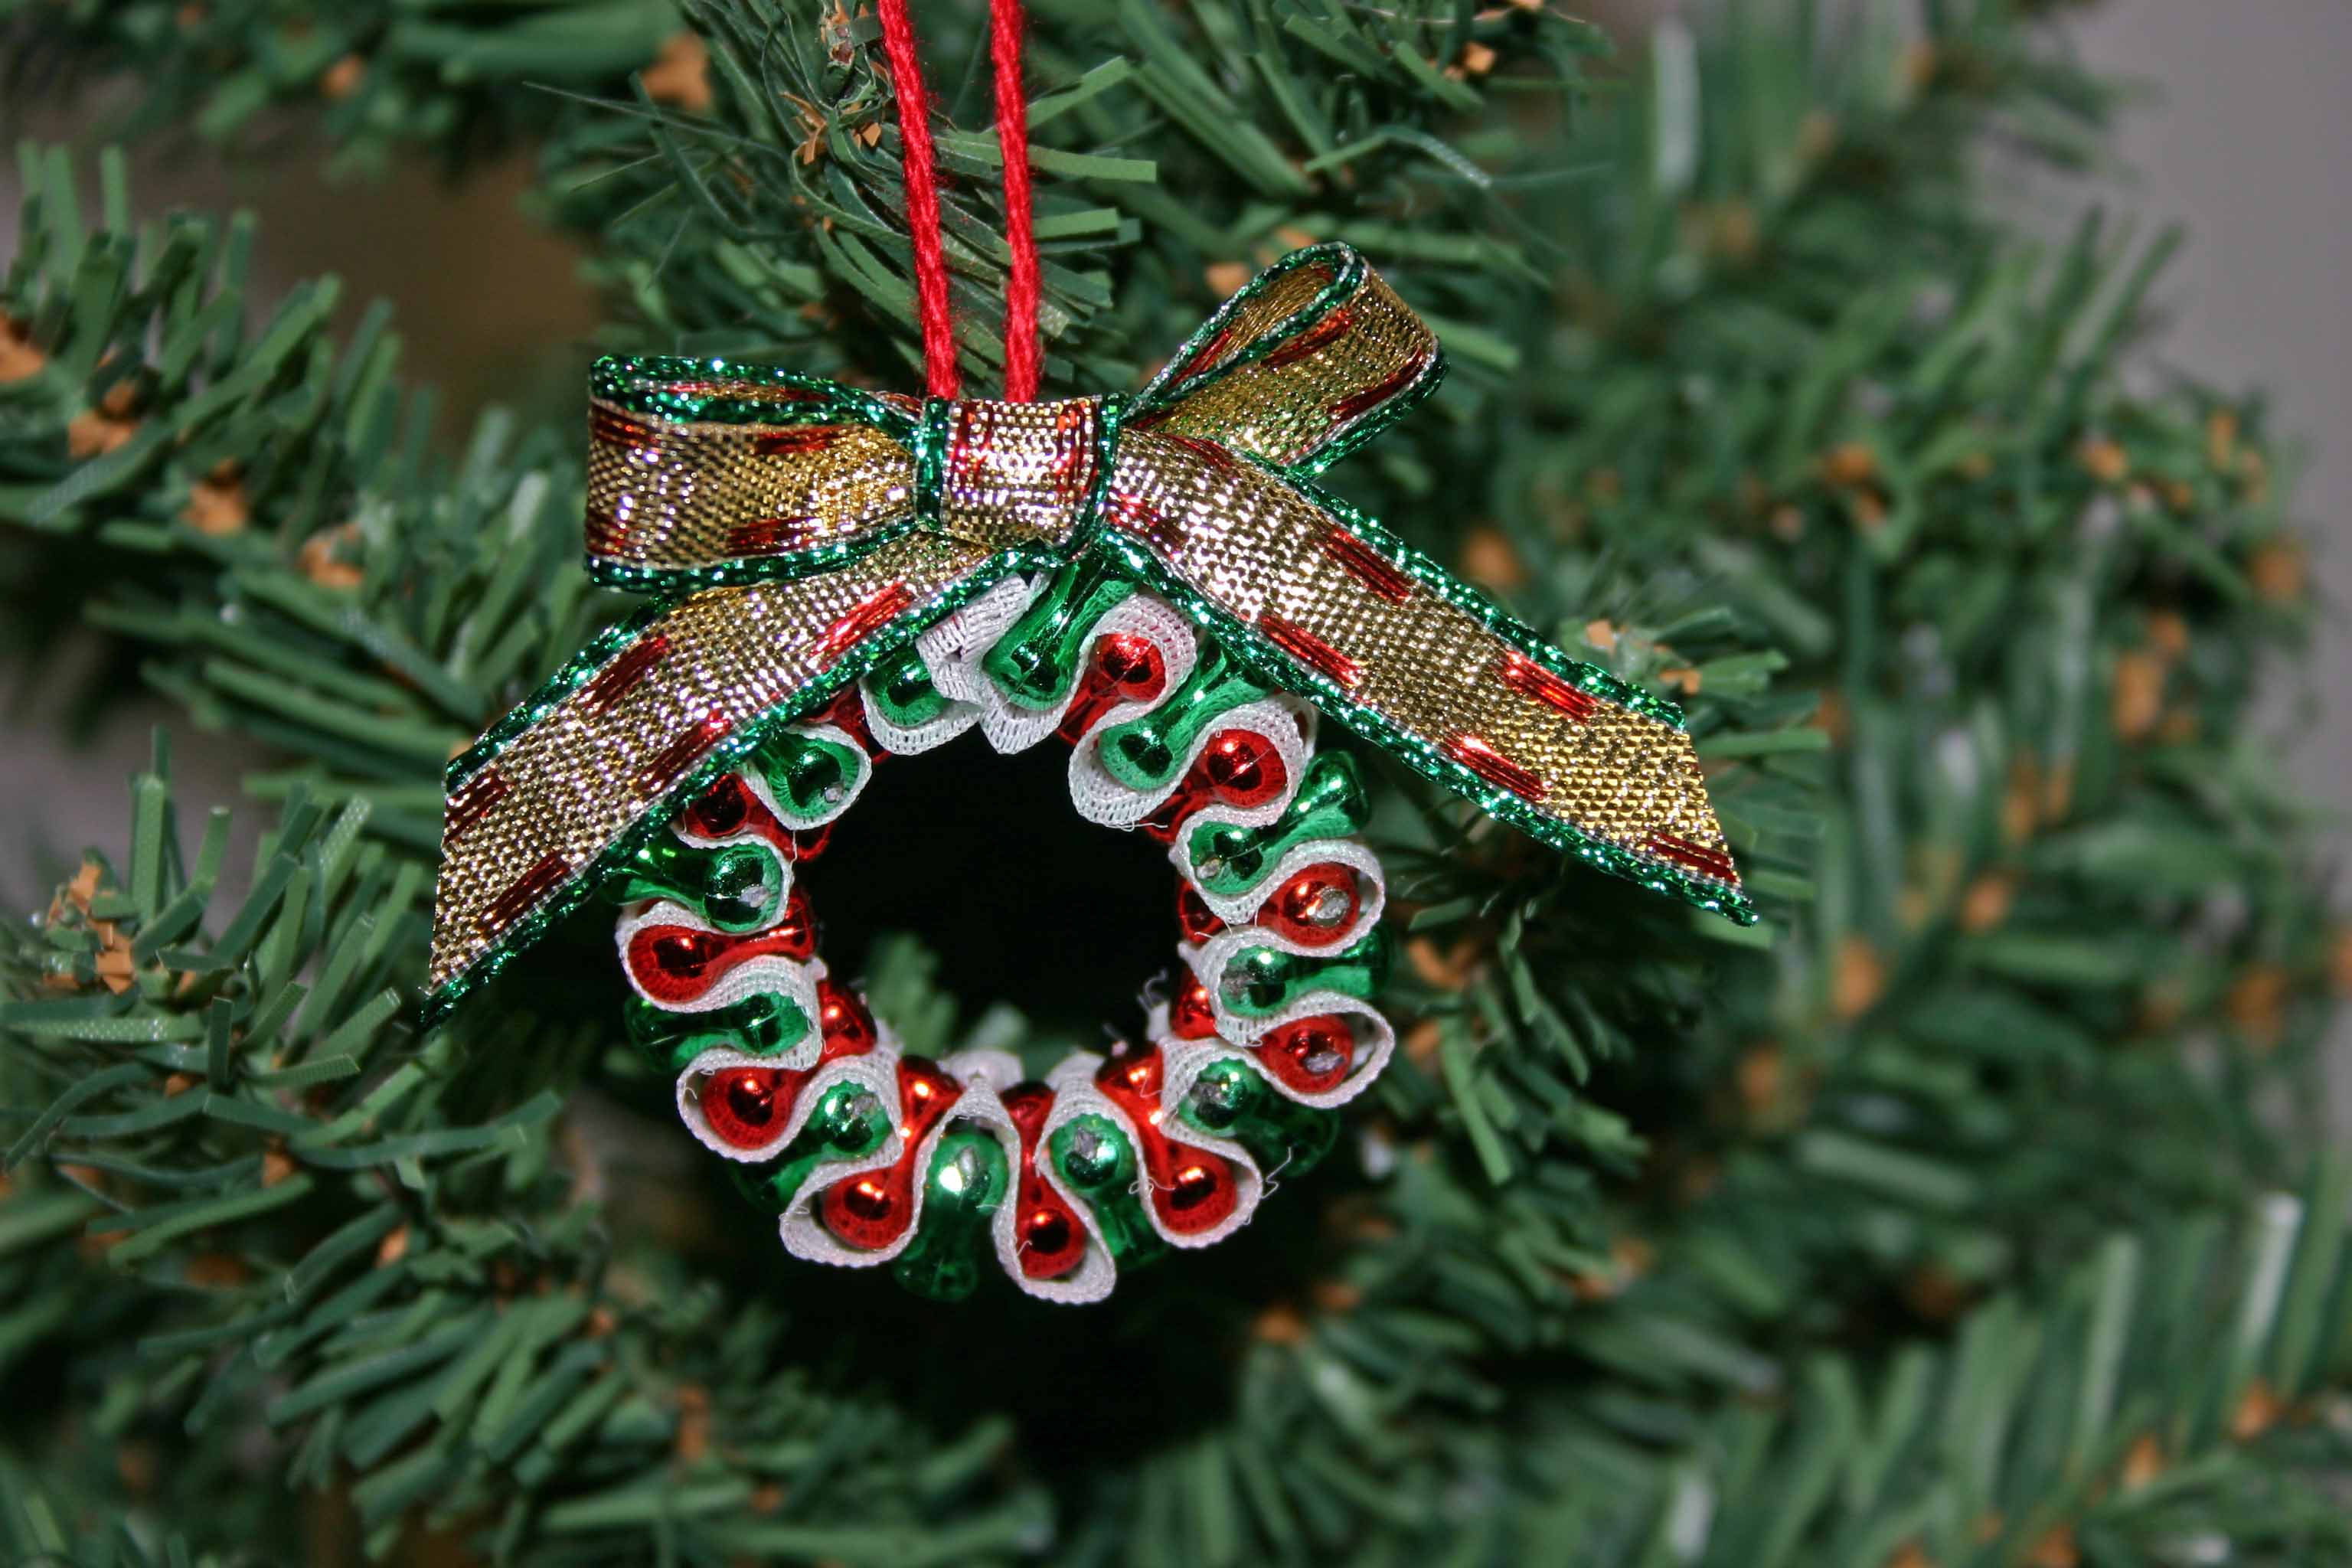
Next, this lacy metallic beaded Christmas wreath shows the traditional red and green colors of the holiday.
These beaded Christmas wreaths take just a few inexpensive materials along with a small amount of time to complete. Plus, the project is great for children. Depending on their age, they can make the whole ornament, or if younger, they can be a big help with the various steps such as putting the beads on the wire. Enjoy!
|
Sign up for our funEZcrafts How-To emails - they are free!
Our funEZcrafts emails include helpful tips and how-to hints for crafting and solving household problems. Plus, you can unsubscribe at any time.
|
© Copyright funEZcrafts, 2008. All Rights Reserved.
