|
funEZcrafts
New projects! |
Welcome! Come on in and visit awhile... |
|
| fun, easy and inexpensive craft projects for pleasure and profit |
Visit our funEZ Bazaar Celtic Mugs Section! |
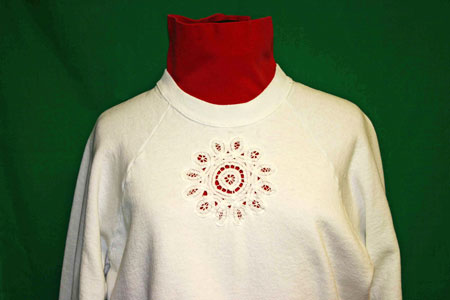
Frugal Fun Projects - Sweatshirt with Battenberg laceDo you like to wear sweatshirts but want them to be a little more decorative? Here's an easy frugal fun project showing how to enhance a sweatshirt with Battenberg lace. The first two pictures show sweatshirts with Battenberg lace made years ago. These sweatshirts with Battenberg lace come from my closet and have seen a lot of wear and a lot of laundry cycles. But, they still look nice. The first one is a white sweatshirt with a six inch round Battenberg lace doily inserted in the middle front.
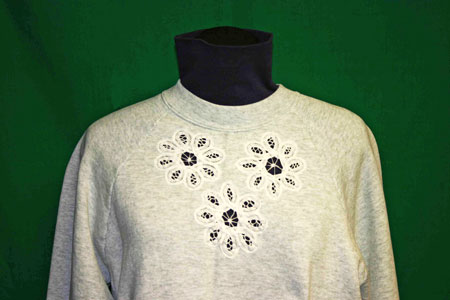
The second shirt is gray with three four inch Battenberg lace doilies placed in the front of the shirt.
The colors of a turtleneck or a t-shirt show behind the Battenberg lace, yet the sweatshirt remains warm for those fall days. Over the years, no special laundry care was taken. The shirts went into the wash with other light colors and washed normally. Both the shirts and the Battenberg lace still look nice. Frugal Fun Projects: Sweatshirt with Battenberg Lace Materials and Tools:
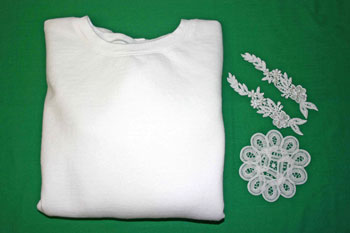
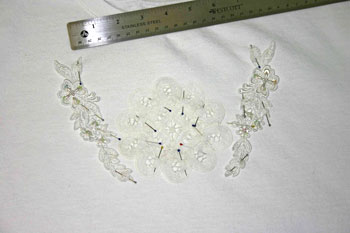
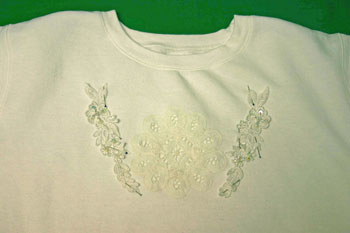
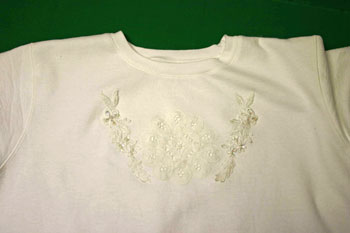
The Steps for How to Make the Frugal Fun Projects: Sweatshirt with Battenberg Lace:These how-to pictures show a white shirt with a four inch Battenberg lace doily and two appliques with beads and sequins.
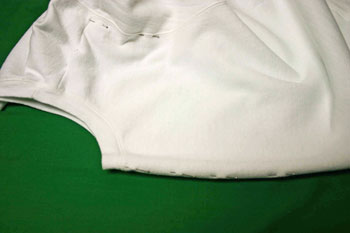
Find the center front of the sweatshirt. Match the shoulder and armhole seams to form a fold in the front. Use pins to hold the seams together. Form a line down the front fold with pins.
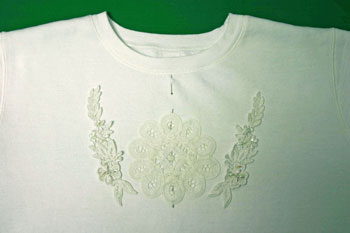
Remove the pins from the shoulder and armhole seams. Place the shirt on a flat surface with the front facing up. Begin trying positions for the Battenberg lace and the two appliques.
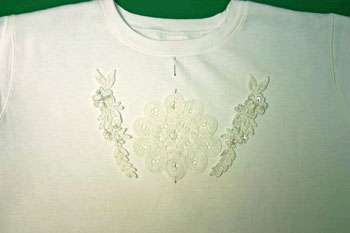
The doily centers over the front line of pins. The two appliques have the smaller ends positioned at the top. The doily looks good in that position, but let's try a different position for the two appliques. This time, let's put the small ends at the bottom.
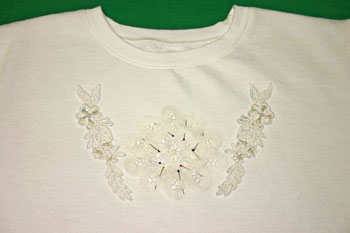
That looks better. Pin the doily to the shirt front over the line of pins. Remove the line of pins.
Determine the distance of the appliques from the Battenberg lace, from the neckline and from the armholes. A ruler or other measure will help but not be exact since the doily is not symmetrically proportioned. Work with the positioning until it pleases your eye.
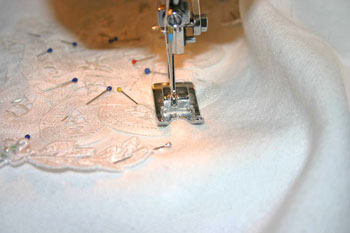
Make sure the pins hold the Battenberg lace and the appliques just to the front of the shirt and not the back too. Work on the center doily first. This allows adjustments to the appliques' positioning if necessary. Place the front of the shirt and the Battenberg lace doily under the presser foot of your machine. The needle should be close to the edge of the Battenberg lace - roughly 1/16th inch from the edge. Top stitch around the doily. If your sewing machine has the ability to stop with the needle down, turn it on. The needle down allows stopping and pivoting easily at the inner points around the Battenberg lace.
After top stitching around the Battenberg lace, cut the needle and bobbin threads two to three inches from the shirt. Take the beginning thread and the end thread from the top of the Battenberg lace to the back of the shirt. You can do this by pulling the stitch through to the back or by threading a needle with the end and pushing the needle to the back. Knot the threads on the inside of the shirt and trim. Remove any remaining pins from the Battenberg lace. Take a look at the position of the sewn Battenberg lace and the two appliques. Adjust their positions if necessary.
Use the same method to top stitch around the appliques. When finished, take the loose threads to the inside of the shirt, knot and trim the threads.
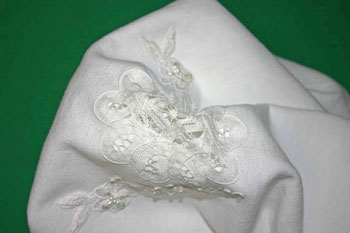
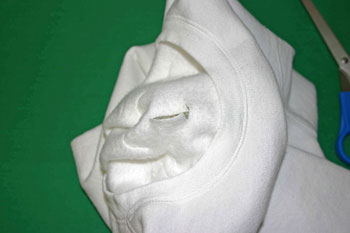
Pull the center of the Battenberg lace away from the sweatshirt.
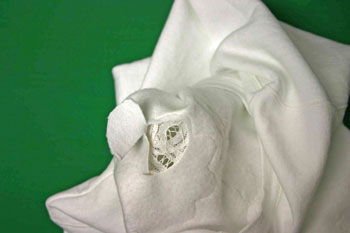
Make a cut in the sweatshirt material being careful not to cut the Battenberg lace.
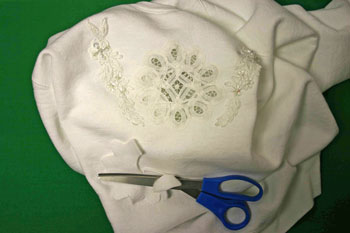
Carefully cut the sweatshirt material away from behind the Battenberg lace. Cut to within 1/8 to 3/16ths inch of the top stitching.
Continue cutting around the inside of the top stitched shape until the material is removed.
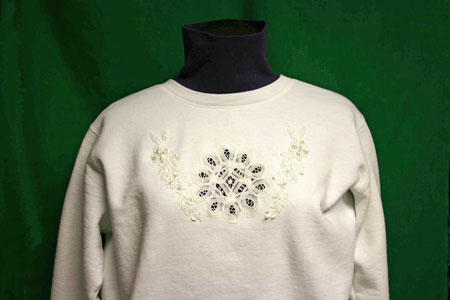
Here, the finished sweatshirt covers a purple turtleneck top. Just look at how pretty it is.
Enjoy adding decorative touches to your sweatshirts - for yourself or as very nice but inexpensive gifts for others. |
Visit our
funEZ Bazaar!
Sign up for our FREE newsletter and receive free access to a How to Sew Stitches downloadable e-book and a Cute Kitty project. Even fun for those who already know How to Sew Stitches!
funEZcrafts e-books!
Our fun felt Christmas Ornaments
Click on Sam the Siamese for access to our Cute Kitty project
|
© Copyright funEZcrafts, 2008-2015. All Rights Reserved.
Disclaimer: funEZcrafts includes advertisements and links to affiliate sites. By clicking through to an affiliate site, the prices do not increase. But, funEZcrafts receives a small percentage of the purchase amount. For that, thank you! Those funds help with the maintenance and addition of funEZcrafts projects.


