|
funEZcrafts
New projects! |
Welcome! Come on in and visit awhile... |
|
| fun, easy and inexpensive craft projects for pleasure and profit |
Visit our funEZ Bazaar Celtic Mugs Section! |
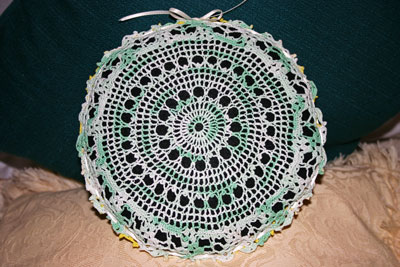
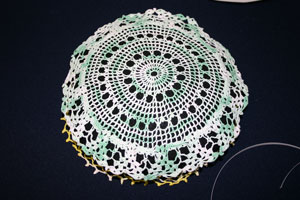
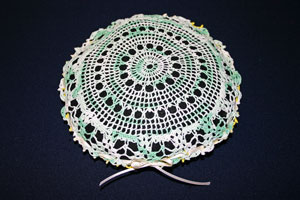
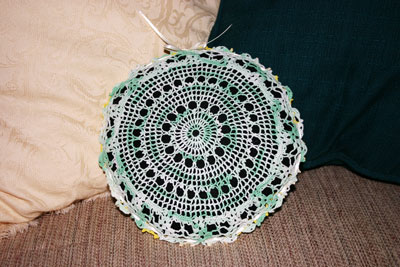
Frugal Fun Projects - Doily PillowDoilies readily present their beautiful workmanship whether they are handmade or machine made. Their intricate designs tease with wonderment about how the stitches interlock. Do you have gifts of doilies or have you purchased them for their beauty but you haven't used them yet? Here's how to make a doily pillow that will highlight their beauty. Let's look at the finished pillow. The first doily consists of multicolored green yarn.
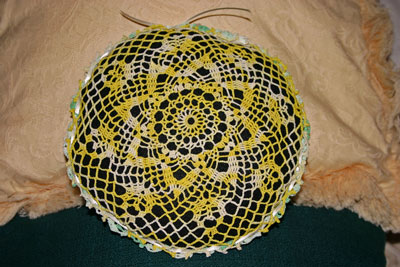
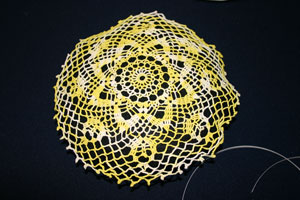
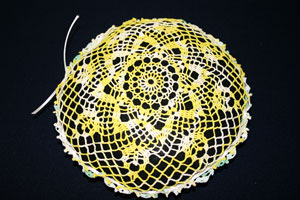
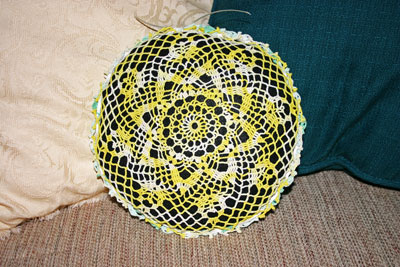
Multicolored yellow yarn formed the second doily.
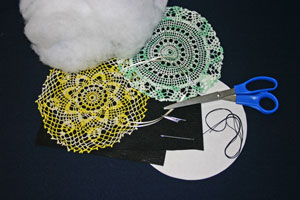
Frugal Fun Projects: Doily Pillow Materials and Tools:
The Steps for How to Make the Frugal Fun Projects: Doily Pillow:
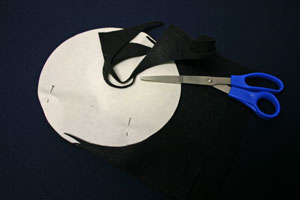
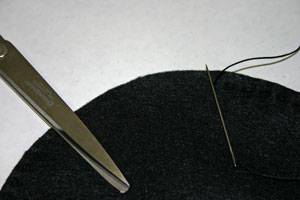
Cut a paper template the same size as the doilies. Here, the template is a circle 8 inches in diameter. Pin the template to the fabric and cut around the shape.
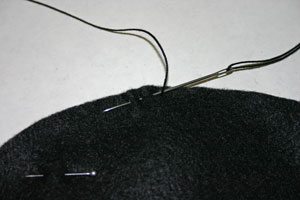
Pin the two pieces of fabric with right sides together. Thread the needle and knot one end of the thread. Begin sewing the two pieces of fabric together using a simple running stitch 1/4 inch from the edge.
Continue sewing around the shape until you get within 2 inches of where the stitches began. Stop stitching but leave the needle and thread attached to the shape.
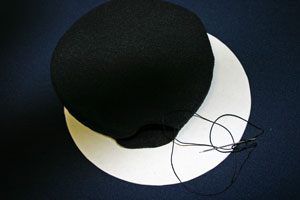
Turn the shape. The right sides will be on the outside and the seam will be on the inside.
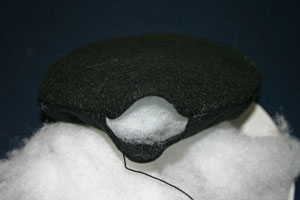
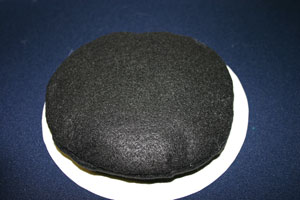
Stuff the pillow shape with the poly fiberfil to the firmness you prefer.
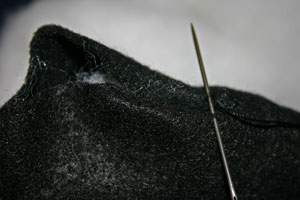
To complete the seam, turn under 1/4 inch on each side of the opening, and stitch catching each side with each stitch.
Knot the thread, hide the end thread within the pillow shape and cut the thread.
Position one of the doilies over one side of the pillow shape.
Turn both the doily and pillow shape over and place the second doily on top.
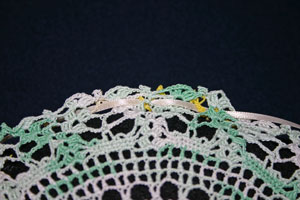
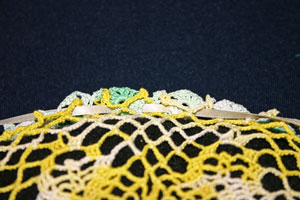
Begin weaving the ribbon through the edges of both doilies.
Keep the "stitching" as consistent as possible as you weave the ribbon through both doilies.
After completing the weave, tie a bow in the ends of the ribbon.
The opposite side shows the yellow doily.
Take a look at the finished pillow. First, the green side:
Next, the yellow side:
The doily pillow accents a chair, a couch, a window seat, a bed or wherever you want a pretty pillow. The delicate beauty of the crocheted doilies emphasizes their surroundings. This frugal fun project can be done easily and quickly to add a decorative touch to your home or to be given as a pretty gift to family members or friends. This simple project is fun, fast and rewarding for anyone to do. Enjoy! |
Visit our
funEZ Bazaar!
Sign up for our FREE newsletter and receive free access to a How to Sew Stitches downloadable e-book and a Cute Kitty project. Even fun for those who already know How to Sew Stitches!
funEZcrafts e-books!
Our fun felt Christmas Ornaments
Click on Sam the Siamese for access to our Cute Kitty project
|
© Copyright funEZcrafts, 2008-2015. All Rights Reserved.
Disclaimer: funEZcrafts includes advertisements and links to affiliate sites. By clicking through to an affiliate site, the prices do not increase. But, funEZcrafts receives a small percentage of the purchase amount. For that, thank you! Those funds help with the maintenance and addition of funEZcrafts projects.


