|
funEZcrafts
New projects! |
Welcome! Come on in and visit awhile... |
|
| fun, easy and inexpensive craft projects for pleasure and profit |
Visit our funEZ Bazaar Celtic Mugs Section! |
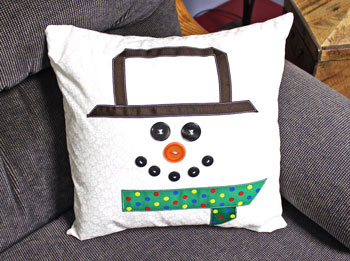
Frugal Fun Projects - Fred the Snowman PillowPillows can add fun accents to a home's decor especially when they have a character all their own. Here's how to make a Fred the Snowman Pillow using a small amount of fabric, some grosgrain ribbon and a few buttons. With a few inexpensive materials and some time, Fred the Snowman Pillow comes alive to give ol' Frosty some competition. The project is fun and easy and uses just basic sewing techniques. Plus, the simple structure allows you to change the pillow cover when spring melts Fred until next winter.
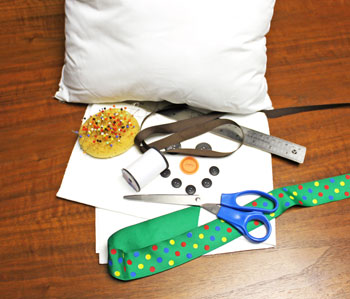
Frugal Fun Projects: Fred the Snowman Pillow Materials and Tools:
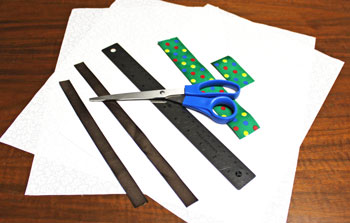
The Steps for How to Make the Frugal Fun Projects: Fred the Snowman Pillow:Cut the fabric shapes for the pillow. The front which forms the base for Fred the Snowman should be 14 1/2 inches by 14 1/2 inches. Cut two pieces for the back. Each should be 10 1/2 inches by 14 1/2 inches. Cut two lengths of the brown or black grosgrain ribbon. One should be 9 inches. The other should be 11 inches. Cut two lengths of the 1 3/8 inches wide grosgrain ribbon. The first should be 8 1/2 inches long. The second should be 2 1/2 inches long.
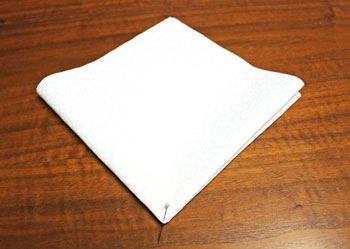
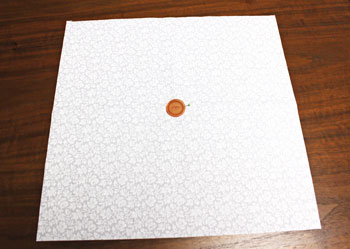
Fold the front piece of fabric in half and in half again with the wrong side inside the folds. Place a pin at the folded point. This is the center of the front of the pillow.
The orange button for Fred the Snowman's "carrot" nose will be on the center point.
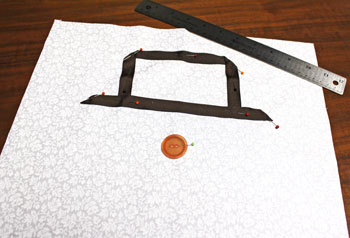
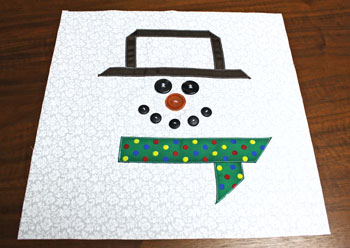
Print the hints for how to position the ribbons and buttons in Fred the Snowman Pillow How to Position Pieces (click to open printable PDF). The hints print on 8 1/2 x 11 paper. The notes identify how to position the ribbons and buttons. Fold the 11-inch piece of ribbon in half. Position the center of the ribbon in the center of the fabric and 1 3/4 inches from the top edge. Pin the ribbon parallel to the edge of the fabric. Fold over the ends to form the sides of the top of the hat. The ends should be 2 3/4 inches from the bottom edge of the upper crosswise ribbon. Fold the 9-inch piece of ribbon in half to find the center. Position the center of the ribbon over the center of the fabric such that the ribbon overlaps each end of the hat's sides by 1/4 inch. Fold over each end of the ribbon hat brim at a 45-degree angle. Pin the ribbon in place.
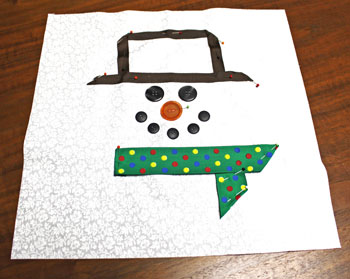
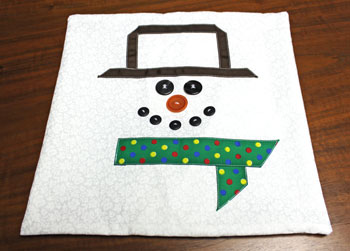
Here, the buttons are just placed on the fabric for an idea of how the face fits between the ribbons. Position the 2 1/2-inch ribbon vertically under and to the right of the vertical hat ribbon. Fold the bottom end at a 45-degree angle. The bottom point should be 1 3/4-inch from the bottom edge. Fold over one end of the 8 1/2-inch long ribbon and place it four inches from the left edge. Overlap the raw end of the short ribbon by 1/4 inch. Pin in place.
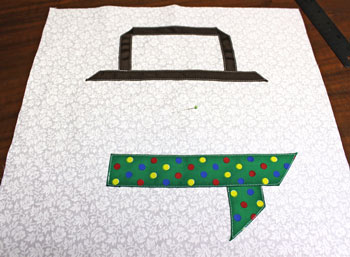
Top stitch around the ribbon shapes to form the hat and the scarf for the Fred the Snowman pillow.
Position the buttons to form the eyes, nose and smile. Sew the buttons to the fabric.
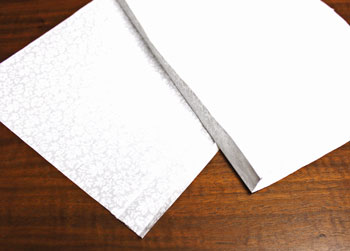
Press under 1/4 inch on one long edge of each back piece. Press again folding under 1 inch.
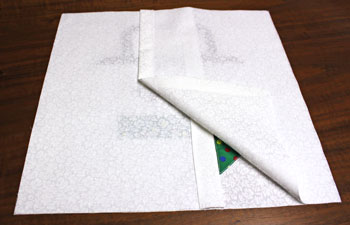
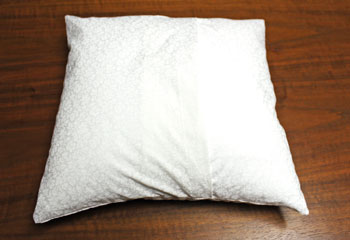
Sew along the edge of the folded material on both back pieces to finish the edges. They will be in the middle back of the completed pillow cover. Overlap the two back pieces vertically across the snowman's face with the right sides facing inward. Pin the edges together.
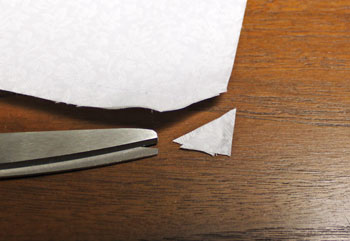
Sew around all four edges with a 1/4 to 3/8 inch seam allowance. Trim the corners at an angle. Be careful not to cut the stitches.
Turn the Fred the Snowman Pillow shape right side out. Push the fabric at the corners to form the points.
Insert the pillow form into the overlapped edge at the back.
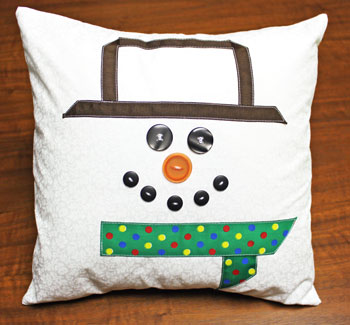
Here he is, Fred the Snowman Pillow finished and ready to make anyone smile.
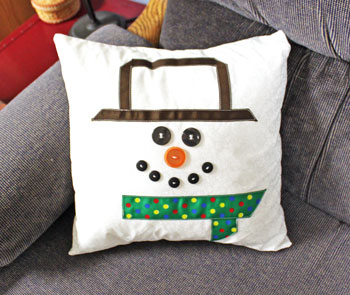
Place him on a couch, a bed, a window seat or anywhere a small pillow can add fun and character.
With simple and inexpensive materials and tools, this pillow project adds a fun accent to your home. It also makes a wonderful gift for family and friends. Enjoy making this fun and easy Fred the Snowman pillow! |
Visit our
funEZ Bazaar!
Sign up for our FREE newsletter and receive free access to a How to Sew Stitches downloadable e-book and a Cute Kitty project. Even fun for those who already know How to Sew Stitches!
funEZcrafts e-books!
Our fun felt Christmas Ornaments
Click on Sam the Siamese for access to our Cute Kitty project
|
© Copyright funEZcrafts, 2008-2015. All Rights Reserved.
Disclaimer: funEZcrafts includes advertisements and links to affiliate sites. By clicking through to an affiliate site, the prices do not increase. But, funEZcrafts receives a small percentage of the purchase amount. For that, thank you! Those funds help with the maintenance and addition of funEZcrafts projects.


