|
funEZcrafts
New projects! |
Welcome! Come on in and visit awhile... |
|
| fun, easy and inexpensive craft projects for pleasure and profit |
Visit our funEZ Bazaar Celtic Mugs Section! |
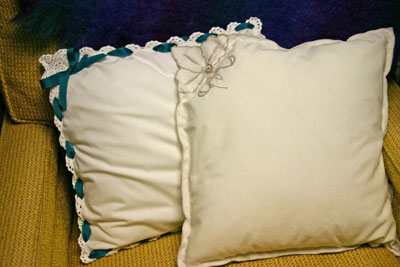
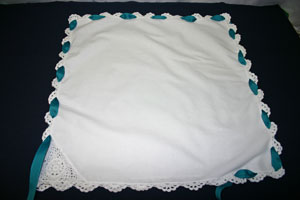
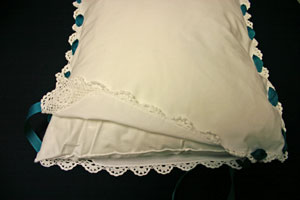
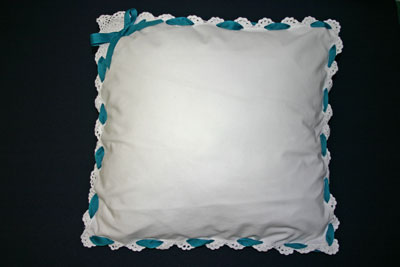
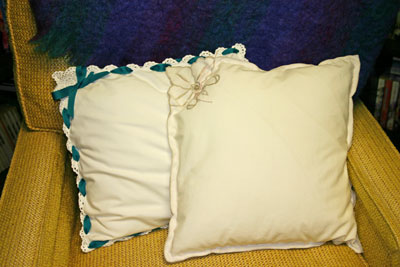
Frugal Fun Projects - Easy Napkin PillowAdding pillows to your decor softens the room and makes it more inviting. Two pretty napkins and a pillow form make an easy napkin pillow quickly and inexpensively. Maybe you have a set of napkins with a few damaged. You can easily turn the good napkins into pretty napkin pillows. Or, you can find pretty napkins sold individually in overstock stores at an inexpensive price. Here are two finished pillows:
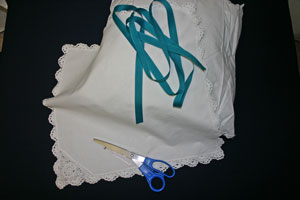
First, let's make the ribbon napkin pillow. Frugal Fun Projects: Ribbon Napkin Pillow Materials and Tools:
The Steps for How to Make the Frugal Fun Projects: Ribbon Napkin Pillow:
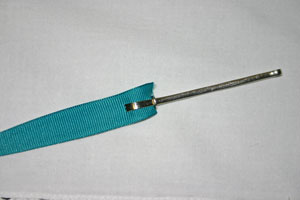
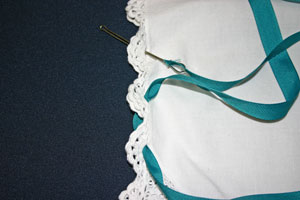
Place the bodkin on one end of the ribbon to help weave the ribbon through the lace. However, rolling the end of the ribbon lengthwise and securing with tape can actually work better if the bodkin has difficulty going through the holes in the lace.
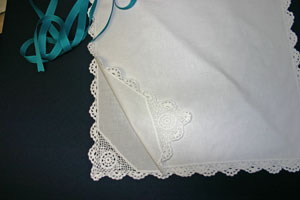
Even though you use both sides of a napkin, there is a "right" and a "wrong" side to the napkin. Look at both sides of each napkin to determine which sides should be on the outside of the pillow. The "wrong" sides should face each other with the outer edges matching.
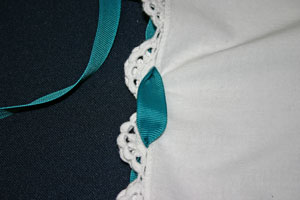
Start where you want the ribbon bow to be when finished. Weave the ribbon through the holes in the lace, matching the lace edges as much as possible. Leave six to eight inches of ribbon where you started for tying the bow.
As you weave the ribbon, make sure the ribbon does not twist.
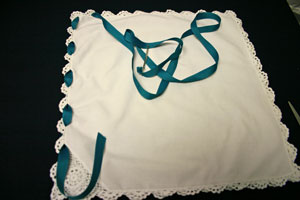
Continue weaving the ribbon through the lace. Keep the woven "stitches" equidistant as you weave. Notice we started on the corner with the lace decoration. The bow will highlight the pretty lace when finished.
After weaving around three sides, stop to insert the pillow form.
Tuck the pillow form between the two napkins. Make sure the corners of the pillow form and the napkins match.
Weave the fourth side to enclose the pillow form. Tie a pretty bow in the ends of the ribbon. Trim the ribbon ends at a 45 degree angle.
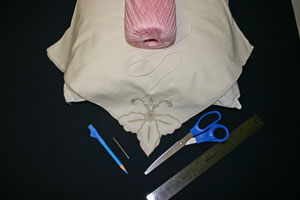
What if you don't have or can't readily find lace edged napkins? This next napkin pillow uses yarn to hold the two napkins together. Frugal Fun Projects: Yarn Napkin Pillow Materials and Tools:
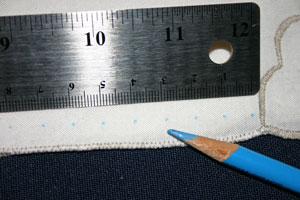
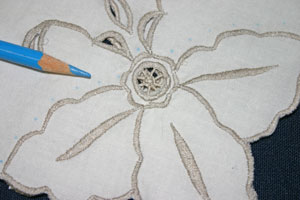
This first step is optional if you can make equidistant stitches. Use the pencil and ruler to mark the location for the stitches around the edges of one of the napkins. Mark the dots where the needle will go lightly with the pencil. The stitch length is your preference. Shorter stitches provide more strength. Longer stitches allow you to complete the project faster.
Finish marking all four sides. For this pillow, part of the corner decoration will be outside the pillow shape. You could also follow the outer edge of the napkins.
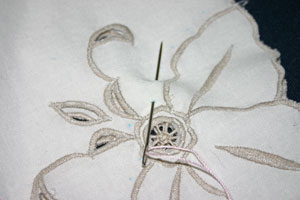
Thread the needle with the chosen yarn. Make sure you have enough yarn to go around all four sides of the napkins with some left to tie a bow. Start stitching where the final bow should be.
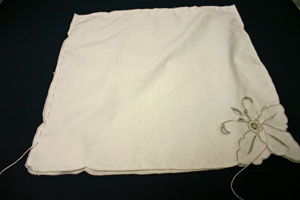
Leave six to eight inches of yarn at the start of the stitching to be part of the bow at the end.
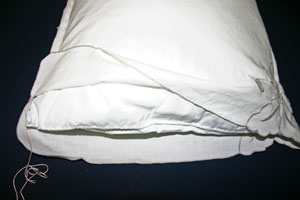
After three sides of the napkins have been stitched together, stop to insert the pillow form.
Insert the pillow into the pocket made by the two napkins. Be careful not to pull the loose yarn out from where you started. If you do, just thread your needle with the yarn left at the beginning and re-stitch. (Voice of experience.)
Complete the stitches on the fourth side. Tie a bow in the yarn and clip the ends. You may also want to tie a safety knot in the bow (like that for children's shoe laces).
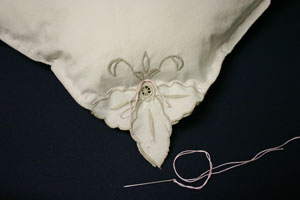
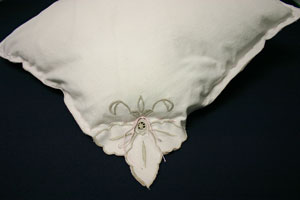
The finished pillow took very little time and materials to make. Here you can see the decorative corner highlighted by the bow and by leaving it outside the pillow form.
Four napkins, two pillow forms, a length of ribbon and a length of yarn along with a short amount of time made these two pretty napkin pillows. These pretty pillows accent a chair, bed, daybed, window seat or where you want some softness.
Whether a skilled crafter, a beginner, or just someone who wants a pretty pillow accent, you can make this easy napkin pillow. The inexpensive materials and tools, the simple steps and the short amount of work time allow you to make several of these to enjoy in your home, to give as gifts or to sell in craft or church bazaars. This simple project is fun, fast and rewarding for anyone to do. Enjoy! |
Visit our
funEZ Bazaar!
Sign up for our FREE newsletter and receive free access to a How to Sew Stitches downloadable e-book and a Cute Kitty project. Even fun for those who already know How to Sew Stitches!
funEZcrafts e-books!
Our fun felt Christmas Ornaments
Click on Sam the Siamese for access to our Cute Kitty project
|
© Copyright funEZcrafts, 2008-2015. All Rights Reserved.
Disclaimer: funEZcrafts includes advertisements and links to affiliate sites. By clicking through to an affiliate site, the prices do not increase. But, funEZcrafts receives a small percentage of the purchase amount. For that, thank you! Those funds help with the maintenance and addition of funEZcrafts projects.


