|
funEZcrafts
New projects! |
Welcome! Come on in and visit awhile... |
|
| fun, easy and inexpensive craft projects for pleasure and profit |
Visit our funEZ Bazaar Celtic Mugs Section! |
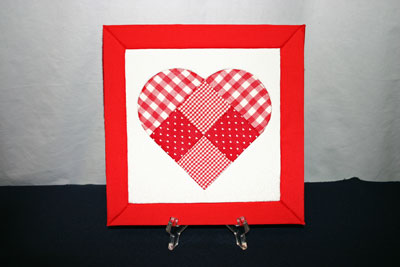
Frugal Fun Projects - Punched Quilt HeartQuilts. Some contain geometric patterns. Some tell a story. Some functionally use scrap fabric while others include carefully planned colors and fabrics. Regardless, all of the quilts infuse a feeling of home and warmth with their beauty and skillful construction. But, quilting takes time. Our instructions show how easily you can complete a beautiful punched quilt heart within a small amount of time using inexpensive materials and tools.
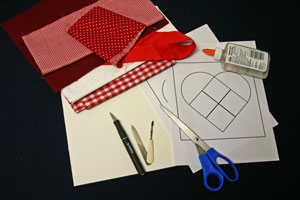
Frugal Fun Projects: Punched Quilt Heart Materials and Tools:
The Steps for How to Make the Frugal Fun Projects: Punched Quilt Heart:
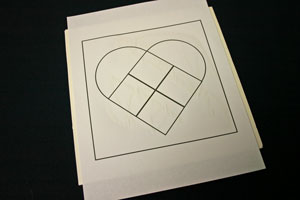
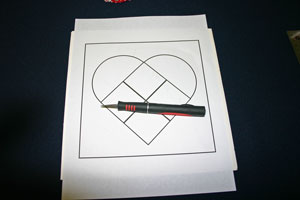
Print two copies of the punched quilt heart pattern. Center and glue one of the 7 x 7 patterns within the 9 x 9 square of foam core board. Let the glue dry.
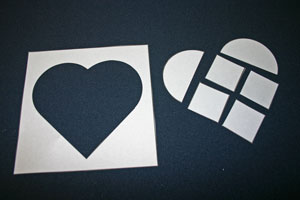
Using the second printed pattern, cut the individual pattern pieces apart.
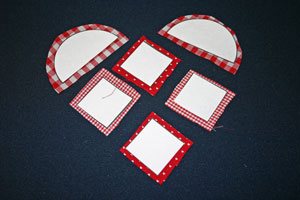
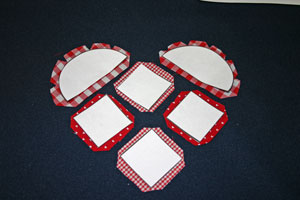
Select the fabric for each piece and cut the shapes allowing for 1/4 inch extra fabric around each pattern. This extra fabric will be punched into the foam core board.
Similar to sewing, clip the curves and corners. This removes excess fabric from the punched quilt heart "seams" and makes it easier to push the fabric into the foam core board.
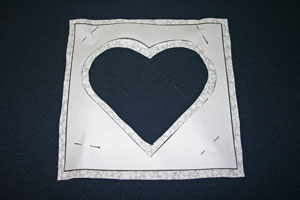
Likewise, pin the pattern to the background fabric, and cut the heart shape allowing 1/4 inch extra fabric on the outside and inside of the pattern.
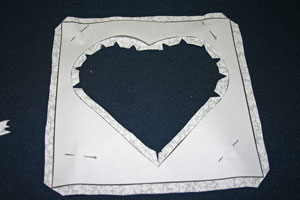
Clip the curves and points inside the heart shape and cut the outer corners on the diagonal.
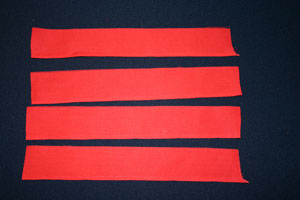
Cut four pieces of fabric for the outside frame. They should be 9.5 inches long by 2+ inches wide. The width should include the punched seam allowance (1/4 inch), the width of the frame (1 inch), the depth of the foam core (1/4 inch) and enough fabric to wrap to the back (at least 1/2 inch or more).
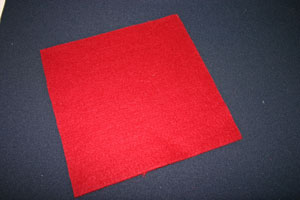
Cut the felt backing into a square 8 3/4 x 8 3/4 inches. The slightly smaller dimensions prevents the felt from overlapping the back edge.
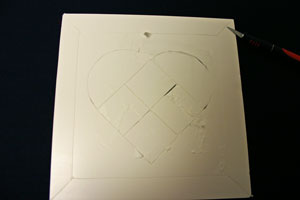
Use a sharp blade (craft or kitchen knife) to score the foam core board along the lines of the pattern glued to the board. Cut through the pattern, the top layer of the foam core board and the middle core of foam. Be careful NOT to cut through the bottom layer of the foam core board. A few cuts into the back are fine, but consistently cutting through all layers destroys the structure of the foam core board.
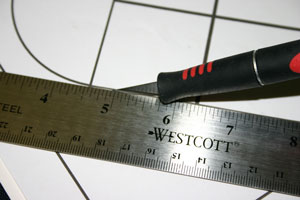
Use a ruler or straight edge to make cutting the straight lines faster.
Make sure all the lines are scored before removing the pattern. You can leave the pattern attached if the printed lines won't show through the fabric. In this example, the black lines on the pattern would show through the white fabric. For the four corners, cut a diagonal line from the square to the outer corner of the foam core. (The craft knife points to one of the corner cuts below.)
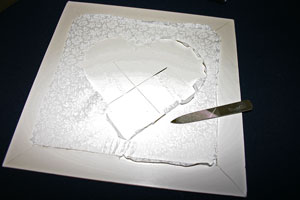
Position the fabric background over the cut lines in the foam core board. Use a nail file to push the fabric edge into the cut channels. You can use a dull knife instead for pushing the fabric into the channels. To anchor the fabric, push the fabric into the foam core on opposite sides - top and bottom, left and right, inside and outside of the pattern. After the fabric is anchored, you can punch the rest of the "seams" into the foam core.
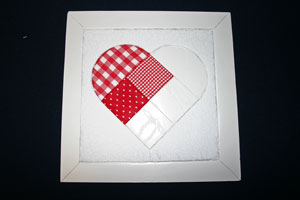
Use the same technique to add the heart pieces to the foam core.
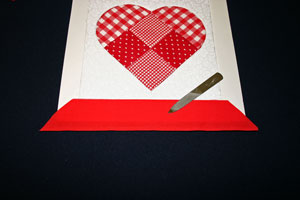
For the frame, position the fabric along the edge, trim the ends diagonally with an extra 1/4 inch to punch into the foam core board.
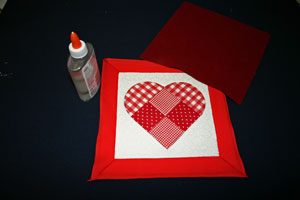
After punching the frame fabric, wrap the material to the back of the foam core board and hold in place with drops of glue. Center the felt backing on the foam core board and attach with glue.
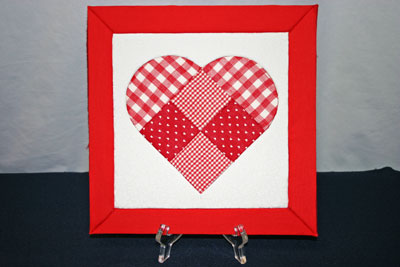
With a small of time and effort, you have a cheerful and pretty quilted square that can sit in a frame or hang on a wall.
The punched quilt heart takes only a few scraps of material to make. As a beautiful alternative, you can use scraps of children's worn or outgrown clothing to make a remembrance heart. Or, many piece goods stores offer scraps of fabric at an inexpensive price. Regardless, you can have fun making this beautiful punched quilt heart square to be enjoyed in your own home or to be given to friends or family as a gift from your heart. Enjoy! |
Visit our
funEZ Bazaar!
Sign up for our FREE newsletter and receive free access to a How to Sew Stitches downloadable e-book and a Cute Kitty project. Even fun for those who already know How to Sew Stitches!
funEZcrafts e-books!
Our fun felt Christmas Ornaments
Click on Sam the Siamese for access to our Cute Kitty project
|
© Copyright funEZcrafts, 2008-2015. All Rights Reserved.
Disclaimer: funEZcrafts includes advertisements and links to affiliate sites. By clicking through to an affiliate site, the prices do not increase. But, funEZcrafts receives a small percentage of the purchase amount. For that, thank you! Those funds help with the maintenance and addition of funEZcrafts projects.


