|
funEZcrafts
New projects! |
Welcome! Come on in and visit awhile... |
|
| fun, easy and inexpensive craft projects for pleasure and profit |
Visit our funEZ Bazaar Celtic Mugs Section! |
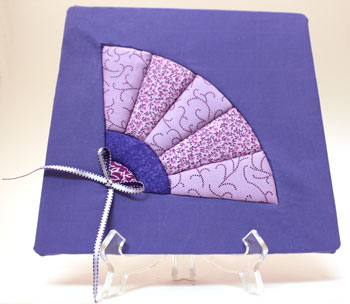
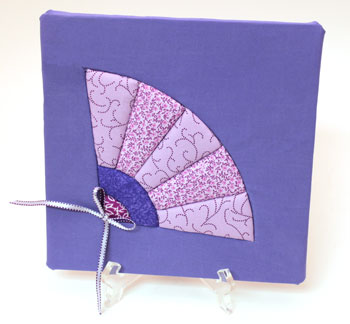
Frugal Fun Projects - Punched Quilt FanThis pretty little punched quilt fan is fun and easy to do taking only a few materials and simple tools. And, this little quilt square doesn't require any sewing at all. Normally, quilting takes time. But, our instructions show how easily you can complete a beautiful punched quilt fan within a small amount of time using inexpensive materials and tools.
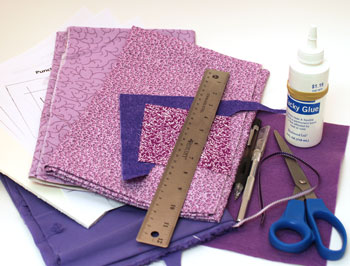
Frugal Fun Projects: Punched Quilt Fan Materials and Tools:
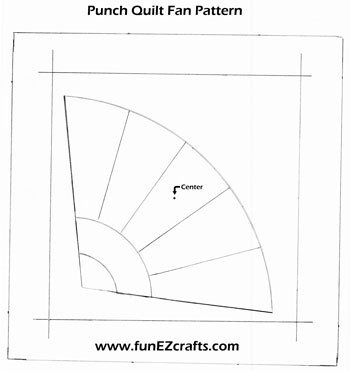
The Steps for How to Make the Frugal Fun Projects: Punched Quilt Fan:Print three copies of the punched quilt fan pattern.
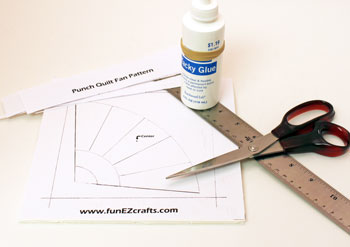
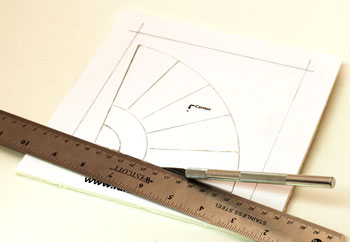
Cut an 8 x 8-inch square of foam core. Cut along the outer square drawn on one of the printed patterns. Center and glue the trimmed punched quilt fan pattern on the square of foam core board. Let the glue dry.
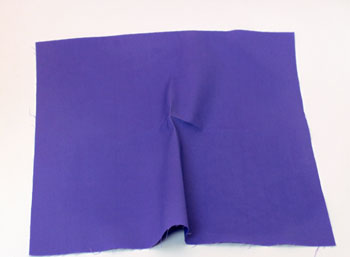
Cut a 12 x 12 inch square of fabric for the background. Find the center of the fabric. Fold the fabric in half and crease the center area. Fold the fabric in half the other direction and crease the center. The "X" made by the creases shows the center of the fabric.
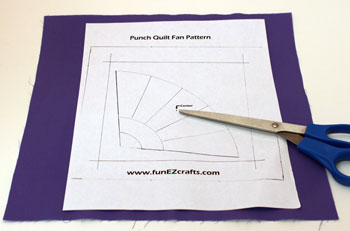
Position the second printed pattern over the background fabric matching the center on the pattern with the center of the fabric.
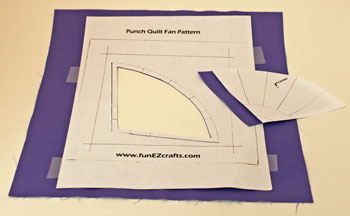
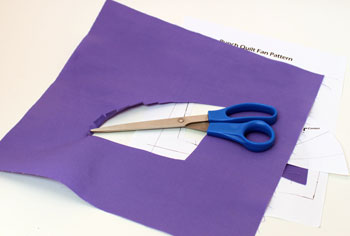
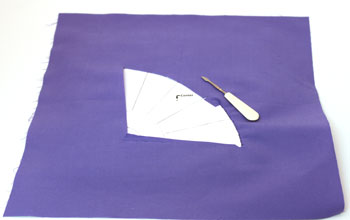
Tape the pattern to the background fabric. Cut around the fan shape 1/4 inch inside the line. This 1/4 inch will be punched into the foam core.
Clip the corners and the curved edge to make the punching easier.
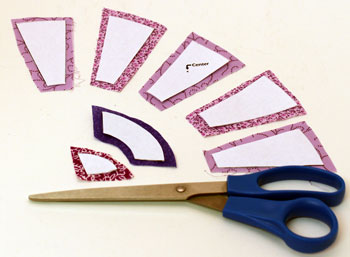
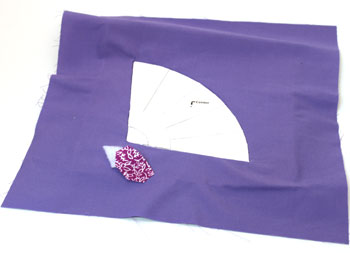
With the third printed pattern, cut each of the paper fan pieces. Make sure you keep the five fan shapes in the same order as the pattern. You can number the pieces 1 through 5 to help you remember. Select the fabric for each fan piece and cut the shapes allowing for 1/4 inch extra fabric around each pattern. This extra fabric will be punched into the foam core board.
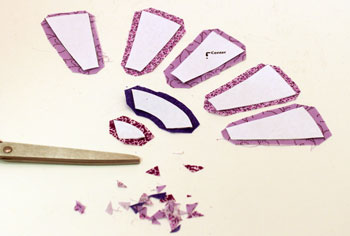
Similar to sewing, clip the curves and corners. This removes excess fabric from the punched quilt heart "seams" and makes it easier to push the fabric into the foam core board.
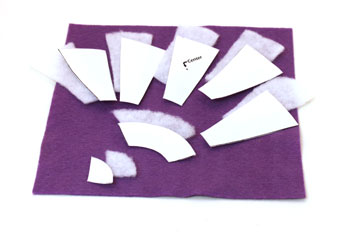
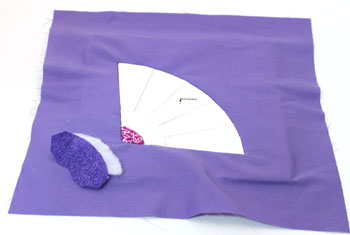
For each of the fan pieces, cut batting the same size as each piece. The fabric will wrap the batting and hold it in place. You could use make-up pads or pieces of felt instead of the batting. The idea is to get a raised relief to the shape like quilting.
After the glue has dried, cut along each of the lines of the fan shape. Cut through the top layer and the foam core, but do not cut through the bottom layer. It's okay if you cut through in a few spots since there will be a felt back hiding any push throughs. But, it is the bottom layer that holds the shape together, so be careful not to cut through in many places.
Position the background fabric over the foam core. Match the cut-out fan shape in the fabric with its 1/4 inch "seam" to the fan shape glued to the foam core. Make sure the corners of the fabric are clipped enough to push the seam into the foam core. Otherwise, the corners will pucker. Be careful to not clip the corners too much as the cut will show on the front. Just remember, it's better to clip in stages than to clip too much. Begin punching the fabric into the foam core. (I use a tool from a manicure kit to punch the fabric.)
Next, add the small triangular point with its small piece of batting.
Add the curved arc with its batting.
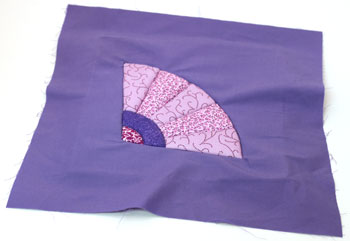
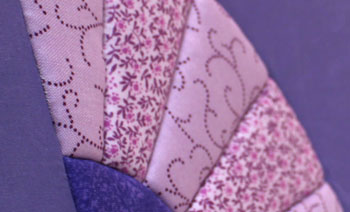
Add the five fan shapes with the batting underneath each one.
Here's a close-up of the fan shapes. The batting helps define each fan piece.
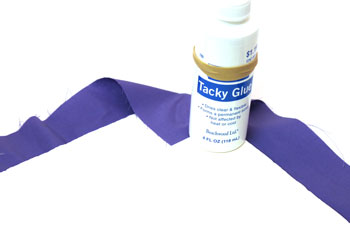
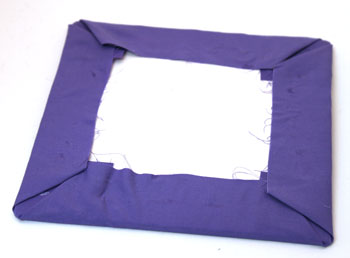
Begin folding the corners of the extra background fabric to the back of the foam core. Glue each corner.
Fold the fabric edges to the back pulling the fabric snugly but not too tightly to damage the punched seams. Glue the edges to the back of the foam core.
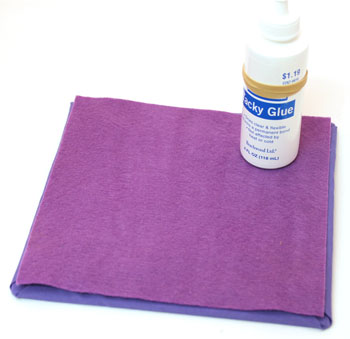
Glue the felt square over the folded fabric on the back of the foam core.
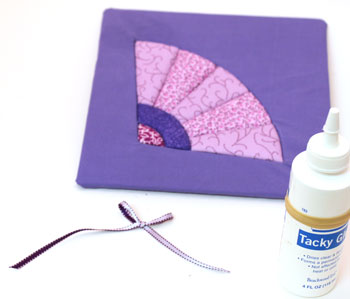
Tie the ribbon into a small bow.
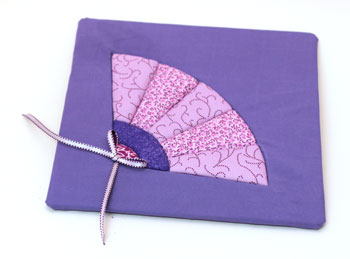
Glue the ribbon to the corner of the fan.
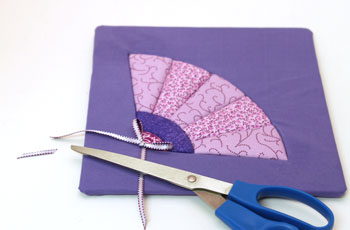
Trim the ends of the ribbon, if desired.
This pretty little punched quilt fan adds a fun and whimsical touch to any decor.
This punched quilt fan uses a small amount of fabric scraps and a few simple tools to make. It's fun and easy! (Visit our punched quilt heart for different pattern and slightly different steps.) Enjoy! |
Visit our
funEZ Bazaar!
Sign up for our FREE newsletter and receive free access to a How to Sew Stitches downloadable e-book and a Cute Kitty project. Even fun for those who already know How to Sew Stitches!
funEZcrafts e-books!
Our fun felt Christmas Ornaments
Click on Sam the Siamese for access to our Cute Kitty project
|
© Copyright funEZcrafts, 2008-2015. All Rights Reserved.
Disclaimer: funEZcrafts includes advertisements and links to affiliate sites. By clicking through to an affiliate site, the prices do not increase. But, funEZcrafts receives a small percentage of the purchase amount. For that, thank you! Those funds help with the maintenance and addition of funEZcrafts projects.


