|
funEZcrafts
New projects! |
Welcome! Come on in and visit awhile... |
|
| fun, easy and inexpensive craft projects for pleasure and profit |
Visit our funEZ Bazaar Celtic Mugs Section! |
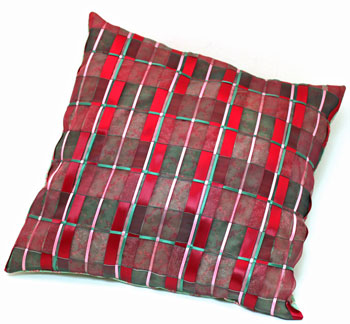
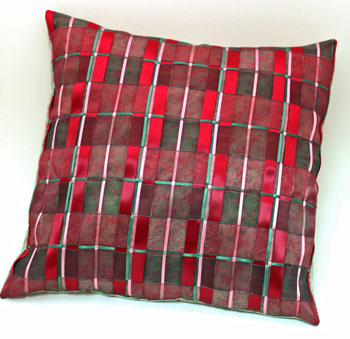
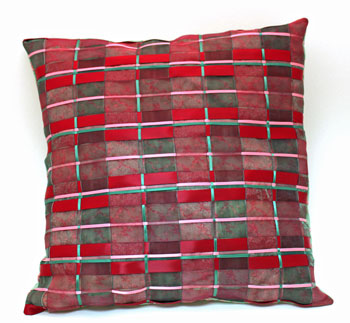
Frugal Fun Projects - Woven Ribbon Pillow PlaidThis fun and easy woven ribbon pillow looks plaid, but the ribbons weave over and under each other in a simple basket weave pattern. With a few inexpensive materials and some time, this woven ribbon pillow in plaid becomes a conversation piece among family, friends and guests. The overlapped construction makes it easy to change the woven ribbon pillow plaid cover whenever you want an easy change to your decor. The woven ribbon pillow plaid uses a variety of ribbons with widths from 1/8-inch to 1 1/2 inches in green, pink and burgundy colors. With their different sizes, the over and under basket weave makes the resulting pillow cover appear to be plaid.
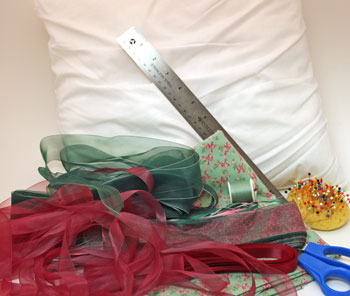
Frugal Fun Projects: Woven Ribbon Pillow Plaid Materials and Tools:
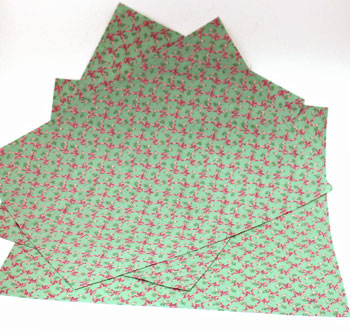
The Steps for How to Make the Frugal Fun Projects: Woven Ribbon Pillow Plaid:Cut the fabric shapes for the pillow. The front which forms the base for the ribbon weave should be 16 1/2 inches by 16 1/2 inches. Cut two pieces for the back. Each should be 12 1/2 inches by 16 1/2 inches.
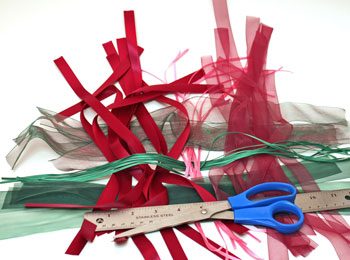
Cut the ribbon in lengths of 16 1/2 inches. The quantities of ribbon shown depend on the widths of the ribbons. The sum of the ribbon widths on each side should not be greater than 16 inches. The horizontal ribbons in green include five repeats of the green ribbon at 1 1/2 inches wide and the red highlighted green ribbon also 1 1/2 inches wide. In addition, four narrow green ribbons (1/8 inch) go between the five wide repeating patterns. The total of the widths equals 15 1/2 inches. The vertical ribbons include five repeats of the solid burgundy (1/2 inch), the sheer burgundy (3/4 inch), the narrow pink (1/8 inch), the sheer burgundy (3/4 inch), the solid burgundy (1/2 inch) the pink (1/8 inch) and the green (1/8 inch) ribbons. The total of the widths is just under 15 inches.
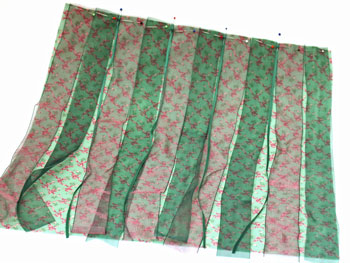
With the front fabric right side up, alternate the horizontal ribbons. The order is red highlighted green ribbon, green sheer ribbon and narrow green ribbon. The narrow green ribbon does not get added on the fifth repeat of the pattern. Pin the ends of the ribbon near the edge of the fabric. If your ribbons have different finishes on the two sides, make sure the surface you prefer is facing up.
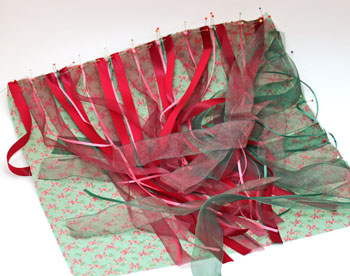
Pin the vertical ribbons in their repeating pattern.
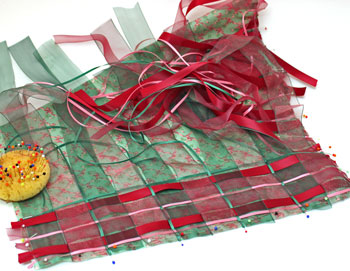
Begin weaving the ribbons. Alternate each vertical ribbon over and under each horizontal ribbon. Pin the ends of each finished ribbon row.
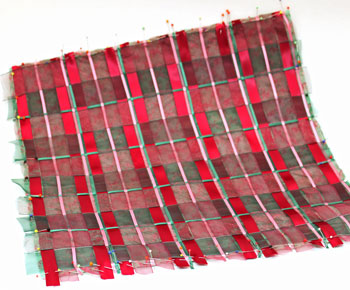
As you continue the weaving, frequently adjust the ribbons such that they form a straight and consistent weave. As you weave the last vertical ribbon, begin pinning the ends of the horizontal ribbons to the fabric. The finished weave should have all of the ribbon ends pinned to the fabric.
Sew the ends of the ribbon to the edges of the fabric at 1/4 to 3/8 inch from the edge of the fabric. Remove the pins as you sew around the form. Trim the ends of the ribbon even with the edge of the fabric. this makes it easier to match the edges with the back pieces of the pillow form.
On each back piece, fold and press 1/4 inch of fabric along one of the long edges from the right side to the wrong side. Next, fold and press under one inch along that same edge.
Sew along the edge of the folded material on both back pieces to finish the edges. These form the overlap area in the middle back of the completed pillow cover.
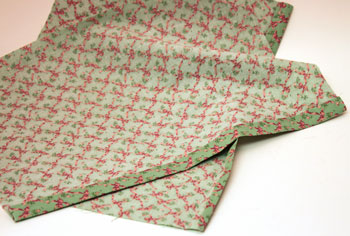
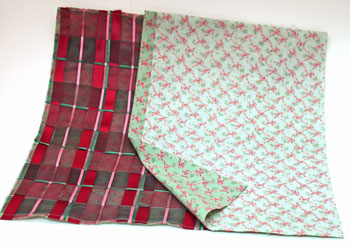
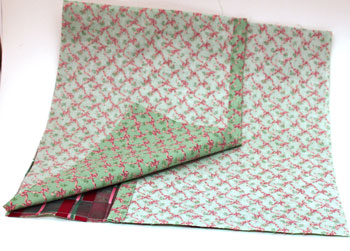
Position one back piece on top of the woven ribbon front. The right side of the back should face the ribbon weave. Place the folded, finished edge of the back piece toward the middle of the shape. Match the unfinished edges.
Position the second back piece, right side to the woven ribbon, and match the raw edges.
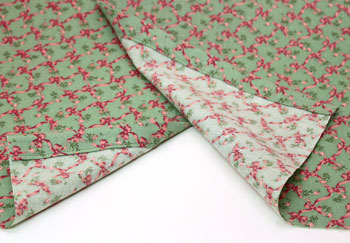
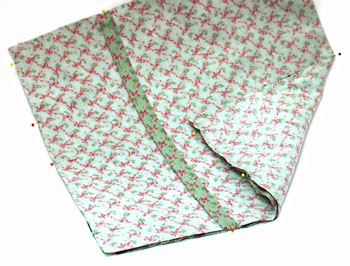
The finished edge of the second back piece should overlap the first finished edge across the middle of the shape. The raw edges should match on all four sides. Pin the edges together.
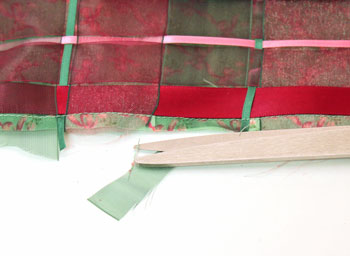
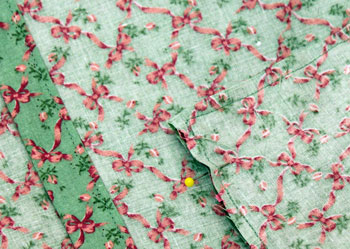
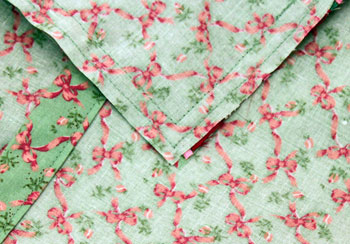
This shows the edge with narrowly stitched edge holding the ribbons in place. The seam around the pillow should be wider to enclose this stitched edge.
Sew around the pillow shape with at least a 3/8 inch seam. Make sure the seam is slightly larger than the earlier seam that captured the ribbon ends. The seam shown here is 1/2 inch to insure the woven ribbon pillow cover fits over the pillow shape.
This shows the narrow stitching holding the ribbon ends and the wider, 1/2-inch seam stitching the pillow form edges together.
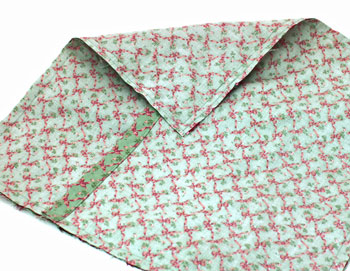
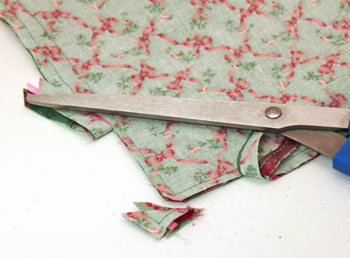
Trim the corners at an angle being careful not to cut the stitches. Trim the seam to 1/4 inch.
Turn the woven ribbon pillow plaid cover right side out. Gently, but firmly, push the corners outward to form the points.
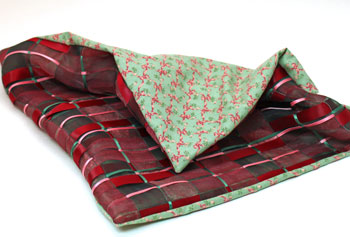
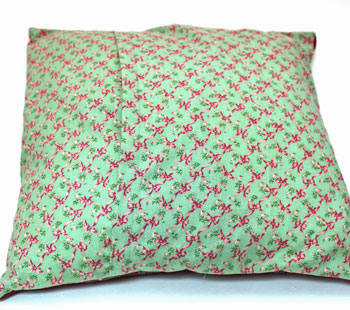
The back pieces overlap and provide the opening for the pillow form. Insert the pillow form into the back of the woven ribbon pillow cover. Push the pillow into the corners and smooth the overlapping edges over the back of the pillow shape. (Oops, I didn't do the smoothing part.)
The woven ribbon pillow plaid is finished and ready to accent a chair, sofa, window seat, or bed.
Rotating the pillow 90 degrees provides a different plaid view.
With simple and inexpensive materials and tools, this woven ribbon pillow plaid project adds a showpiece to your home or makes a wonderful gift for family and friends. (Visit our same-width ribbon pillow for different ideas.) Enjoy! |
Visit our
funEZ Bazaar!
Sign up for our FREE newsletter and receive free access to a How to Sew Stitches downloadable e-book and a Cute Kitty project. Even fun for those who already know How to Sew Stitches!
funEZcrafts e-books!
Our fun felt Christmas Ornaments
Click on Sam the Siamese for access to our Cute Kitty project
|
© Copyright funEZcrafts, 2008-2015. All Rights Reserved.
Disclaimer: funEZcrafts includes advertisements and links to affiliate sites. By clicking through to an affiliate site, the prices do not increase. But, funEZcrafts receives a small percentage of the purchase amount. For that, thank you! Those funds help with the maintenance and addition of funEZcrafts projects.


