|
funEZcrafts
New projects! |
Welcome! Come on in and visit awhile... |
|
| fun, easy and inexpensive craft projects for pleasure and profit |
Visit our funEZ Bazaar Celtic Mugs Section! |
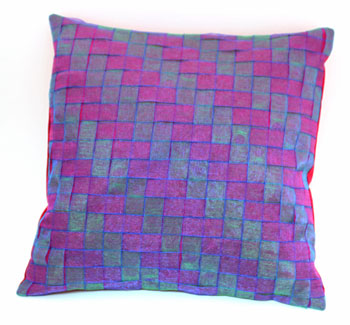
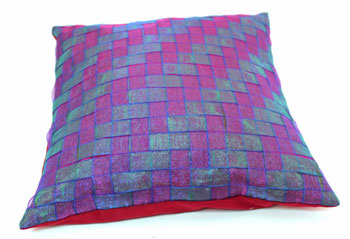
Frugal Fun Projects - Woven Ribbon Pillow Shaker Style WeaveThis fun and easy woven ribbon pillow looks difficult but is a simple repeating weave pattern. Take a look at the easy steps on how to make the Shaker style woven ribbon pillow. Some inexpensive materials and a little of your time results in an attractive pillow for you or for a gift. Plus, the overlapping construction on the back makes it easy to change the pillow cover whenever you want an easy change to your decor.
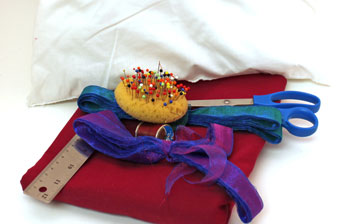
Frugal Fun Projects: Woven Ribbon Pillow Shaker Style Weave Materials and Tools:
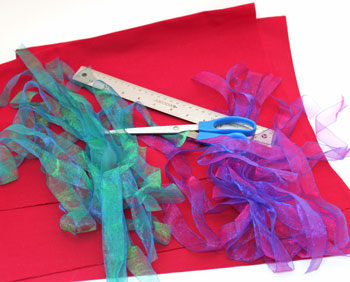
The Steps for How to Make the Frugal Fun Projects: Woven Ribbon Pillow Shaker Style Weave:Cut the fabric shapes for the pillow. The front which forms the base for the ribbon weave should be 16 1/2 inches by 16 1/2 inches. Cut two pieces for the back. Each should be 12 1/2 inches by 16 1/2 inches. Cut the ribbon into lengths of 16 1/2 inches. You can use ribbon of smaller width too. Just increase the yardage.
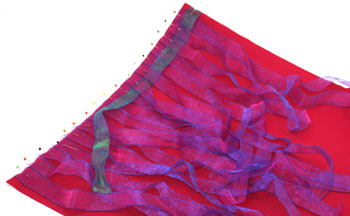
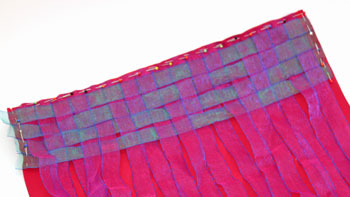
Pin the ribbons side by side along one edge of the front fabric. Pin the ribbons to the right side of the fabric. Lesson forgotten and re-learned: See the pins in the picture? Don't pin vertically like that — the pins get in the way. Instead, pin horizontally as seen in the pictures below.
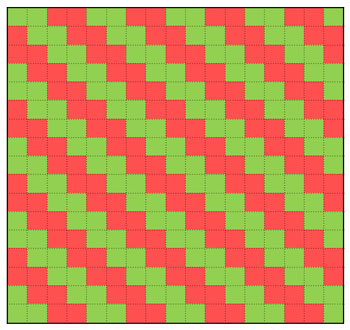
The Shaker Style weave pattern is a basic over two and under two weave. But, each row is offset by only one ribbon. The pattern repeats after four rows. Starting with the top green ribbon from the right, the ribbon goes over one red before it begins the over two and under two pattern. This pillow used 17 ribbons with the first row ending with the green ribbon over two red ribbons. For the second row from right to left, the green ribbon goes over two red, under two and repeats until the end goes over one red. The third green ribbon, from right to left, starts under one red, over two, under two and repeats to finish under two red. On the fourth row, right to left, the green ribbon starts under two red, over two and repeats to end under one red. These rows repeat with the fifth row being the same as the first.
This diagram shows the repeating pattern of the Shaker Style Weave.
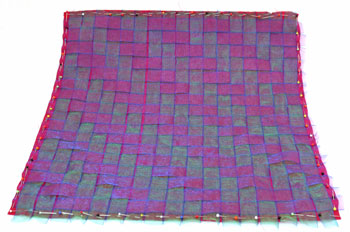
Continue the weave pattern. The ribbons should be close to each other without crowding. They should also be flat to the fabric from end to end. Pull each ribbon tautly but not tightly before pinning the end to the edge of the fabric. You'll note the ribbons in this picture are smoother than in the earlier pictures. Of necessity, I had to stop and iron the ribbons. They weren't so much wrinkled as crumpled. Either way, they needed to be flat for easier weaving. This shows the finished pattern of the Fun and Easy Woven Ribbon Pillow Shaker Style Weave.
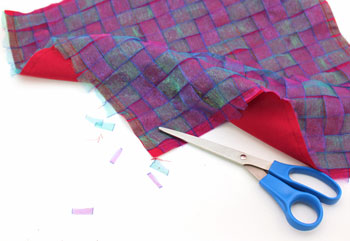
Sew a 3/8 inch seam around the edges to fasten the ribbon ends to the fabric. Trim the ends of the ribbon even with the edge of the fabric.
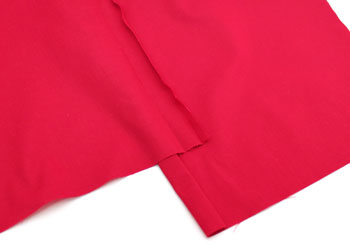
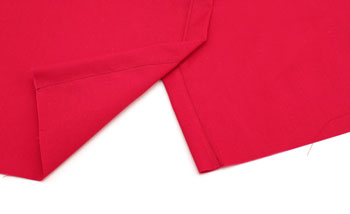
Along one long edge of each back fabric piece, press under 1/4 inch from the right to the wrong side. Fold over 1 inch of fabric and press again.
Sew along the edge of the folded material on both back pieces to finish the edges. They will overlap in the middle back of the completed pillow cover.
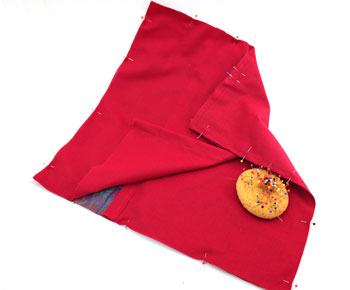
Pin the back pieces to the woven ribbon front with right sides together. The finished edge of the second back piece should overlap the first finished edge across the middle of the shape. The raw edges should match on all four sides.
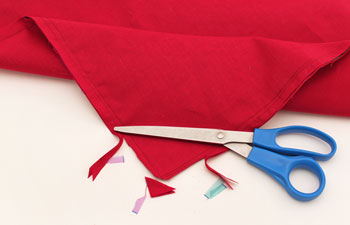
Sew around the edges with a 1/2 inch seam. Make sure the seam is slightly larger than the earlier seam that captured the ribbon ends. Trim across the corners being careful not to cut the seam. Trim the edges to 1/4 inch.
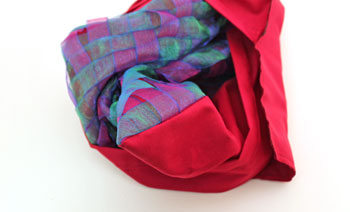
Turn the woven ribbon pillow cover right side out. Gently, but firmly, push the corners outward.
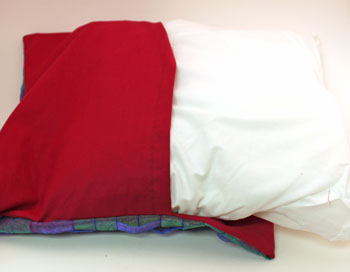
Insert the pillow form into the woven ribbon pillow cover.
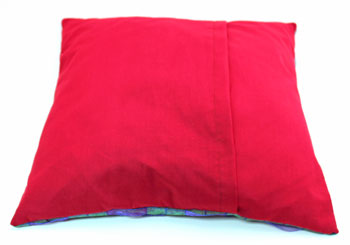
Overlap the edges and smooth the back cover.
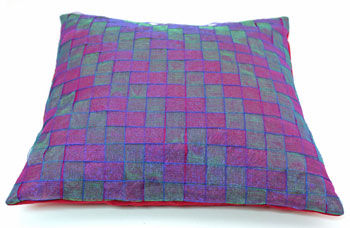
Take a look at the finished pillow with its pretty green and red - which turned into turquoise and purple - Shaker style weave pattern. You can easily see the interesting pattern of the offset over-two-under-two weave.
The light in this view showcases the same pattern in the other direction.
I used two different colors of sheer ribbon for this pretty pillow. For a more sturdy pillow cover, use a grosgrain ribbon or ribbon webbing. Years ago, I made this pillow cover with a neutral, off-white ribbon webbing using the same color in both directions. It made a striking pillow showcasing the weave. I would love to show it to you, but I made it as a gift and didn't take any pictures. Enjoy! And, have fun making your own versions. Visit the same-width woven ribbon pillow and the plaid woven ribbon pillow for more ideas. With simple and inexpensive materials and tools, this woven ribbon pillow Shaker style weave adds a fun pillow to your home's decor or makes a wonderful gift for family and friends. |
Visit our
funEZ Bazaar!
Sign up for our FREE newsletter and receive free access to a How to Sew Stitches downloadable e-book and a Cute Kitty project. Even fun for those who already know How to Sew Stitches!
funEZcrafts e-books!
Our fun felt Christmas Ornaments
Click on Sam the Siamese for access to our Cute Kitty project
|
© Copyright funEZcrafts, 2008-2015. All Rights Reserved.
Disclaimer: funEZcrafts includes advertisements and links to affiliate sites. By clicking through to an affiliate site, the prices do not increase. But, funEZcrafts receives a small percentage of the purchase amount. For that, thank you! Those funds help with the maintenance and addition of funEZcrafts projects.


